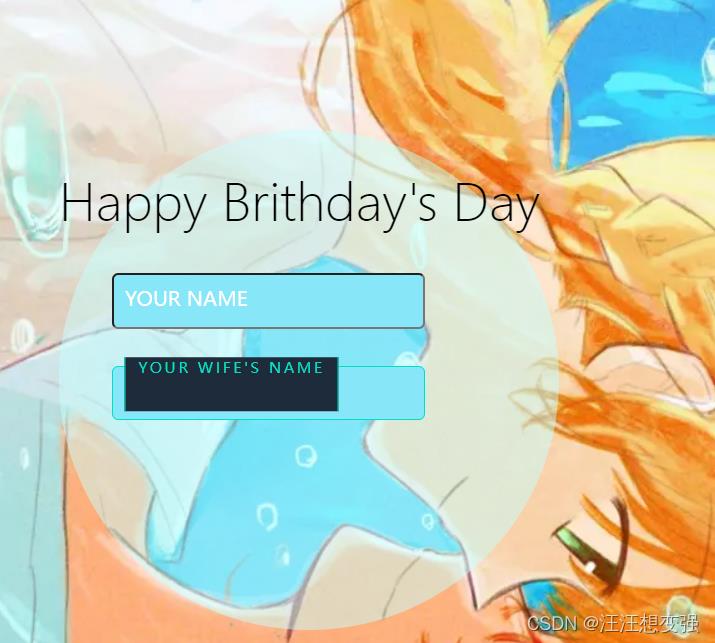
web前端开发前端生日礼物--注册页面篇
Posted 汪汪想变强
tags:
篇首语:本文由小常识网(cha138.com)小编为大家整理,主要介绍了web前端开发前端生日礼物--注册页面篇相关的知识,希望对你有一定的参考价值。
文章目录
总计划
- 登录界面 今日
- 主页面+登录失败 24日
- 记事本 25、26、27日
注册界面
页面背景设置
way1:
.content
            position: relative;
            width:800px;
            height:300px;
            background: url(5.jpg);
            background-repeat: repeat-x;
            background-size: cover;
铺不满
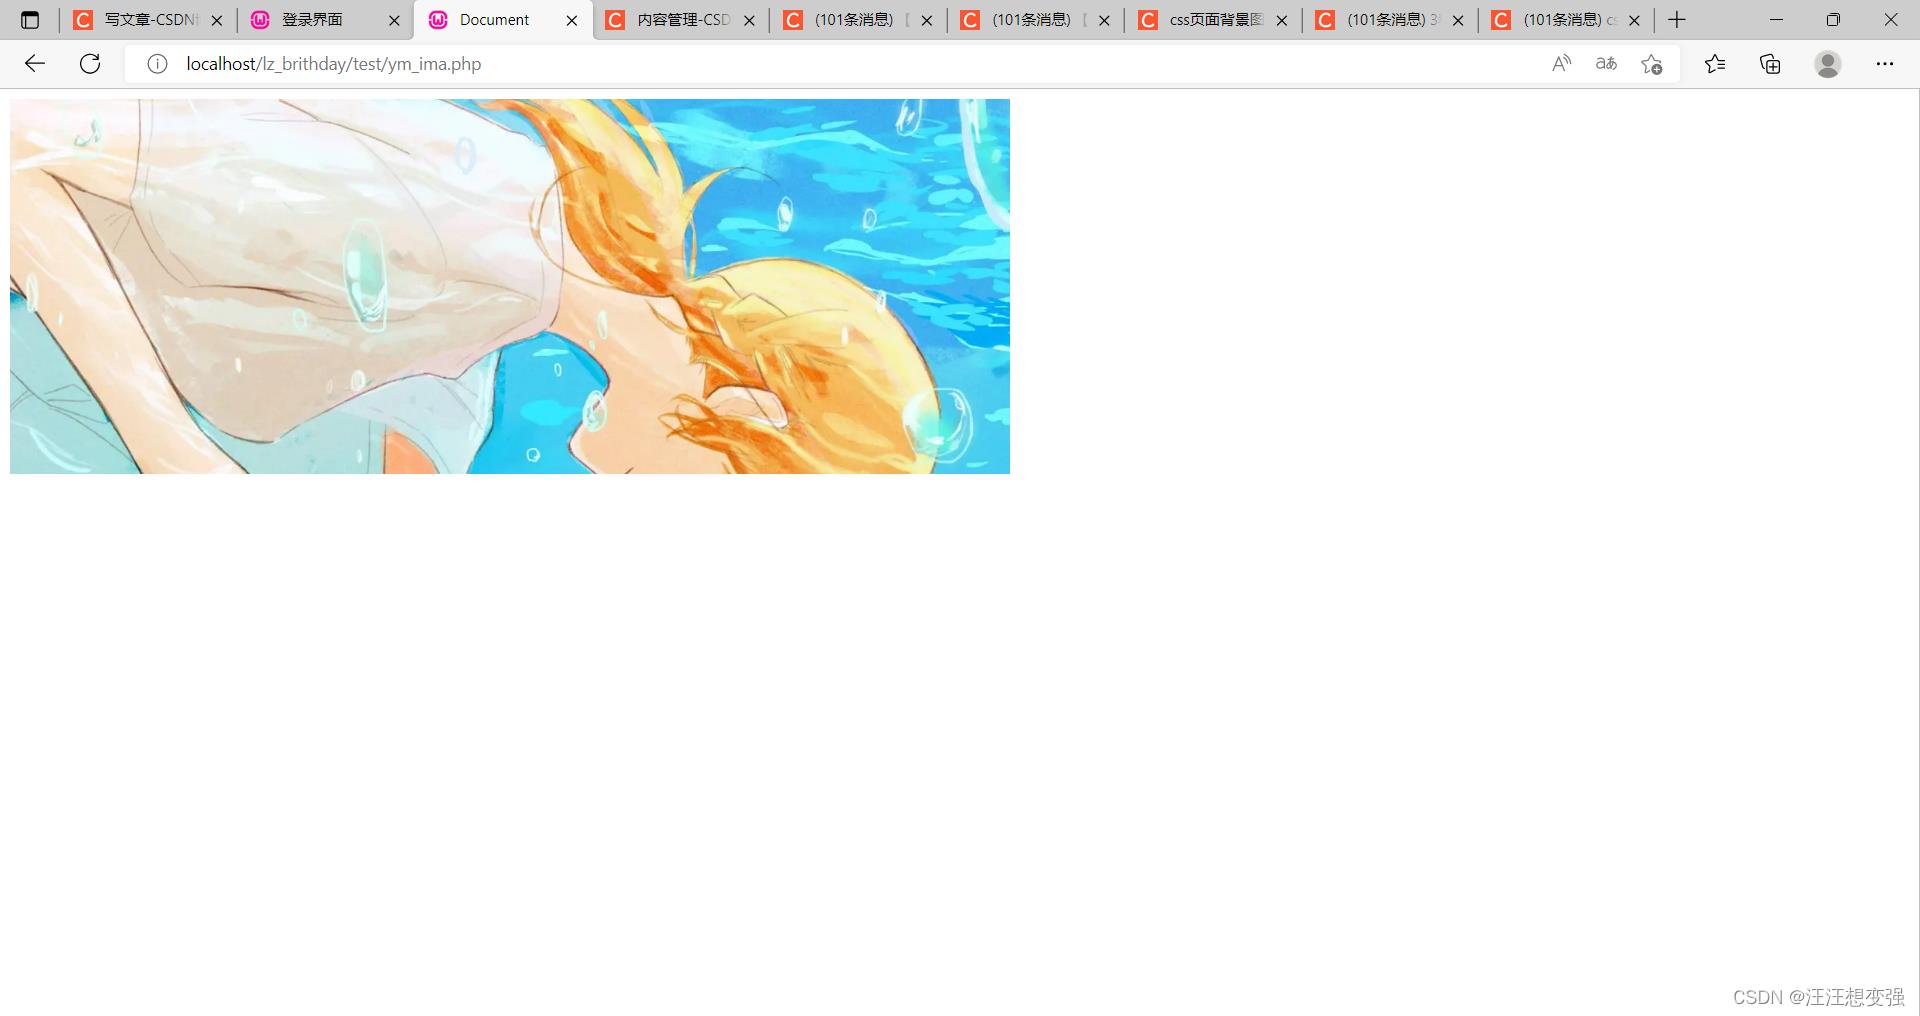
way2:
.content
            position:fixed;
                top: 0;
                left: 0;
                width:100%;
                height:100%;
                min-width: 1000px;
                z-index:-10;
                zoom: 1;
                background-color: #fff;
                background: url(5.jpg);
                background-repeat: no-repeat;
                background-size: cover;
                -webkit-background-size: cover;
                -o-background-size: cover;
                background-position: center 0;
过于满了。。
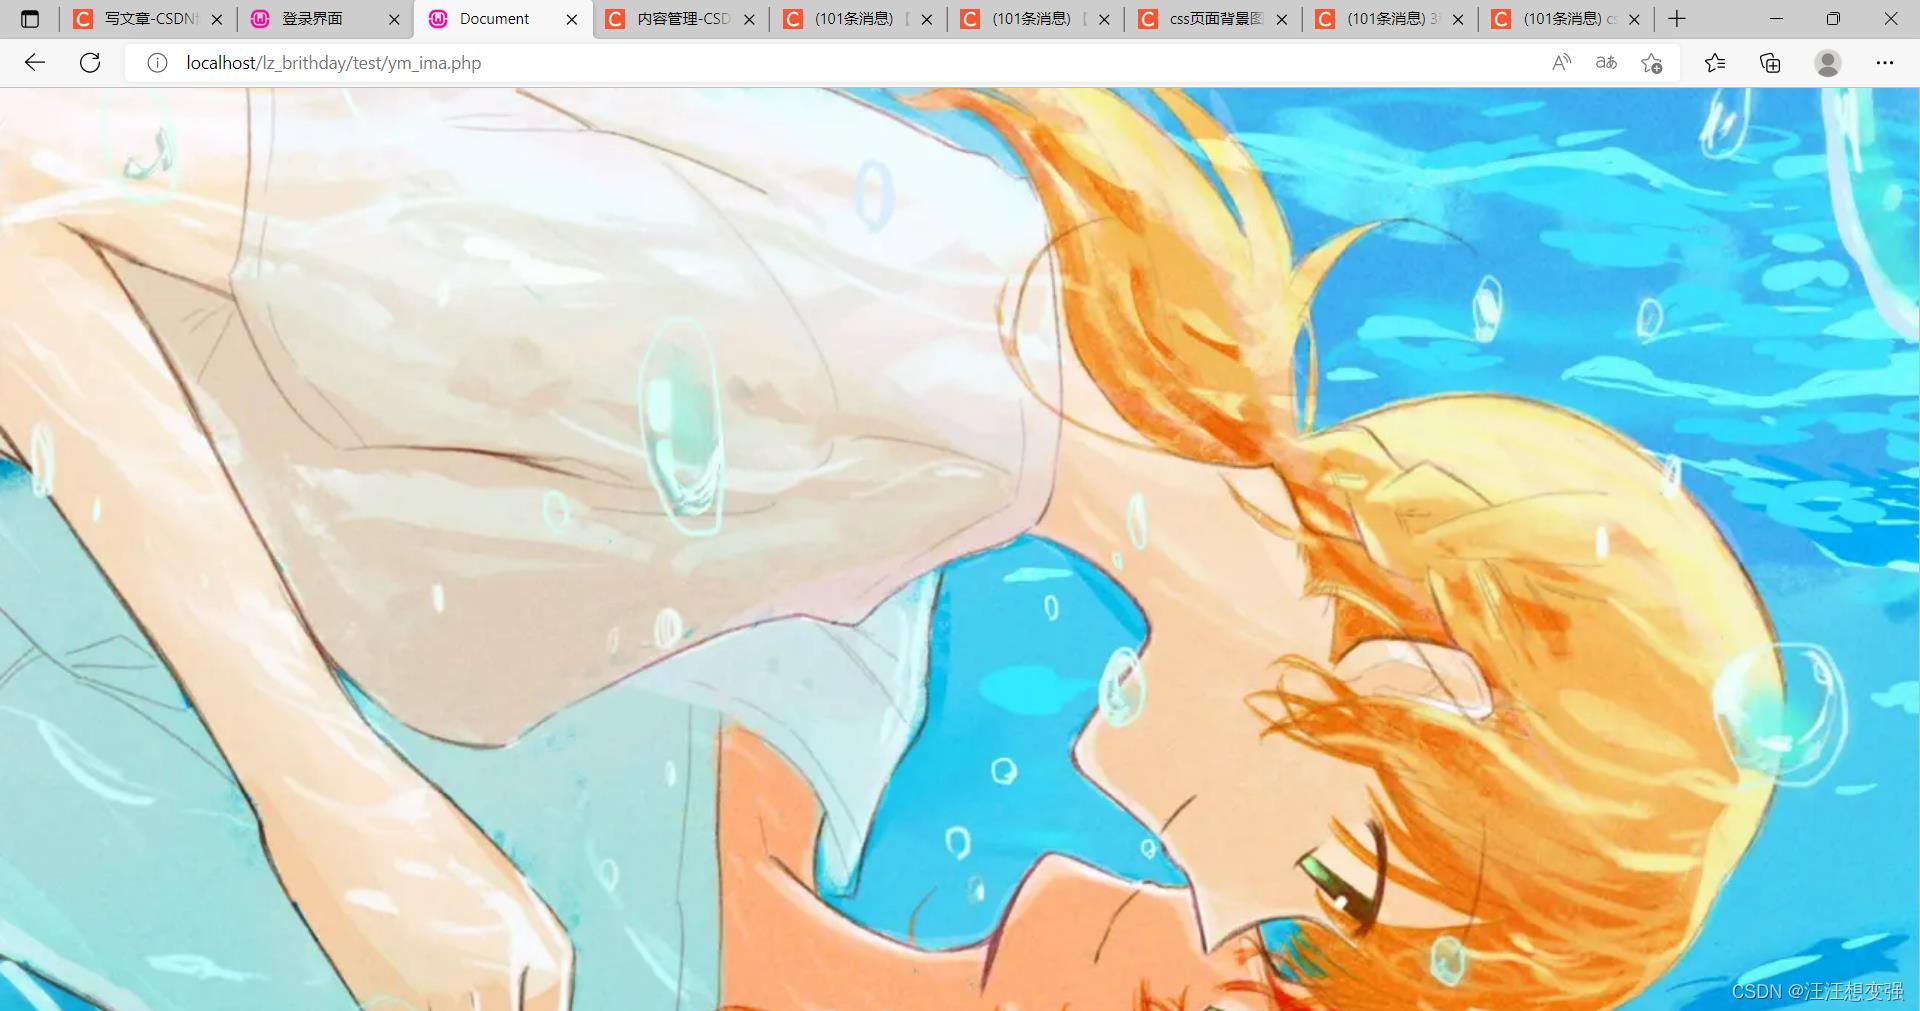
way3:
宽度不管了,高度适中,背景使用body加渐变
<style>
        body
            /* background-color: #4DCDF2; */
            height:100vh;
            display:flex;
            justify-content:center;
            align-items:center;
            /* 渐变背景 */
            background:linear-gradient(to top left,#AFC4FF,#0EF3FF,#4A83FF);
            overflow:hidden;

        .content
            position:fixed;
                top: 0;
                left: 0;
                width:100%;
                height:100%;
                /* min-width: 1000px; */
                /* z-index:-10; */
                /* zoom: 1; */
                /* background-position: center; */
                background-color: #4DCDF2;
                background: url(5.jpg);
                background-repeat: no-repeat;
                /* background-size: cover; */
                -o-background-size: cover;
                background-position: center 0;

    </style>

注意
- 去掉宽高图片不显示
- 以后设置页面可以参考此模板
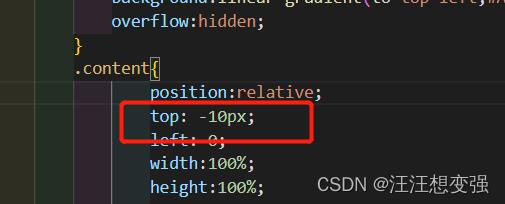
- 设置为相对位置,顶端有空隙。(解决)

way:改top值
字体选择
使用普通白色
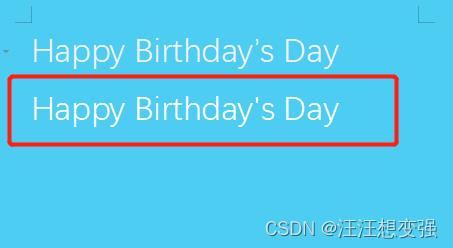
不明原因:在父相子绝下字体不对齐父类

由于显示效果不好,打算把字体放入登录浮窗中
登录浮窗
制作透明盒子
way1:
<!DOCTYPE html>
<html lang="en">
<head>
    <meta charset="UTF-8">
    <meta http-equiv="X-UA-Compatible" content="IE=edge">
    <meta name="viewport" content="width=device-width, initial-scale=1.0">
    <title>Document</title>
    <!-- //浮动窗口的显示隐藏是通过js实现的 -->
    <script type="text/javascript">
    /*显示浮动框*/
        function showCommentDiv(obj)
            var top = $(obj).offset().top;
            var left = $(obj).offset().left + $(obj).width() - 7;
            $("#commentListDiv").css('top':top + "px",'left':left+"px").show("slow");


        function showThis(obj)
            $(obj).show();

        /*隐藏浮动框*/
        function hideCommentDiv()
            $("#editCourseDiv").hide();

        function hideThis(obj)
            $(obj).hide();

        // 获取选中的评语
        function getValue(obj)
        var selectId = obj.value;
        var selectTitle = obj.title;
        $("#teaMarkContent").val(selectTitle);


    </script>
</head>
<body>
<div align="left" id="commentListDiv" onmouseover="showThis(this);" onmouseout="hideThis(this);" style="width:200px;height:200px;border:solid 1px #a1bece;position:absolute;z-index:10000;display:none;background-color:#EEF7EA;">
    <p><b>基本评语:</b></p>
            <table>
                <c:forEach items="$commentListJB" var="comment">
                    <tr>
                        <td>
                            <span style="white-space:nowrap;">
                                <input type="radio" name="comment" id="comment" value="$comment.id" title="$comment.content" onclick="getValue(this)"/>$comment.content
                            </span>
                        </td>
                    </tr>
                </c:forEach>
            </table>
    </div>
</body>
</html>
无效果:
way2:
.bottom
        position:absolute;
        bottom:100px;
        width:300px;
        height:300px;
        line-height:30px;
        background-color: rgba(200,200,200,0.4); //设置颜色的半透明效果
        background-position: center;
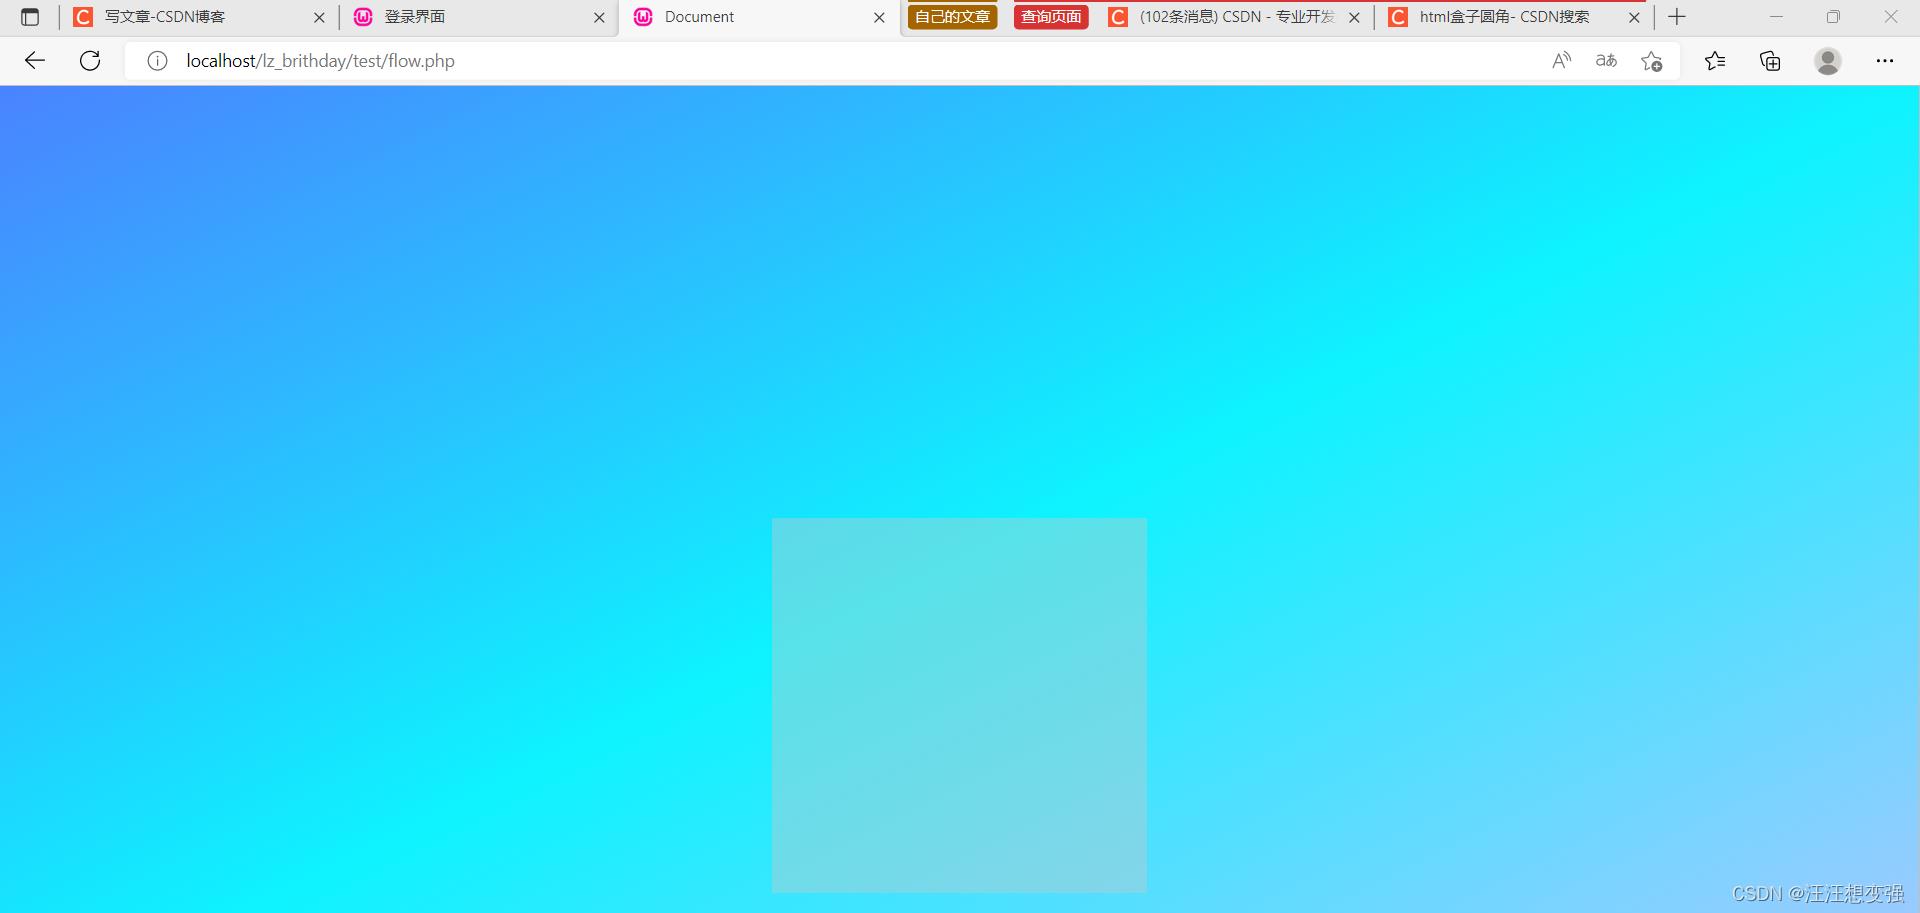
成功!
给盒子设定圆角值
在bottom类中添加语句如下:
border-radius: 50%;
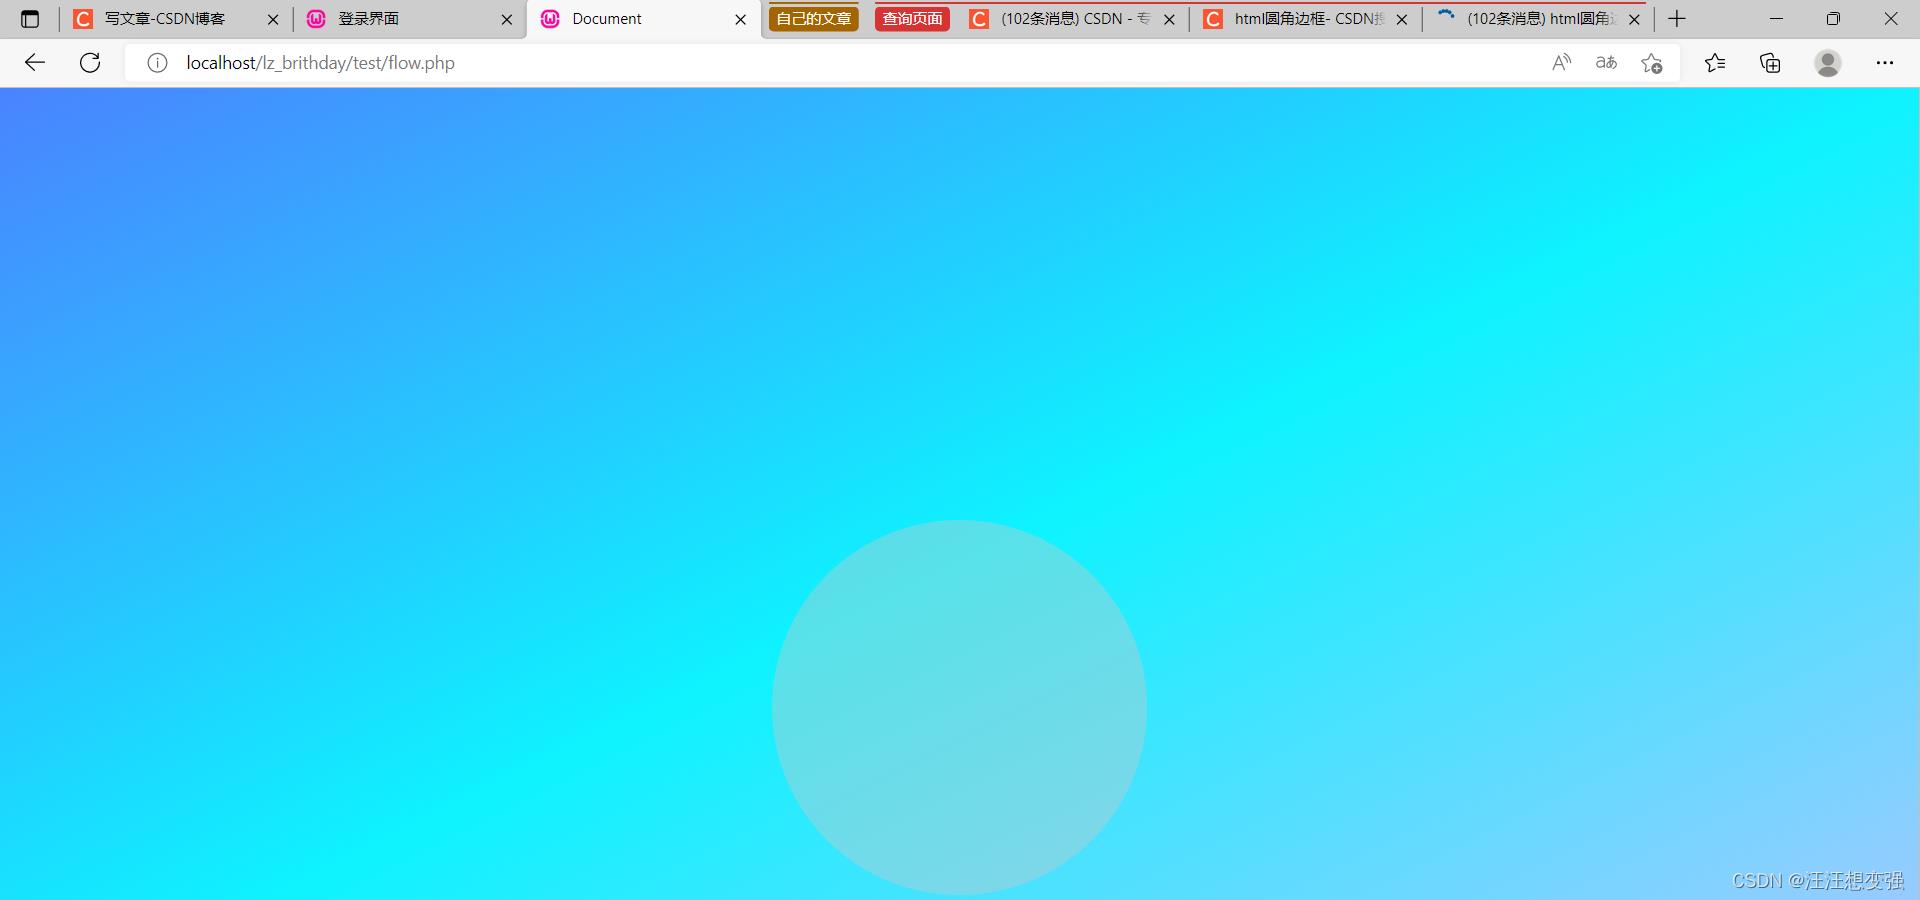
成功!
把透明盒子搬到register页面中
1.明明使用了父相子绝,仍然关系错乱:
.lucency
                position:absolute;
                bottom:500px;
                width:300px;
                height:300px;
                line-height:30px;
                background-color: rgba(200,200,200,0.5); //设置颜色的半透明效果
                background-position: center;
                border-radius: 50%;
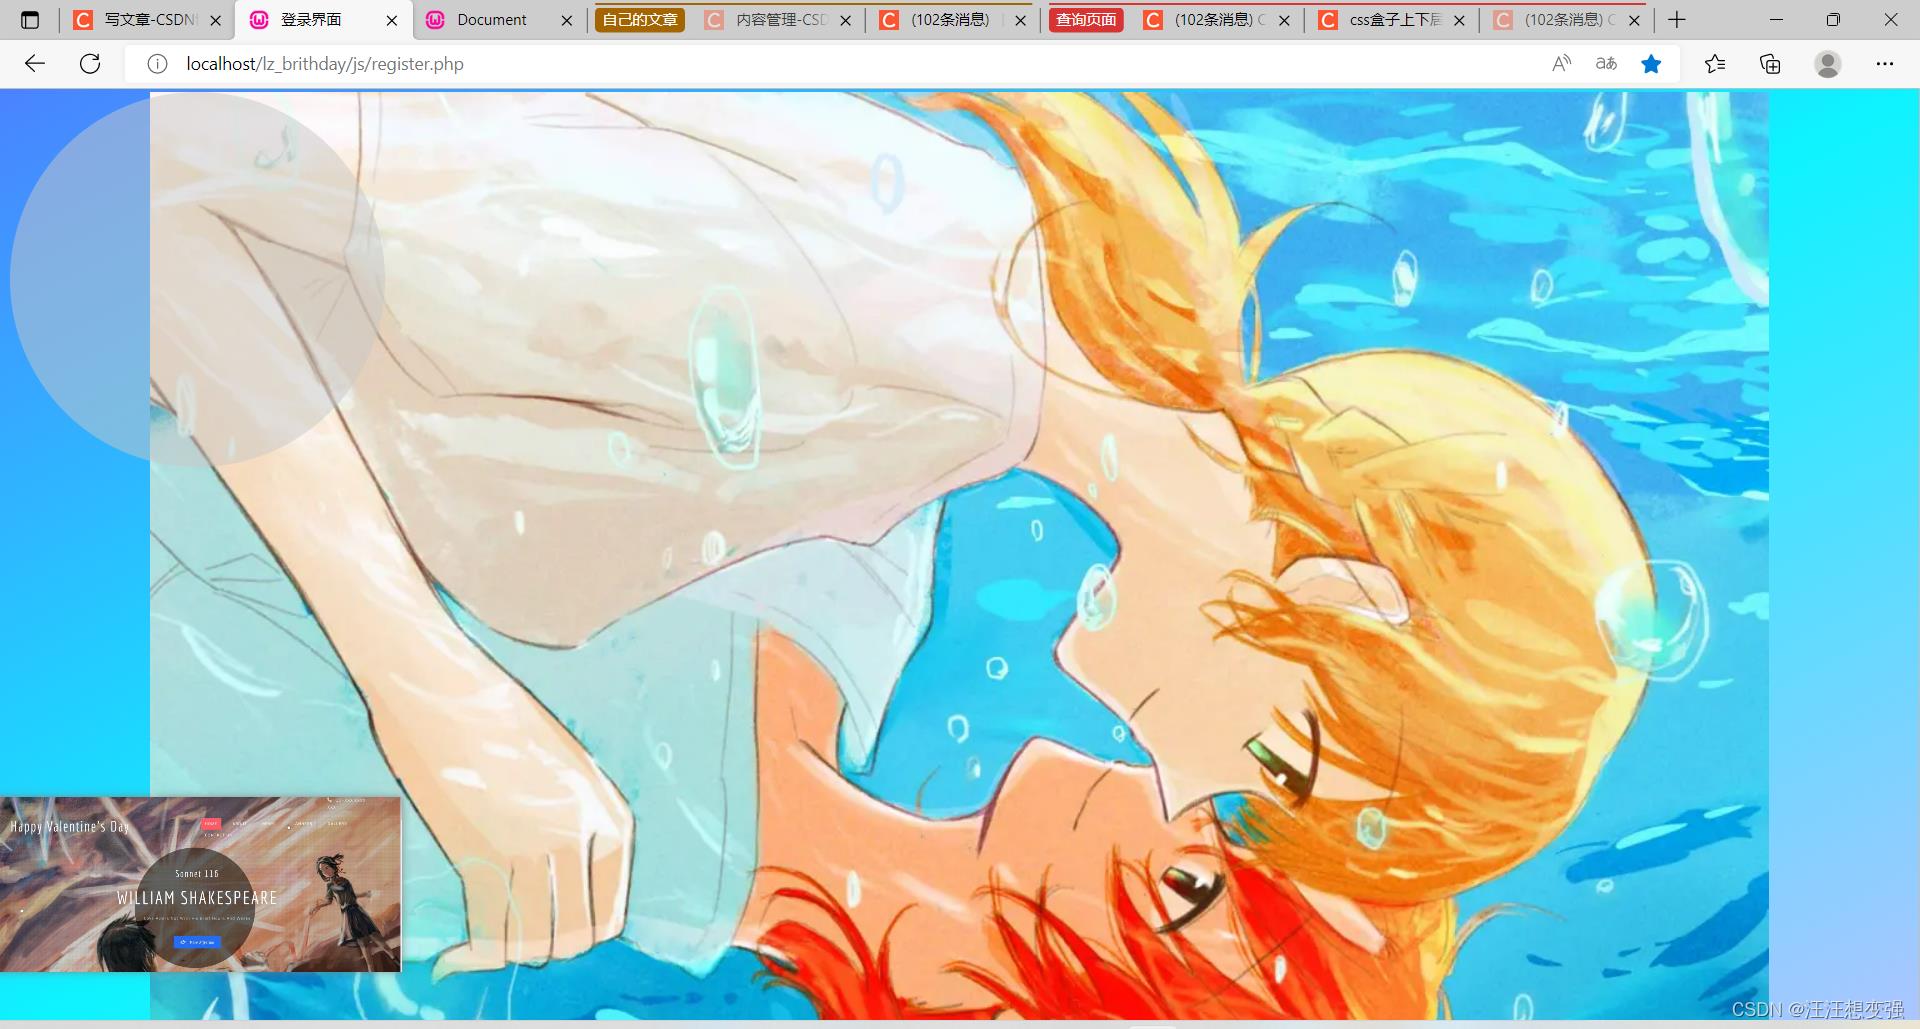
2.只有top类设置对其有效
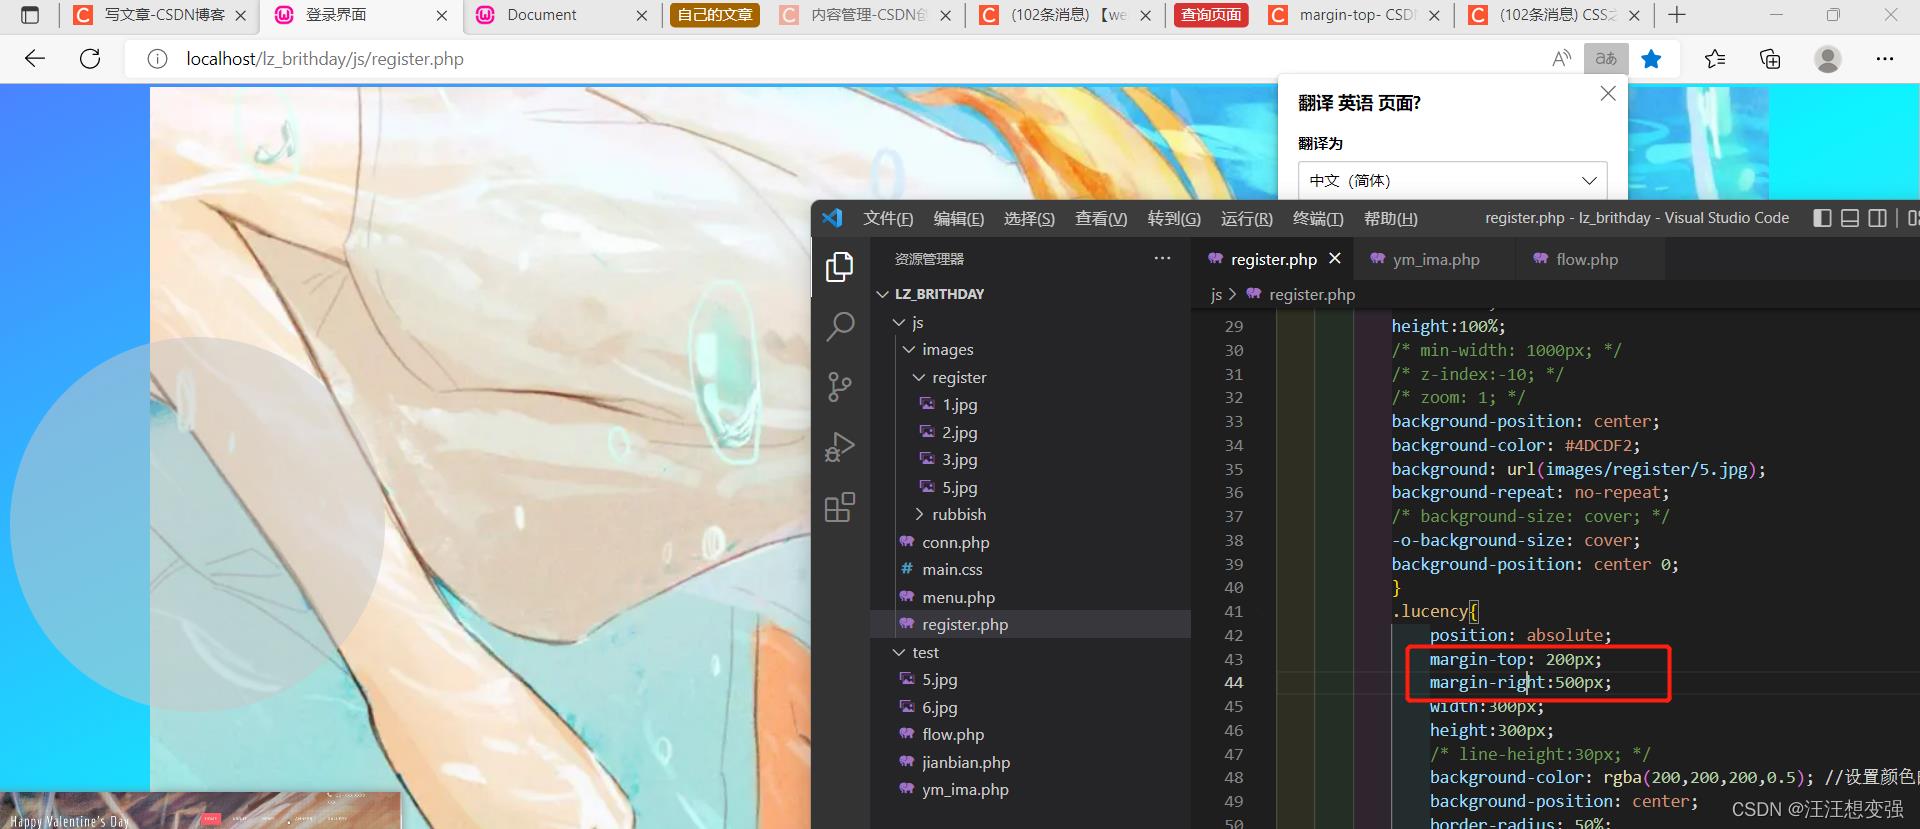
3.把前面两个盒子设置为父相子绝,最后使用margin-left推动透明盒子
*
            top:0;
            bottom:0;
            left:0;

        body
            position:relative;
            /* background-color: #4DCDF2; */
            height:100vh;
            display:flex;
            justify-content:center;
            align-items:center;
            /* 渐变背景 */
            background:linear-gradient(to top left,#AFC4FF,#0EF3FF,#4A83FF);
            overflow:hidden;

        .content
            position: absolute;

            /* bottom: -6px; */
            width:100%;
            height:100%;


            background: url(images/register/5.jpg);
            background-repeat: no-repeat;
            -o-background-size: cover;
            background-position: center 0;
            /* margin:auto; */

            .lucency

                margin-top: 200px;
                /* margin-right:500px; */
                width:300px;
                height:300px;
                margin-left:600px;
                border-radius: 50%;
                /* line-height:30px; */
                background-color: rgba(200,200,200,0.5); //设置颜色的半透明效果
                /* background-position: center; */
                margin:auto;
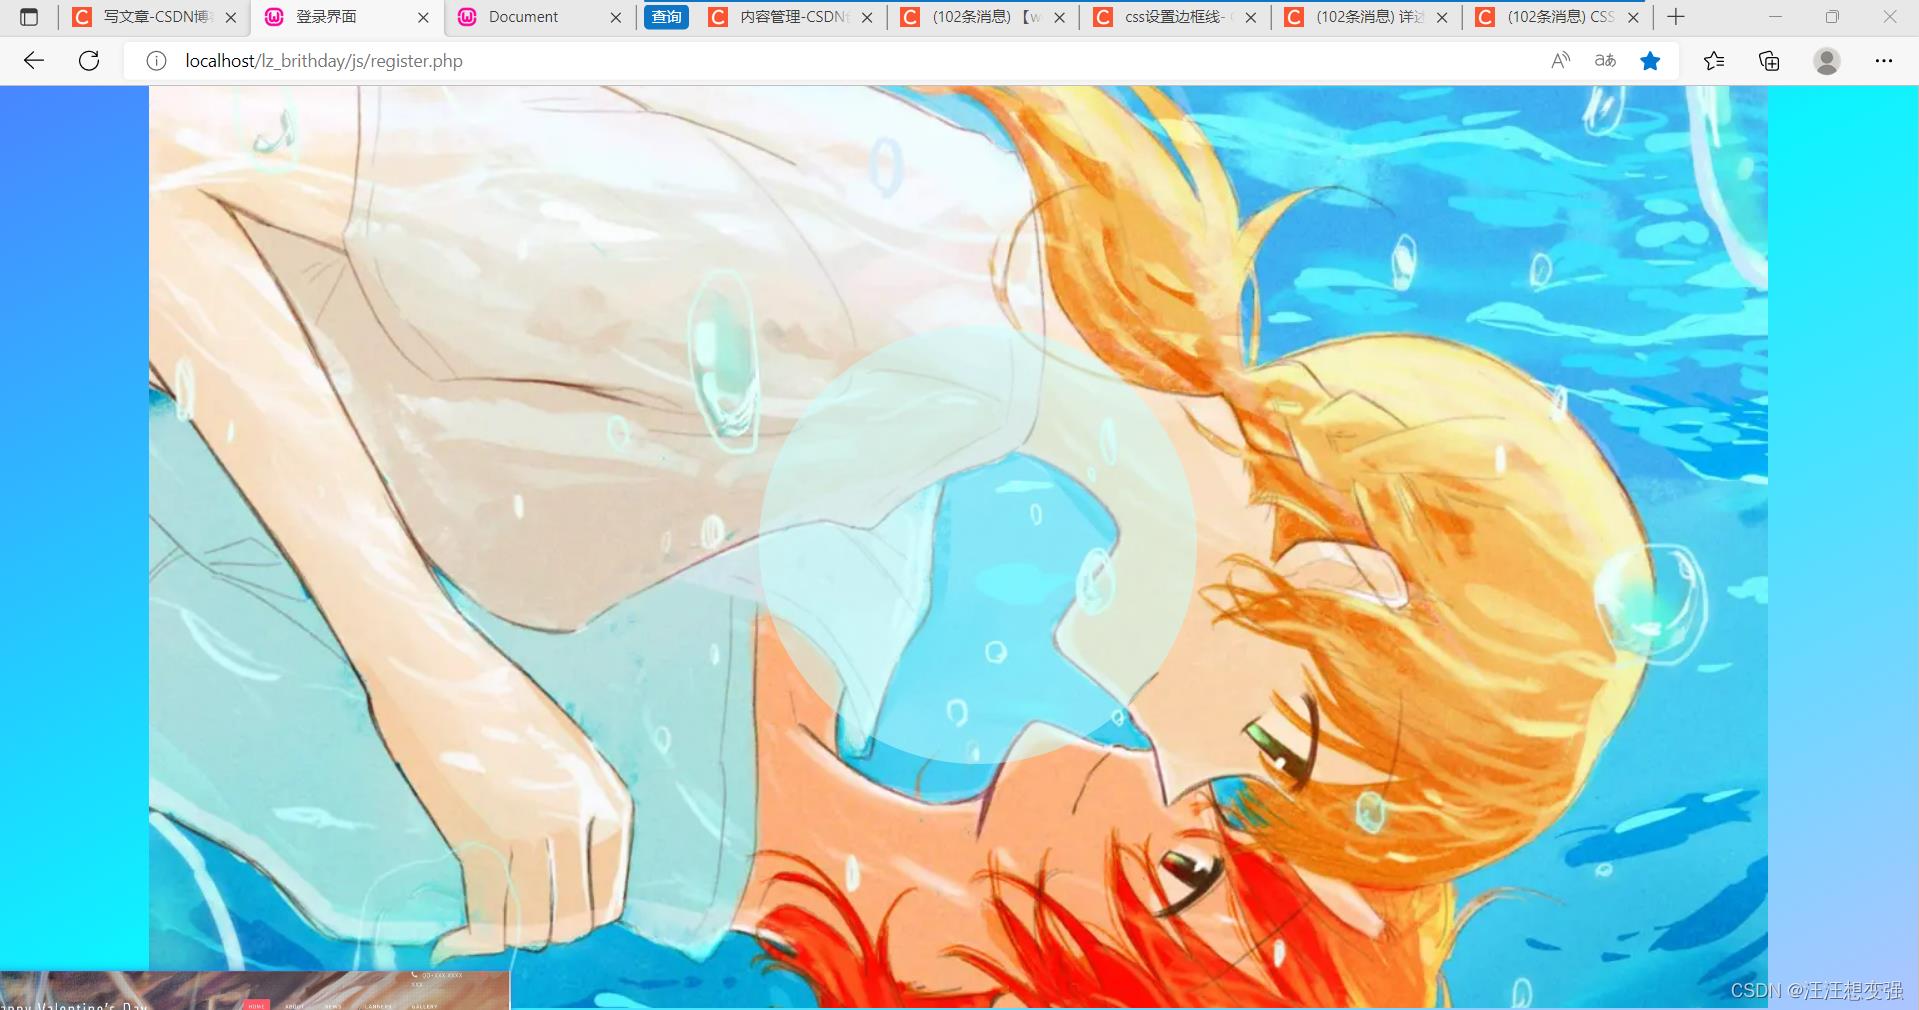
最终效果:
文本输入框样式设置
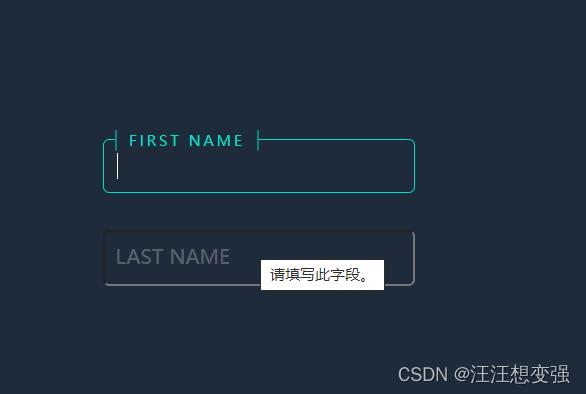
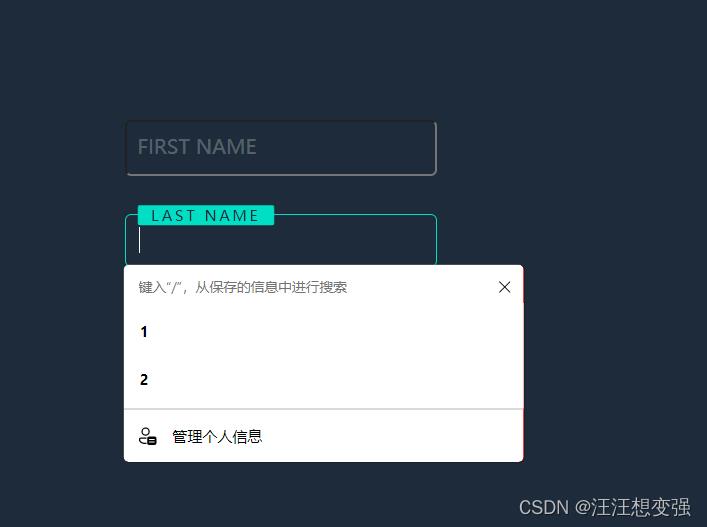
使用B站的炫酷特效
https://www.bilibili.com/video/BV1UT41157KF/?spm_id_from=333.1007.top_right_bar_window_custom_collection.content.click&vd_source=6954056a8db135714ab7367467252a52
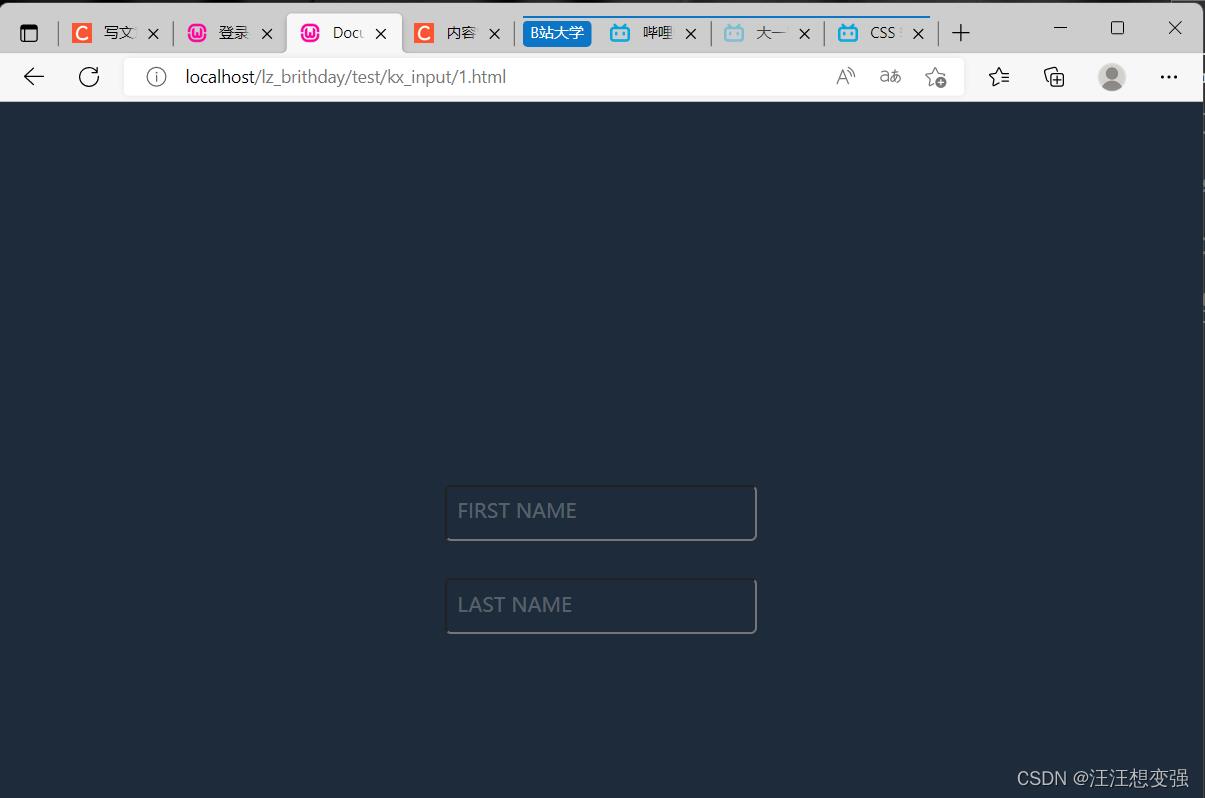
效果图:
1.改变背景框颜色+文本内容
感觉不错~
2.放入register.php的布局问题
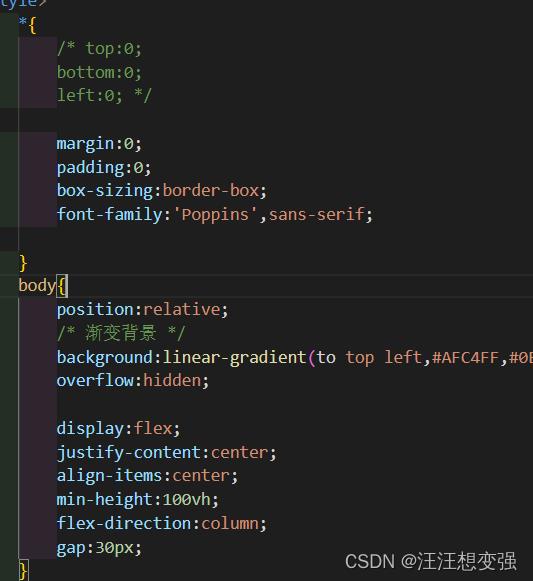
放入所有盒子外层+稍微修改register.php的body和*类:
不明原因框下拉:
3.输入框下拉更进
1.解决刚刚上面问题
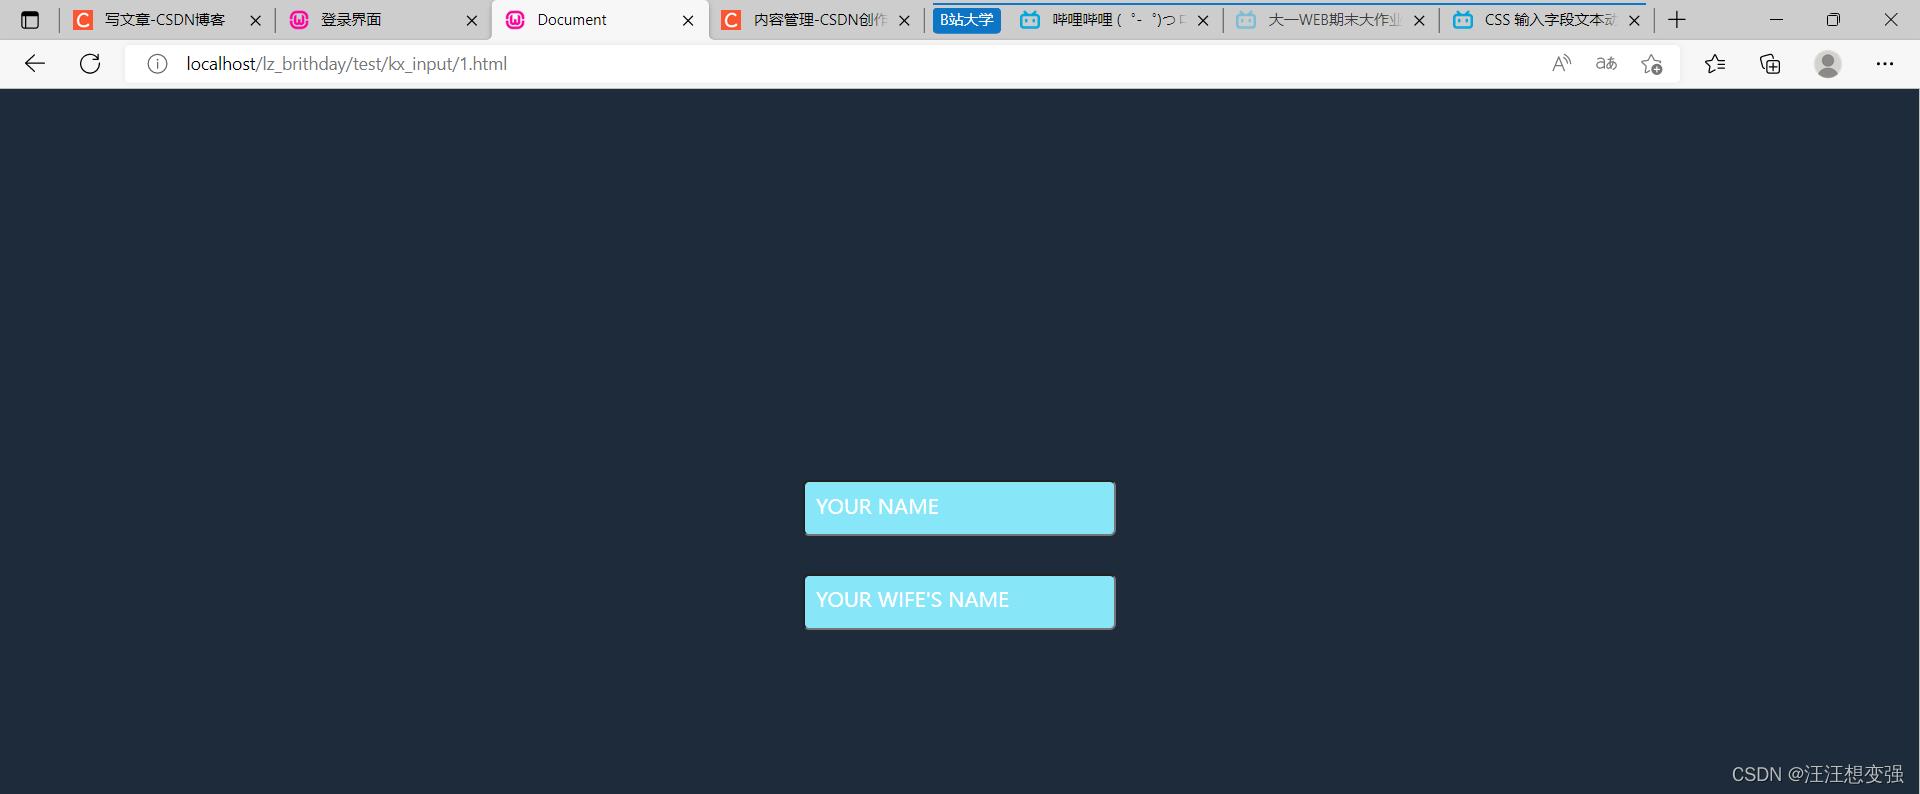
对比8和body,改变代码:
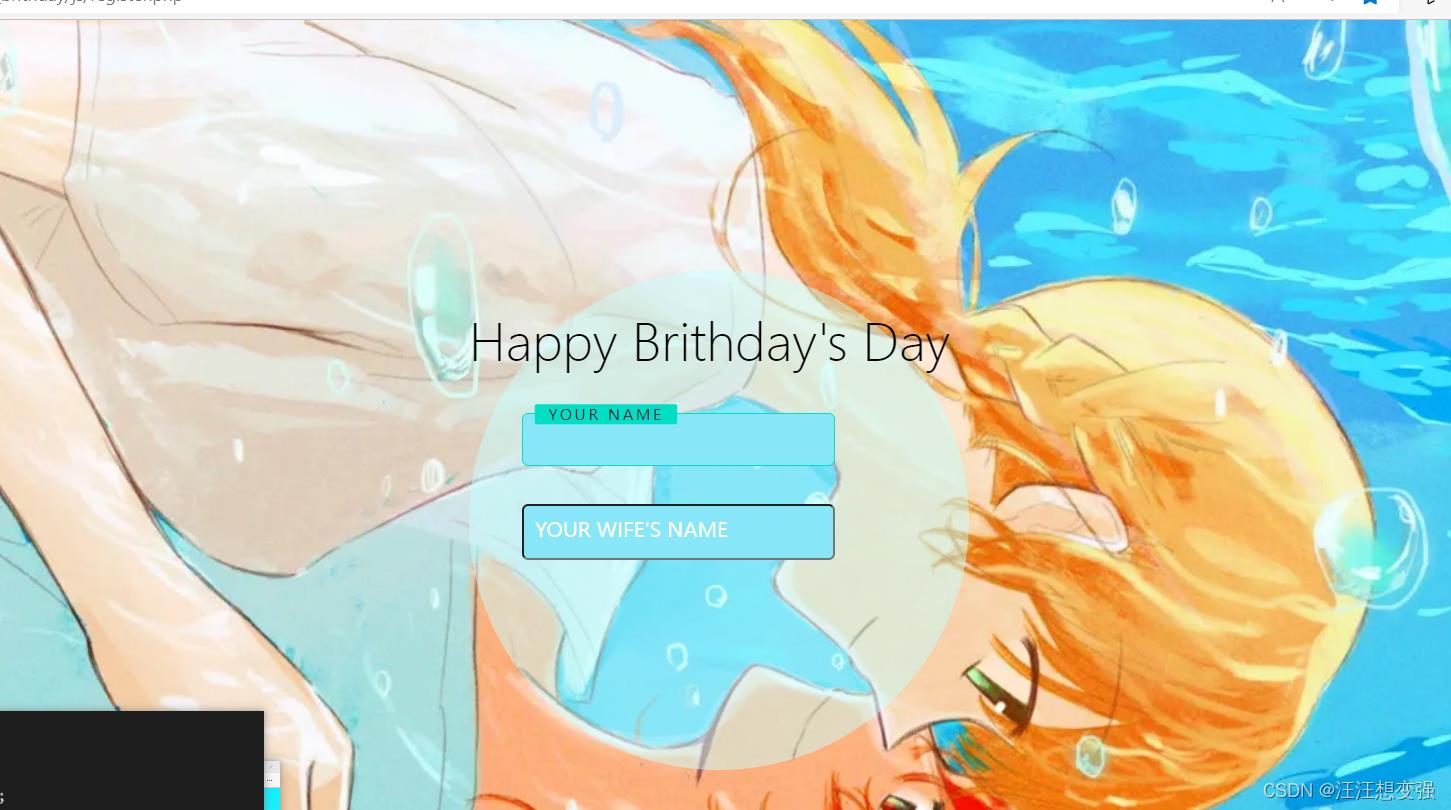
ok~~~
2.继续修饰
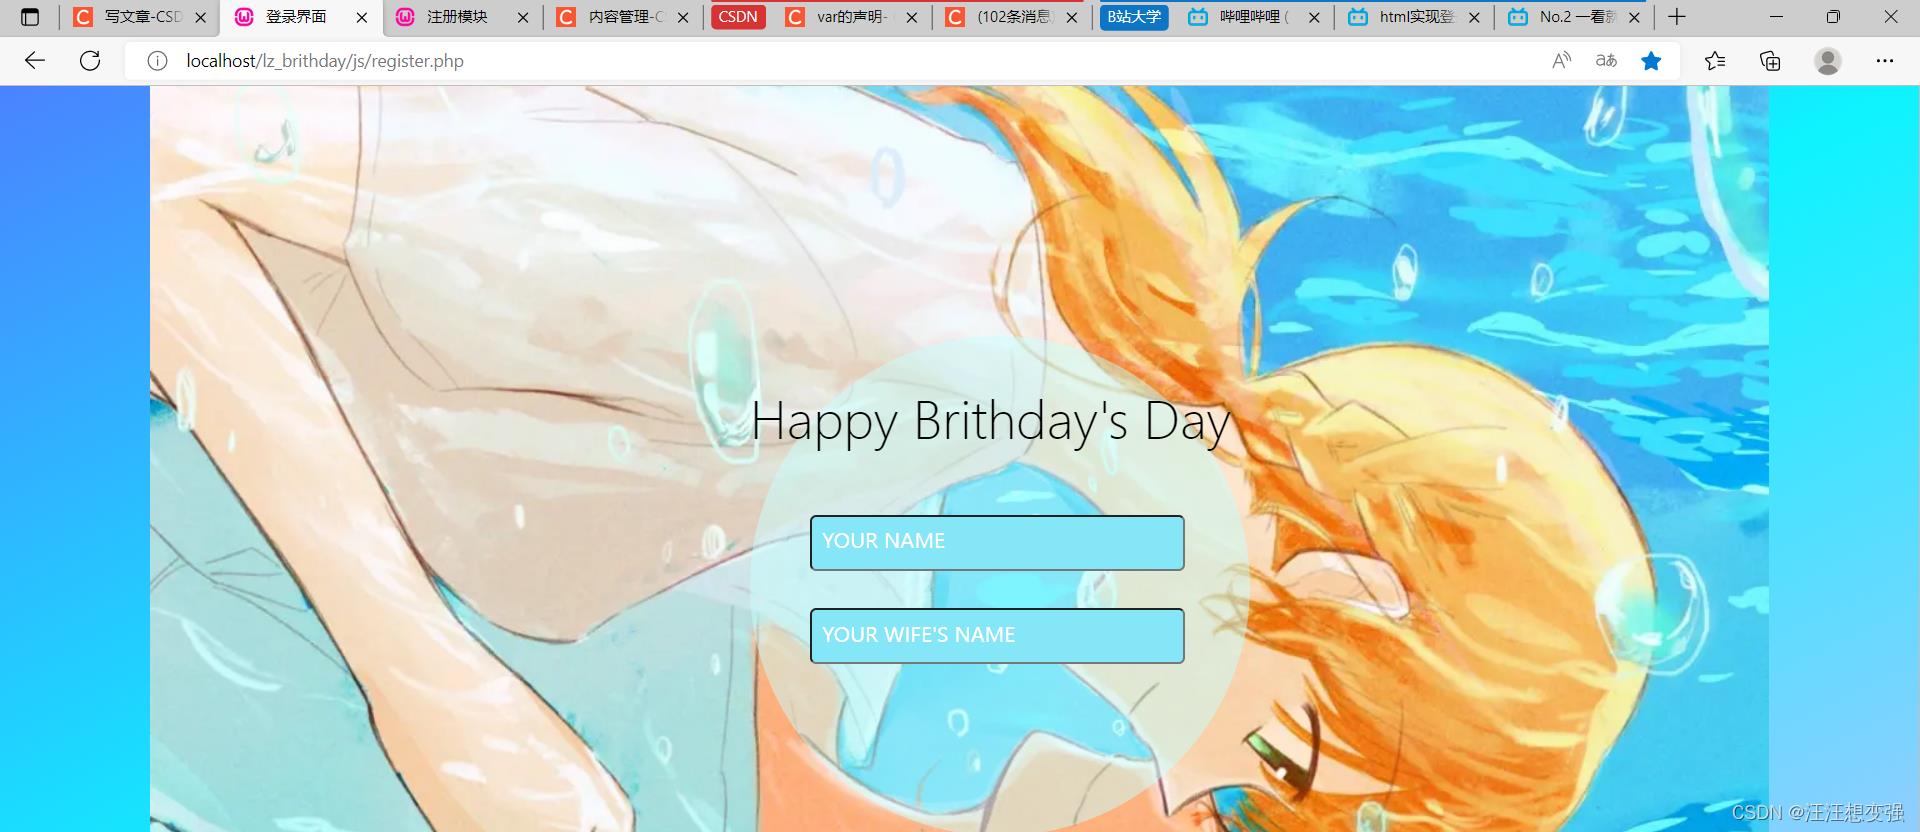


register.php
<!DOCTYPE html>
<html lang="en">
<head>
    <meta charset="UTF-8">
    <meta http-equiv="X-UA-Compatible" content="IE=edge">
    <meta name="viewport" content="width=device-width, initial-scale=1.0">
    <title>登录界面</title>
    <style>
        *
            margin:0;
            padding:0;
            box-sizing:border-box;
            font-family:'Poppins',sans-serif;


        body
            position:relative;
            /* 渐变背景 */
            background:linear-gradient(to top left,#AFC4FF,#0EF3FF,#4A83FF);
            overflow:hidden;

            display:flex;
            justify-content:center;
            align-items:center;
            min-height:100vh;
            flex-direction:column;
            gap:30px;

        .content
            position: absolute;

            /* bottom: -6px; */
            width:100%;
            height:100%;


            background: url(images/register/5.jpg);
            background-repeat: no-repeat;
            -o-background-size: cover;
            background-position: center 0;
            /* margin:auto; */

        .lucency
            position:relative;
            margin-top: 200px;
            width: 400px;
            height: 400px;
            margin-left: 600px;
            border-radius: 50%;
            background-color: rgba(200,400,400,0.5); //设置颜色的半透明效果
            /* background-position: center; */
            /* margin:auto; */

        .text
            position: absolute;
            font-family:Microsoft YaHei UI Light;
            font-size:40px;
            top:40px;
            /* font-weight:bold; */


        /* 进入输入框类 */
        .inputBox
            position:relative;
            width:300px;
            left:30px;
            top:30px;

        .inputBox input
            width:100%;
            padding:10px;
            border:1px soild rgba(255,255,255,0.25);
            /* background:#1d2b3a; */
            /* background:#46CCEE; */
            background:#85E6F8;
            border-radius:5px;
            /* 关闭聚焦 */
            outline:none;
            color:#fff;
            font-size:1em;

        .inputBox span
            position: absolute;
            left:0;
            padding:10px;
            pointer-events:none;
            font-size:1em;
            /* color:rgba(255,255,255,0.25); */
            color:#fff;
            text-transform:uppercase;
            transition: 0.5s;

        .inputBox input:valid~span,
        .inputBox input:focus~span
            color:#00dfc4;;
            transform: translateX(10px) translateY(-7px);
            font-size:0.65em;
            padding:0 10px;
            background: #fff;
            border-left:1px solid #00dfc4;
            border-right:1px solid #00dfc4;
            letter-spacing:0.2em;

        .inputBox:nth-child(2) input:valid~span,
        .inputBox:nth-child(2) input:focus~span
            background:#00dfc4;
            color:#fff;
            border-radius:2px;

        .inputBox input:valid,
        .inputBox input:focus
            border:1px solid #00dfc4;


    </style>

</head>
<body>
    <div class="content">
        <div class="lucency">
            <!-- 进入透明盒子lucency -->
            <p class="text">Happy  Brithday's  Day</p>
        </div>
    </div>
    <!-- 尝试不嵌套位置书写 -->
    <div class="inputBox">
        <input type="text" required="required">
        <span>Your Name</span>
    </div>
    <div class="inputBox">
        <input type="text" required="required">
        <span>Your Wife's Name</span>
    </div>
</body>
</html>
实现登录功能
翻阅多篇文章和视频,终于有点思路。。。
【html页面实现登录验证码功能(纯前端)】https://blog.csdn.net/qq_49137582/article/details/125253568
1.对代码进行理解+配合下面章节中其他-input的内容理解
<!-- 1.我们不需要 注册 这一功能,所以此代码需求上很大相似 -->
<!-- 2.主要关注的是: -->
<!-- * 判断输入框内输入是否符合的逻辑 -->
<!DOCTYPE HTML>
<html>
	<head>
		<title>注册模块</title>
		<meta charset="utf-8">
		<style>
			#vcode
				height: 35px;
				width: 40%;
				font-size: 15pt;
				margin-left: 15%;
				border-radius: 5px;
				border: 1;
				padding-left: 8px;

			#code
				color: #ffffff;
				/*字体颜色白色*/
				background-color: #000000;
				font-size: 20pt;
				font-family: "华康娃娃体W5";
				padding: 5px 35px 10px 35px;
				margin-left: 5%;
				cursor: pointer;

			#search_pass_link
				width: 70%;
				text-align: right;
				margin: 0 auto;
				padding: 5px;

			.btns
				width: 30%;
				margin-left: 13%;
				height: 40px;
				border: 0;
				font-size: 14pt;
				font-family:"微软雅黑";
				background-color: #FC5628;
				color: #ffffff;
				cursor: pointer;
				/*设置指针鼠标的样式*/
				border-radius: 20px;
				/*设置圆角样式*/
				border: 0;

		</style>
	</head>

	<body left-margin以上是关于web前端开发前端生日礼物--注册页面篇的主要内容,如果未能解决你的问题,请参考以下文章
