Vue-cli webpack 设置Axios发起请求统一前缀的路径(设置统一请求地址)(发起GET请求,发起POST请求,发起PUT请求,发起DELETE请求)
Posted 蓝盒子itbluebox
tags:
篇首语:本文由小常识网(cha138.com)小编为大家整理,主要介绍了Vue-cli webpack 设置Axios发起请求统一前缀的路径(设置统一请求地址)(发起GET请求,发起POST请求,发起PUT请求,发起DELETE请求)相关的知识,希望对你有一定的参考价值。
1、安装Axios
先安装!
npm install axios
然后!
npm install --save axios vue-axios
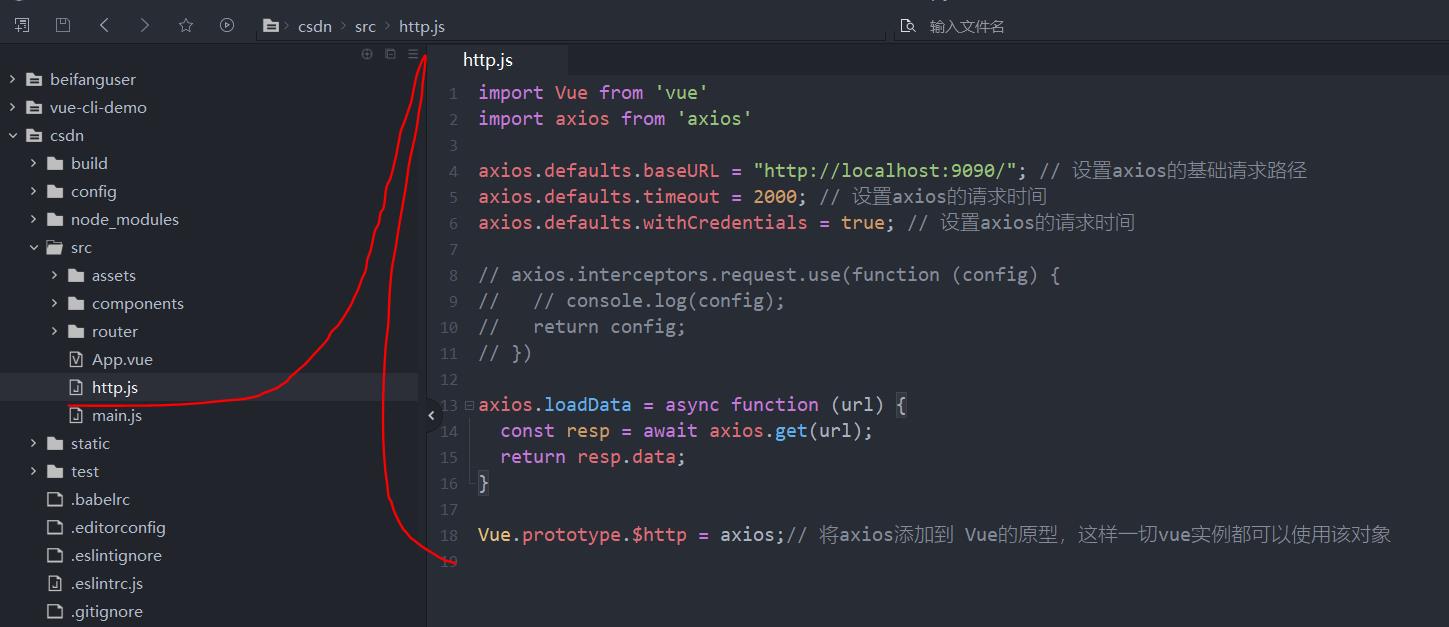
2、创建在src下载创建http.js

axios.defaults.baseURL为统一请求地址的前缀
import Vue from 'vue'
import axios from 'axios'

axios.defaults.baseURL = "http://localhost:9090/"; // 设置axios的基础请求路径
axios.defaults.timeout = 2000; // 设置axios的请求时间
axios.defaults.withCredentials = true; // 设置axios的请求时间

// axios.interceptors.request.use(function (config)
//   // console.log(config);
//   return config;
// )

axios.loadData = async function (url)
  const resp = await axios.get(url);
  return resp.data;


Vue.prototype.$http = axios;// 将axios添加到 Vue的原型,这样一切vue实例都可以使用该对象
3、在main.js当中引用

import './http';
4、发起GET请求
            this.$http.get('blog/queryBlogByPage?title=' + this.title + '&page=' + this.page + '&rows=' + this.rows)
                .then(response => (

            )).catch(function (error)  // 请求失败处理
               console.log(error);
            );
5、发起POST请求
             //定义一个请求参数的对象,通过结构表达式来获取brand当中的属性
             const   ...params   = this.data;//data为表单数据
             this.$http(
                method: 'post',
                url: '/item/car/save',
                data: params
              ).then(() =>
                // 关闭窗口
                this.$emit("close");
                this.$message.success("保存成功!");
              ).catch(() =>
                  this.$message.error("保存失败!");
              );
6、发起PUT请求
             const   ...params   = this.data;//data为表单数据
             this.$http(
                method: 'put'
                url:  '/item/car/save',
                data: params
              ).then(() =>

              ).catch(() =>

              );
7、发起DELETE请求
       this.$http.delete('blog/queryBlogByPage?title=' + this.title + '&page=' + this.page + '&rows=' + this.rows)
          .then(response => (

          )).catch(function (error)  // 请求失败处理
          console.log(error);
        );
以上是关于Vue-cli webpack 设置Axios发起请求统一前缀的路径(设置统一请求地址)(发起GET请求,发起POST请求,发起PUT请求,发起DELETE请求)的主要内容,如果未能解决你的问题,请参考以下文章