自己动手编写stylelint规则
Posted Jtag特工
tags:
篇首语:本文由小常识网(cha138.com)小编为大家整理,主要介绍了自己动手编写stylelint规则相关的知识,希望对你有一定的参考价值。
自己动手编写stylelint规则
之前我们介绍了如何编写eslint规则,现在我们开始挑战更偏前端的新领域 - stylelint.
从运行测试用例入手
按照惯例,我们还是从测试用例入手。测试用例是将css代码和规则快速运行起来的最有效手段。
首先我们把stylelint的代码拉下来:
git clone https://github.com/stylelint/stylelint
好,我们下面找个例子看看stylelint的测试用例是什么样的。我们以对于颜色的检查的规则为例,这个规则是检查颜色的16进制值是不是正确的,比如#000,#000000都是正确的,#0000就是错误的,这个大家都清楚哈:
const  messages, ruleName  = require('..');

testRule(
	ruleName,
	config: [true],

	accept: [

			code: 'a  color: pink; ',
		,

			code: 'a  color: #000; ',
		,

			code: 'a  something: #000, #fff, #ababab; ',
		,
...
	],

	reject: [

			code: 'a  color: #ababa; ',
			message: messages.rejected('#ababa'),
			line: 1,
			column: 12,
		,

			code: 'a  something: #00, #fff, #ababab; ',
			message: messages.rejected('#00'),
			line: 1,
			column: 16,
		,

			code: 'a  something: #000, #fff1az, #ababab; ',
			message: messages.rejected('#fff1az'),
			line: 1,
			column: 22,
		,

			code: 'a  something:#000,#fff,#12345aa; ',
			message: messages.rejected('#12345aa'),
			line: 1,
			column: 25,
		,
	],
);
accept数组是可以通过的case,reject是失败的用例,还要给出理由和错误位置。
stylelint的测试用例是用jest测试框架写的,运行使用jest:
./node_modules/jest/bin/jest.js lib/rules/color-no-invalid-hex/__tests__/index.js
运行结果如下:
 PASS  lib/rules/color-no-invalid-hex/__tests__/index.js
  color-no-invalid-hex
    accept
      [ true ]
        'a  color: pink; '
          ✓ no description (26 ms)
        'a  color: #000; '
          ✓ no description (1 ms)
        'a  something: #000, #fff, #ababab; '
          ✓ no description (1 ms)
        'a  color: #0000ffcc; '
          ✓ eight digits (2 ms)
        'a  color:#00fc; '
          ✓ four digits (2 ms)
        'a  padding: 000; '
          ✓ no description (1 ms)
        'a::before  content: "#ababa"; '
          ✓ no description (1 ms)
        "a  background-image: svg-load('x.svg', fill=url(#a)); "
          ✓ svg-load url with fill (2 ms)
        'a  background-image: url(#a); '
          ✓ url standalone hash (2 ms)
        'a  background-image: url(x.svg#a); '
          ✓ url with hash (1 ms)
        '@font-face \\n' +
  'font-family: dashicons;\\n' +
  'src: url(data:application/font-woff;charset=utf-8;base64, ABCDEF==) format("woff"),\\n' +
  'url(../fonts/dashicons.ttf) format("truetype"),\\n' +
  'url(../fonts/dashicons.svg#dashicons) format("svg");\\n' +
  'font-weight: normal;\\n' +
  'font-style: normal;\\n' +
  ''
          ✓ no description (3 ms)
        'a  color: #colors[somecolor]; '
          ✓ Less map usage (11 ms)
        'a  border-#$side: 0; '
          ✓ ignore sass-like interpolation (7 ms)
        'a  box-sizing: #$type-box; '
          ✓ ignore sass-like interpolation (1 ms)
        'export default <h1 style= color: "#ffff" >Test</h1>;'
          ○ skipped no description
    reject
      [ true ]
        'a  color: #ababa; '
          ✓ no description (2 ms)
        'a  something: #00, #fff, #ababab; '
          ✓ no description (2 ms)
        'a  something: #000, #fff1az, #ababab; '
          ✓ no description (2 ms)
        'a  something:#000,#fff,#12345aa; '
          ✓ no description (1 ms)
        'export default <h1 style= color: "#fffff" >Test</h1>;'
          ○ skipped no description

Test Suites: 1 passed, 1 total
Tests:       2 skipped, 18 passed, 20 total
Snapshots:   0 total
Time:        0.635 s, estimated 1 s
Ran all test suites matching /lib\\/rules\\/color-no-invalid-hex\\/__tests__\\/index.js/i.
规则的内容我稍删节一点细节,大致是下面这样:
...
const valueParser = require('postcss-value-parser');

const ruleName = 'color-no-invalid-hex';

const messages = ruleMessages(ruleName,
	rejected: (hex) => `Unexpected invalid hex color "$hex"`,
);

...
const rule = (primary) =>
	return (root, result) =>
...
		root.walkDecls((decl) =>
			if (!isStandardSyntaxHexColor(decl.value))
				return;


			valueParser(decl.value).walk(( value, type, sourceIndex ) =>
				if (type === 'function' && value.endsWith('url')) return false;

				if (type !== 'word') return;

				const hexMatch = /^#[0-9A-Za-z]+/.exec(value);

				if (!hexMatch) return;

				const hexValue = hexMatch[0];

				if (isValidHex(hexValue)) return;

				report(
					message: messages.rejected(hexValue),
					node: decl,
					index: declarationValueIndex(decl) + sourceIndex,
					result,
					ruleName,
				);
			);
		);
	;
;

...
如何遍历声明
css基本上都是一些声明,我们都过root.walkDecls去遍历它们。
比如对于
a color: pink;
来说,decl.value的值就是pink.
对于有多个值的,例如:
a something: #000, #fff, #ababab;
Decl.value值就是"#000, #fff, #ababab"
这时候的value就需要进一步拆分,就是valueParser(decl.value).walk的作用。
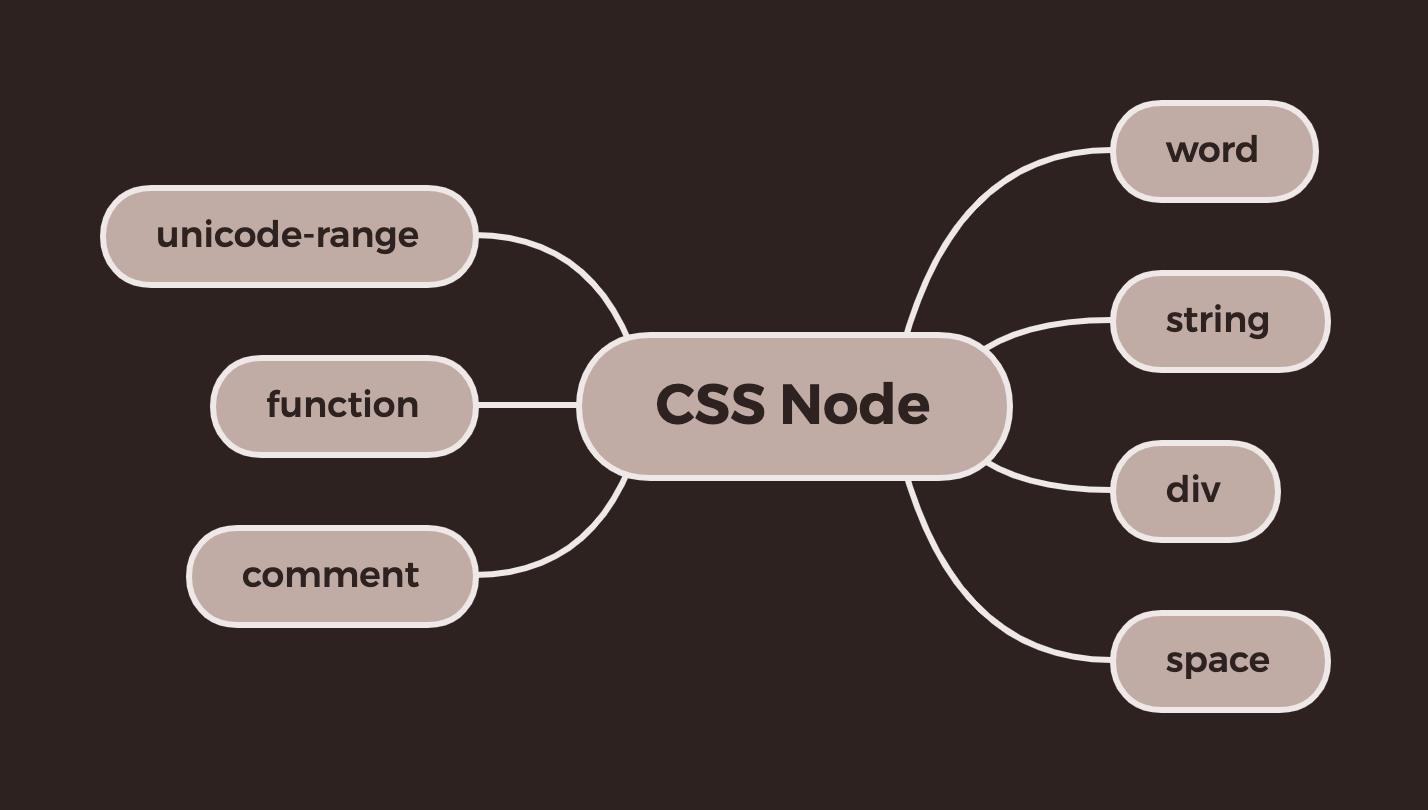
valueParser.walk的参数是值、类型、源代码索引的列表。
比如"pink"的类型是word, "#000"也是word, ","是div, "svg-load"是function, "x.svg"是string等。
类型一共有7种: word, string, div, space, comment, function和unicode-range.
报错信息仍然和eslint一样,是通过report接口来实现的。
再看一个完整例子
我们再看一个简单例子,禁止使用"!important"属性。
const report = require('../../utils/report');
const ruleMessages = require('../../utils/ruleMessages');
const validateOptions = require('../../utils/validateOptions');

const ruleName = 'declaration-no-important';

const messages = ruleMessages(ruleName,
	rejected: 'Unexpected !important',
);

const rule = (primary) =>
	return (root, result) =>
		const validOptions = validateOptions(result, ruleName,  actual: primary );

		if (!validOptions)
			return;


		root.walkDecls((decl) =>
			if (!decl.important)
				return;


			report(
				message: messages.rejected,
				node: decl,
				word: 'important',
				result,
				ruleName,
			);
		);
	;
;

rule.ruleName = ruleName;
rule.messages = messages;
module.exports = rule;
因为important是decl的属性,解析器已经替我们搞好了,我们只要判断这一个属性即可。
Postcss-value-parser解析器
上面我们使用的valueParser是postcss-value-parser解析器。
我们来看看如何单独使用postcss-value-parser去解析css代码,其实非常简单,只要一个valueParser就可以了:
const valueParser = require('postcss-value-parser');

const hellocss1 = `
#hellocss
    background-color: blue;

`

const parsedCss = valueParser(hellocss1);
console.log(parsedCss);
解析出来的结果如下:
ValueParser
  nodes: [
     type: 'space', sourceIndex: 0, sourceEndIndex: 1, value: '\\n' ,

      type: 'word',
      sourceIndex: 1,
      sourceEndIndex: 10,
      value: '#hellocss'
    ,
     type: 'space', sourceIndex: 10, sourceEndIndex: 11, value: ' ' ,
     type: 'word', sourceIndex: 11, sourceEndIndex: 12, value: '' ,

      type: 'space',
      sourceIndex: 12,
      sourceEndIndex: 17,
      value: '\\n    '
    ,

      type: 'word',
      sourceIndex: 17,
      sourceEndIndex: 33,
      value: 'background-color'
    ,

      type: 'div',
      sourceIndex: 33,
      sourceEndIndex: 35,
      value: ':',
      before: '',
      after: ' '
    ,

      type: 'word',
      sourceIndex: 35,
      sourceEndIndex: 40,
      value: 'blue;'
    ,
     type: 'space', sourceIndex: 40, sourceEndIndex: 41, value: '\\n' ,
     type: 'word', sourceIndex: 41, sourceEndIndex: 42, value: '' ,
     type: 'space', sourceIndex: 42, sourceEndIndex: 43, value: '\\n'
  ]
要去进一步处理ValueParser解析出来的数据,可以通过walk函数来进一步处理:
const valueParser = require('postcss-value-parser');

const hellocss1 = `
#hellocss
    width: 20px;

`

const parsedCss = valueParser(hellocss1);

parsedCss.walk((node) =>
    console.log(node.type, node.value, node.sourceIndex);
);
输出的结果如下:
space
 0
word #hellocss 1
space   10
word  11
space
     12
word width 17
div : 22
word 20px; 24
space
 29
word  30
space
 31
解析单位
css中比起javascript来,有一个特有的问题,就是很多属性是带单位的,比如px, rpx, em, rem等。将值解析成数字和单位是非常通用的需求。valueParser为我们提供了unit函数来实现这个功能:
const s1 = '20px';
const value1 = valueParser.unit(s1);
console.log(value1);
选择器宇宙
这部分看起来有点复杂,因为涉及到的层次比较多。请大家稍耐心一点点,要不然解析的时候就找不到对象了。
单项选择器
普通属性处理完之后,我们需要专门设一节来说选择器,postcss有一个专门的库postcss-selector-parser来处理选择器。
选择器的特点就是属性多,有各种复杂组合。
我们从最基础的看起。
const parser = require('postcss-selector-parser');
const transform = selectors =>
    selectors.walk(selector =>
        console.log(selector.type)
    );
;

parser(transform).processSync('p');
输出为:
selector
tag
说明p是tag selector。
我们可以打印完整的selector对象的结构来看下:
const parser = require('postcss-selector-parser');
const transform = selectors =>
    selectors.walk(selector =>
        console.log(selector)
    );
;

parser(transform).processSync('p');
输出如下:
<ref *1> Selector
  source:  start:  line: 1, column: 1 , end:  line: 1, column: 1  ,
  spaces:  before: '', after: '' ,
  nodes: [
    Tag
      value: 'p',
      source: [Object],
      sourceIndex: 0,
      spaces: [Object],
      type: 'tag',
      parent: [Circular *1]

  ],
  type: 'selector',
  parent: Root
    source:  start: [Object], end: [Object] ,
    spaces:  before: '', after: '' ,
    nodes: [ [Circular *1] ],
    type: 'root',
    _error: [Function (anonymous)],
    lastEach: 1,
    indexes:  '1': 0


<ref *1> Tag
  value: 'p',
  source:  start:  line: 1, column: 1 , end:  line: 1, column: 1  ,
  sourceIndex: 0,
  spaces:  before: '', after: '' ,
  type: 'tag',
  parent: Selector
    source:  start: [Object], end: [Object] ,
    spaces:  before: '', after: '' ,
    nodes: [ [Circular *1] ],
    type: 'selector',
    parent: Root
      source: [Object],
      spaces: [Object],
      nodes: [Array],
      type: 'root',
      _error: [Function (anonymous)],
      lastEach: 1,
      indexes: [Object]
    ,
    lastEach: 1,
    indexes:  '1': 0
我们再看下类选择器、ID选择器和*:
parser(transform).processSync('.class1');
parser(transform).processSync('#id1');
parser(transform).processSync('*');
类选择器的类型是ClassName:
...
<ref *1> ClassName
  _value: 'class1',
  source:  start:  line: 1, column: 1 , end:  line: 1, column: 7  ,
  sourceIndex: 0,
  spaces:  before: '', after: '' ,
  type: 'class',
  _constructed: true,
  parent: Selector
    source:  start: [Object], end: [Object] ,
    spaces:  before: '', after: '' ,
    nodes: [ [Circular *1] ],
    type: 'selector',
    parent: Root
...
    ,
    lastEach: 1,
    indexes:  '1': 0
ID选择器的类型是ID:
...
<ref *1> ID
  value: 'id1',
  source:  start:  line: 1, column: 1 , end:  line: 1, column: 4  ,
  sourceIndex: 0,
  spaces:  before: '', after: '' ,
  type: 'id',
  parent: Selector
    source:  start: [Object], end: [Object] ,
    spaces:  before: '', after: '' ,
    nodes: [ [Circular *1] ],
    type: 'selector',
    parent: Root
...
    ,
    lastEach: 1,
    indexes:  '1': 0
*选择器的类型是Universal:
...
<ref *1> Universal
  value: '*',
  source:  start:  line: 1, column: 1 , end:  line: 1, column: 1  ,
  sourceIndex: 0,
  spaces:  before: '', after: '' ,
  type: 'universal',
  parent: Selector
    source:  start: [Object], end: [Object] ,
    spaces:  before: '', after: '' ,
    nodes: [ [Circular *1] ],
    type: 'selector',
    parent: Root
...
    ,以上是关于自己动手编写stylelint规则的主要内容,如果未能解决你的问题,请参考以下文章