Android WIFI 模块解析
Posted bug樱樱
tags:
篇首语:本文由小常识网(cha138.com)小编为大家整理,主要介绍了Android WIFI 模块解析相关的知识,希望对你有一定的参考价值。
android WIFI 模块解析(2)
书接上文,这一章接着分析wifi模块的Hal层的调用逻辑.
public String setupInterfaceForClientMode(boolean lowPrioritySta,
        @NonNull InterfaceCallback interfaceCallback)
    synchronized (mLock)
        //启动hal层.
        if (!startHal())
            Log.e(TAG, "Failed to start Hal");
            mWifiMetrics.incrementNumSetupClientInterfaceFailureDueToHal();
            return null;

        //启动wpa_supplicant
        if (!startSupplicant())
            Log.e(TAG, "Failed to start supplicant");
            mWifiMetrics.incrementNumSetupClientInterfaceFailureDueToSupplicant();
            return null;

        Iface iface = mIfaceMgr.allocateIface(Iface.IFACE_TYPE_STA);
        if (iface == null)
            Log.e(TAG, "Failed to allocate new STA iface");
            return null;

        iface.externalListener = interfaceCallback;
        iface.name = createStaIface(iface, lowPrioritySta);
        if (TextUtils.isEmpty(iface.name))
            Log.e(TAG, "Failed to create STA iface in vendor HAL");
            mIfaceMgr.removeIface(iface.id);
            mWifiMetrics.incrementNumSetupClientInterfaceFailureDueToHal();
            return null;

        if (mWificondControl.setupInterfaceForClientMode(iface.name) == null)
            Log.e(TAG, "Failed to setup iface in wificond on " + iface);
            teardownInterface(iface.name);
            mWifiMetrics.incrementNumSetupClientInterfaceFailureDueToWificond();
            return null;

        if (!mSupplicantStaIfaceHal.setupIface(iface.name))
            Log.e(TAG, "Failed to setup iface in supplicant on " + iface);
            teardownInterface(iface.name);
            mWifiMetrics.incrementNumSetupClientInterfaceFailureDueToSupplicant();
            return null;

        iface.networkObserver = new NetworkObserverInternal(iface.id);
        if (!registerNetworkObserver(iface.networkObserver))
            Log.e(TAG, "Failed to register network observer on " + iface);
            teardownInterface(iface.name);
            return null;

        mWifiMonitor.startMonitoring(iface.name);
        // Just to avoid any race conditions with interface state change callbacks,
        // update the interface state before we exit.
        onInterfaceStateChanged(iface, isInterfaceUp(iface.name));
        initializeNwParamsForClientInterface(iface.name);
        Log.i(TAG, "Successfully setup " + iface);
        return iface.name;
这是上一章中贴出的最后一个函数,本章我们重点分析startHal()函数和startSupplicant()函数.
startHal
调用过程
我们先追逐一下其代码过程
startHal
/** Helper method invoked to start supplicant if there were no ifaces */
private boolean startHal()
    synchronized (mLock)
        if (!mIfaceMgr.hasAnyIface())
            //判断其是否当前的设备供应商Hal层是否可用
            if (mWifiVendorHal.isVendorHalSupported())
                //启动设备Hal
                if (!mWifiVendorHal.startVendorHal())
                    Log.e(TAG, "Failed to start vendor HAL");
                    return false;

             else
                Log.i(TAG, "Vendor Hal not supported, ignoring start.");


        return true;
WifiVendorHal
这个类注释是厂商hal层对HIDL的支持,HIDL的发音hide-l.后文专门解释一下这个东西
/**
 * Vendor HAL via HIDL
 */
public class WifiVendorHal

    ...
    /**
     * Bring up the HIDL Vendor HAL.
     * @return true on success, false otherwise.
     */
    public boolean startVendorHal()
        synchronized (sLock)
            // 在这里启动
            if (!mHalDeviceManager.start())
                mLog.err("Failed to start vendor HAL").flush();
                return false;

            mLog.info("Vendor Hal started successfully").flush();
            return true;


    ...
HalDeviceManager
/**
 * Handles device management through the HAL (HIDL) interface.
 */
public class HalDeviceManager

    /**
     * Attempts to start Wi-Fi (using HIDL). Returns the success (true) or failure (false) or
     * the start operation. Will also dispatch any registered ManagerStatusCallback.onStart() on
     * success.
     *
     * Note: direct call to HIDL.
     */
    public boolean start()
        return startWifi();


    private boolean startWifi()
        if (VDBG) Log.d(TAG, "startWifi");

        synchronized (mLock)
            try
                if (mWifi == null)
                    Log.w(TAG, "startWifi called but mWifi is null!?");
                    return false;
                 else
                    int triedCount = 0;
                    while (triedCount <= START_HAL_RETRY_TIMES)
                        //在这里
                        WifiStatus status = mWifi.start();
                        if (status.code == WifiStatusCode.SUCCESS)
                            initIWifiChipDebugListeners();
                            managerStatusListenerDispatch();
                            if (triedCount != 0)
                                Log.d(TAG, "start IWifi succeeded after trying "
                                         + triedCount + " times");

                            return true;
                         else if (status.code == WifiStatusCode.ERROR_NOT_AVAILABLE)
                            // Should retry. Hal might still be stopping.
                            Log.e(TAG, "Cannot start IWifi: " + statusString(status)
                                    + ", Retrying...");
                            try
                                Thread.sleep(START_HAL_RETRY_INTERVAL_MS);
                             catch (InterruptedException ignore)
                                // no-op

                            triedCount++;
                         else
                            // Should not retry on other failures.
                            Log.e(TAG, "Cannot start IWifi: " + statusString(status));
                            return false;


                    Log.e(TAG, "Cannot start IWifi after trying " + triedCount + " times");
                    return false;

             catch (RemoteException e)
                Log.e(TAG, "startWifi exception: " + e);
                return false;
在这里我们看到mWifi这个对象去调用了start()函数通过hal层去启动与内核通信.那么mWifi这个对象在何时创建.
import android.hardware.wifi.V1_0.IWifi;

/**
 * Wrapper function to access the HIDL services. Created to be mockable in unit-tests.
 */
protected IWifi getWifiServiceMockable()
    try
        return IWifi.getService();
     catch (RemoteException e)
        Log.e(TAG, "Exception getting IWifi service: " + e);
        return null;
我们看下IWifi到底是何物
IWifi
 package android.hardware.wifi@1.0;

import IWifiChip;
import IWifiEventCallback;

/**
 * This is the root of the HAL module and is the interface returned when
 * loading an implementation of the Wi-Fi HAL. There must be at most one
 * module loaded in the system.
 */
interface IWifi
  /**
   * Requests notifications of significant events for the HAL. Multiple calls to
   * this must register multiple callbacks each of which must receive all
   * events. |IWifiEventCallback| object registration must be independent of the
   * state of the rest of the HAL and must persist though stops/starts. These
   * objects must be deleted when the corresponding client process is dead.
   *
   * @param callback An instance of the |IWifiEventCallback| HIDL interface
   *        object.
   * @return status WifiStatus of the operation.
   *         Possible status codes:
   *         |WifiStatusCode.SUCCESS|,
   *         |WifiStatusCode.UNKNOWN|
   */
  @entry
  @callflow(next="*")
  registerEventCallback(IWifiEventCallback callback)
      generates (WifiStatus status);

  /**
   * Get the current state of the HAL.
   *
   * @return started true if started, false otherwise.
   */
  isStarted() generates (bool started);

  /**
   * Perform any setup that is required to make use of the module. If the module
   * is already started then this must be a noop.
   * Must trigger |IWifiEventCallback.onStart| on success.
   *
   * @return status WifiStatus of the operation.
   *         Possible status codes:
   *         |WifiStatusCode.SUCCESS|,
   *         |WifiStatusCode.NOT_AVAILABLE|,
   *         |WifiStatusCode.UNKNOWN|
   */
  @entry
  @callflow(next="registerEventCallback", "start", "stop", "getChip")
  start() generates (WifiStatus status);

  /**
   * Tear down any state, ongoing commands, etc. If the module is already
   * stopped then this must be a noop. If the HAL is already stopped or it
   * succeeds then onStop must be called. After calling this all IWifiChip
   * objects will be considered invalid.
   * Must trigger |IWifiEventCallback.onStop| on success.
   * Must trigger |IWifiEventCallback.onFailure| on failure.
   *
   * Calling stop then start is a valid way of resetting state in the HAL,
   * driver, firmware.
   *
   * @return status WifiStatus of the operation.
   *         Possible status codes:
   *         |WifiStatusCode.SUCCESS|,
   *         |WifiStatusCode.NOT_STARTED|,
   *         |WifiStatusCode.UNKNOWN|
   */
  @exit
  @callflow(next="registerEventCallback", "start", "stop")
  stop() generates (WifiStatus status);

  ...
;
WIFI HAL 总结
IWifi.hal文件位于hardware/interfaces/wifi/1.0/,这个取决于厂商使用的版本.前文在HalDeviceManager使用IWifi.getService();这样的方式来获取服务,那么我们就会很疑惑,服务注册在何处,代码在何方.
问题的关键呢就在这个hal文件中,它通过BP文件会生成Java和C++的模板代码,在bp文件中有不同的配置项配置它的生成代码.也可以自己通过命令去生成代码.
hidl-gen工具路径在代码路径下out/host/linux-x86/bin/路径下.可以通过hidl-gen -help命令查看对于参数.但是这个东西在android 10有被google抛弃,改用了AIDL方式.所以对这块就没有更深入的探究下去.
简单的贴一下编译后的C++的注册代码
int main(int /*argc*/, char** argv)
    android::base::InitLogging(
        argv, android::base::LogdLogger(android::base::SYSTEM));
    LOG(INFO) << "Wifi Hal is booting up...";

    configureRpcThreadpool(1, true /* callerWillJoin */);

    // Setup hwbinder service  这个是1_2版本的注册代码,不是上文中的1_0的版本,但是注册的地吗几乎是一致的,作为参考查看
    android::sp<android::hardware::wifi::V1_2::IWifi> service =
        new android::hardware::wifi::V1_2::implementation::Wifi(
            std::make_shared<WifiLegacyHal>(),
            std::make_shared<WifiModeController>(),
            std::make_shared<WifiFeatureFlags>());
    CHECK_EQ(service->registerAsService(), android::NO_ERROR)
        << "Failed to register wifi HAL";

    joinRpcThreadpool();

    LOG(INFO) << "Wifi Hal is terminating...";
    return 0;
在这一块的参考资料确实有点少,理解也不够深入,举个例子
/**
 * Perform any setup that is required to make use of the module. If the module
 * is already started then this must be a noop.
 * Must trigger |IWifiEventCallback.onStart| on success.
 *
 * @return status WifiStatus of the operation.
 *         Possible status codes:
 *         |WifiStatusCode.SUCCESS|,
 *         |WifiStatusCode.NOT_AVAILABLE|,
 *         |WifiStatusCode.UNKNOWN|
 */
android.hardware.wifi.V1_0.WifiStatus start()
    throws android.os.RemoteException;
上面是tart()函数生成的JAvA代码,下文是生成的C++的代码,没有搞清楚在C++代码start函数中的 _hidl_cb参数从和而来,这个参数在后面的实际调用中也有用到.感兴趣的朋友,可以自己在深入的看下去,如果有答案了,有条件的话也告诉我一下.
/**
 * Perform any setup that is required to make use of the module. If the module
 * is already started then this must be a noop.
 * Must trigger |IWifiEventCallback.onStart| on success.
 *
 * @return status WifiStatus of the operation.
 *         Possible status codes:
 *         |WifiStatusCode.SUCCESS|,
 *         |WifiStatusCode.NOT_AVAILABLE|,
 *         |WifiStatusCode.UNKNOWN|
 */
virtual ::android::hardware::Return<void> start(start_cb _hidl_cb) = 0;
startSupplicant
在成功的通过HAL层代码启动wifi设备之后,代码就可以去调用了startSupplicant()函数,那么这个东西是干什么的,HAL层对外提供了start,stop,getChipIds,和注册回调函数等方案,其他并未提供,也就是说只有硬件相关的型号,和启动,暂停等关键函数,关于wifi的链接维护等函数并未提供,startSupplicant启动的就是wpa_sulicant.
wpa_sulicant
wpa_sulicant是一个开源项目,被google经过修改加入到Android系统当中.主要支持WPA,EAP,无线网卡和驱动.有兴趣致力于研究wifi相关的朋友可以研究一下这个东西,本文浅尝辄止.
调用过程
startSupplicant
/** Helper method invoked to start supplicant if there were no STA ifaces */
private boolean startSupplicant()
    synchronized (mLock)
        if (!mIfaceMgr.hasAnyStaIface())
            //这里
            if (!mWificondControl.enableSupplicant())
                Log.e(TAG, "Failed to enable supplicant");
                return false;

            if (!waitForSupplicantConnection())
                Log.e(TAG, "Failed to connect to supplicant");
                return false;

            if (!mSupplicantStaIfaceHal.registerDeathHandler(
                    new SupplicantDeathHandlerInternal()))
                Log.e(TAG, "Failed to register supplicant death handler");
                return false;


        return true;


/**
* Enable wpa_supplicant via wificond.
* @return Returns true on success.
*/
public boolean enableSupplicant()
    if (!retrieveWificondAndRegisterForDeath())
        return false;

    try
        //这里
        return mWificond.enableSupplicant();
     catch (RemoteException e)
        Log.e(TAG, "Failed to enable supplicant due to remote exception");

    return false;
可以看到最终启动wpa_supplicant使用一个wificond的一个对象.我们看下它是怎么获取的.
WifiInjector
private static final String WIFICOND_SERVICE_NAME = "wificond";

public IWificond makeWificond()
    // We depend on being able to refresh our binder in WifiStateMachine, so don't cache it.
    IBinder binder = ServiceManager.getService(WIFICOND_SERVICE_NAME);
    return IWificond.Stub.asInterface(binder);
也是通过binder的形式进行通信,那么wificond服务是何时注册到ServiceManager中的呢.接着往下看
wificond
include $(CLEAR_VARS)
LOCAL_MODULE := wificond
LOCAL_CPPFLAGS := $(wificond_cpp_flags)
LOCAL_INIT_RC := wificond.rc
LOCAL_C_INCLUDES := $(wificond_includes)
LOCAL_SRC_FILES := \\
    main.cpp
LOCAL_SHARED_LIBRARIES := \\
    android.hardware.wifi.offload@1.0 \\
    libbinder \\
    libbase \\
    libcutils \\
    libhidlbase \\
    libhidltransport \\
    libminijail \\
    libutils \\
    libwifi-system \\
    libwifi-system-iface
LOCAL_STATIC_LIBRARIES := \\
    libwificond
include $(BUILD_EXECUTABLE)
这个是system/connectivity/wificond/android.mk中的一段,大意就是编译一个Natvie C的可执行文件,module为wificond.
在对应的main.cpp我们找到了注册服务的代码
int main(int argc, char** argv)
  ...
  RegisterServiceOrCrash(server.get());

  event_dispatcher->Poll();
  LOG(INFO) << "wificond is about to exit";
  return 0;
void RegisterServiceOrCrash(const android::sp<android::IBinder>& service)
  android::sp<android::IServiceManager> sm = android::defaultServiceManager();
  CHECK_EQ(sm != NULL, true) << "Could not obtain IServiceManager";
   //这里addService到ServiceManager中
  CHECK_EQ(sm->addService(android::String16(kServiceName), service),
           android::NO_ERROR);
那么它是在什么时候执行这个main.cpp呢,跟同事讨论这个问题时,猜测
- 在开机流程中有一段代码是会执行所有服务的
main()函数.(未经确认,我还没有仔细的梳理过开机流程).
不过我在init.zygote文件找到这样一段脚本文件
 onrestart restart audioserver
    onrestart restart cameraserver
    onrestart restart media
    onrestart restart netd
    onrestart restart wificond
如果和推测一致呢就是在开机流程中已经执行了,在这里用restart确保其一定被启动.负责无法理解要用 restart去启动.好,解释了服务在何时注册,何时启动之后,我们接着往下看他是怎么启动wpa_supplicant.
Status Server::enableSupplicant(bool* success)
    //这里,接着寻找 supplicant_manager_
  *success =  supplicant_manager_->StartSupplicant();
  return Status::ok();
supplicant_manager
- 代码路径
frameworks/opt/net/wifi/libwifi_system/supplicant_manager.cpp
在这里呢就简单的分析一下它的启动代码
namespace

const char kSupplicantInitProperty[] = "init.svc.wpa_supplicant";
const char kSupplicantServiceName[] = "wpa_supplicant";

  // namespace

bool SupplicantManager::StartSupplicant()
  char supp_status[PROPERTY_VALUE_MAX] = '\\0';
  int count = 200; /* wait at most 20 seconds for completion */
  const prop_info* pi;
  unsigned serial = 0;

  /* Check whether already running */
  //获取property属性 赋值给 supp_status ,字符串对比判断其是否已经启动,如果启动就
  //return
  if (property_get(kSupplicantInitProperty, supp_status, NULL) &&
      strcmp(supp_status, "running") == 0)
    return true;


  /*
   * Get a reference to the status property, so we can distinguish
   * the case where it goes stopped => running => stopped (i.e.,
   * it start up, but fails right away) from the case in which
   * it starts in the stopped state and never manages to start
   * running at all.
   */
   //找到属性值索引
  pi = __system_property_find(kSupplicantInitProperty);
  if (pi != NULL)
    //拿到其序号
    serial = __system_property_serial(pi);


   //启动 服务
  property_set("ctl.start", kSupplicantServiceName);
  //让出自己的CPU控制权,将自己排到CPU序列队尾
  sched_yield();

  while (count-- > 0)
    if (pi == NULL)
      //空的话就重新获取获取一下索引
      pi = __system_property_find(kSupplicantInitProperty);

    if (pi != NULL)
      /*
       * property serial updated means that init process is scheduled
       * after we sched_yield, further property status checking is based on this
       */
       //用现在的序号和之前的序号做对比
      if (__system_property_serial(pi) != serial)
          //有改变就取出
        __system_property_read(pi, NULL, supp_status);
        //对比字符串,如果已经在运行就 return
        if (strcmp(supp_status, "running") == 0)
          return true;
         else if (strcmp(supp_status, "stopped") == 0)
          return false;


    usleep(100000);

  return false;
理解上面的代码主要需要了解关于android系统中property相关的知识.例如ctl.start是启动服务等等. 这个百度一下就有很多相关的文章,就不贴链接了.
总结
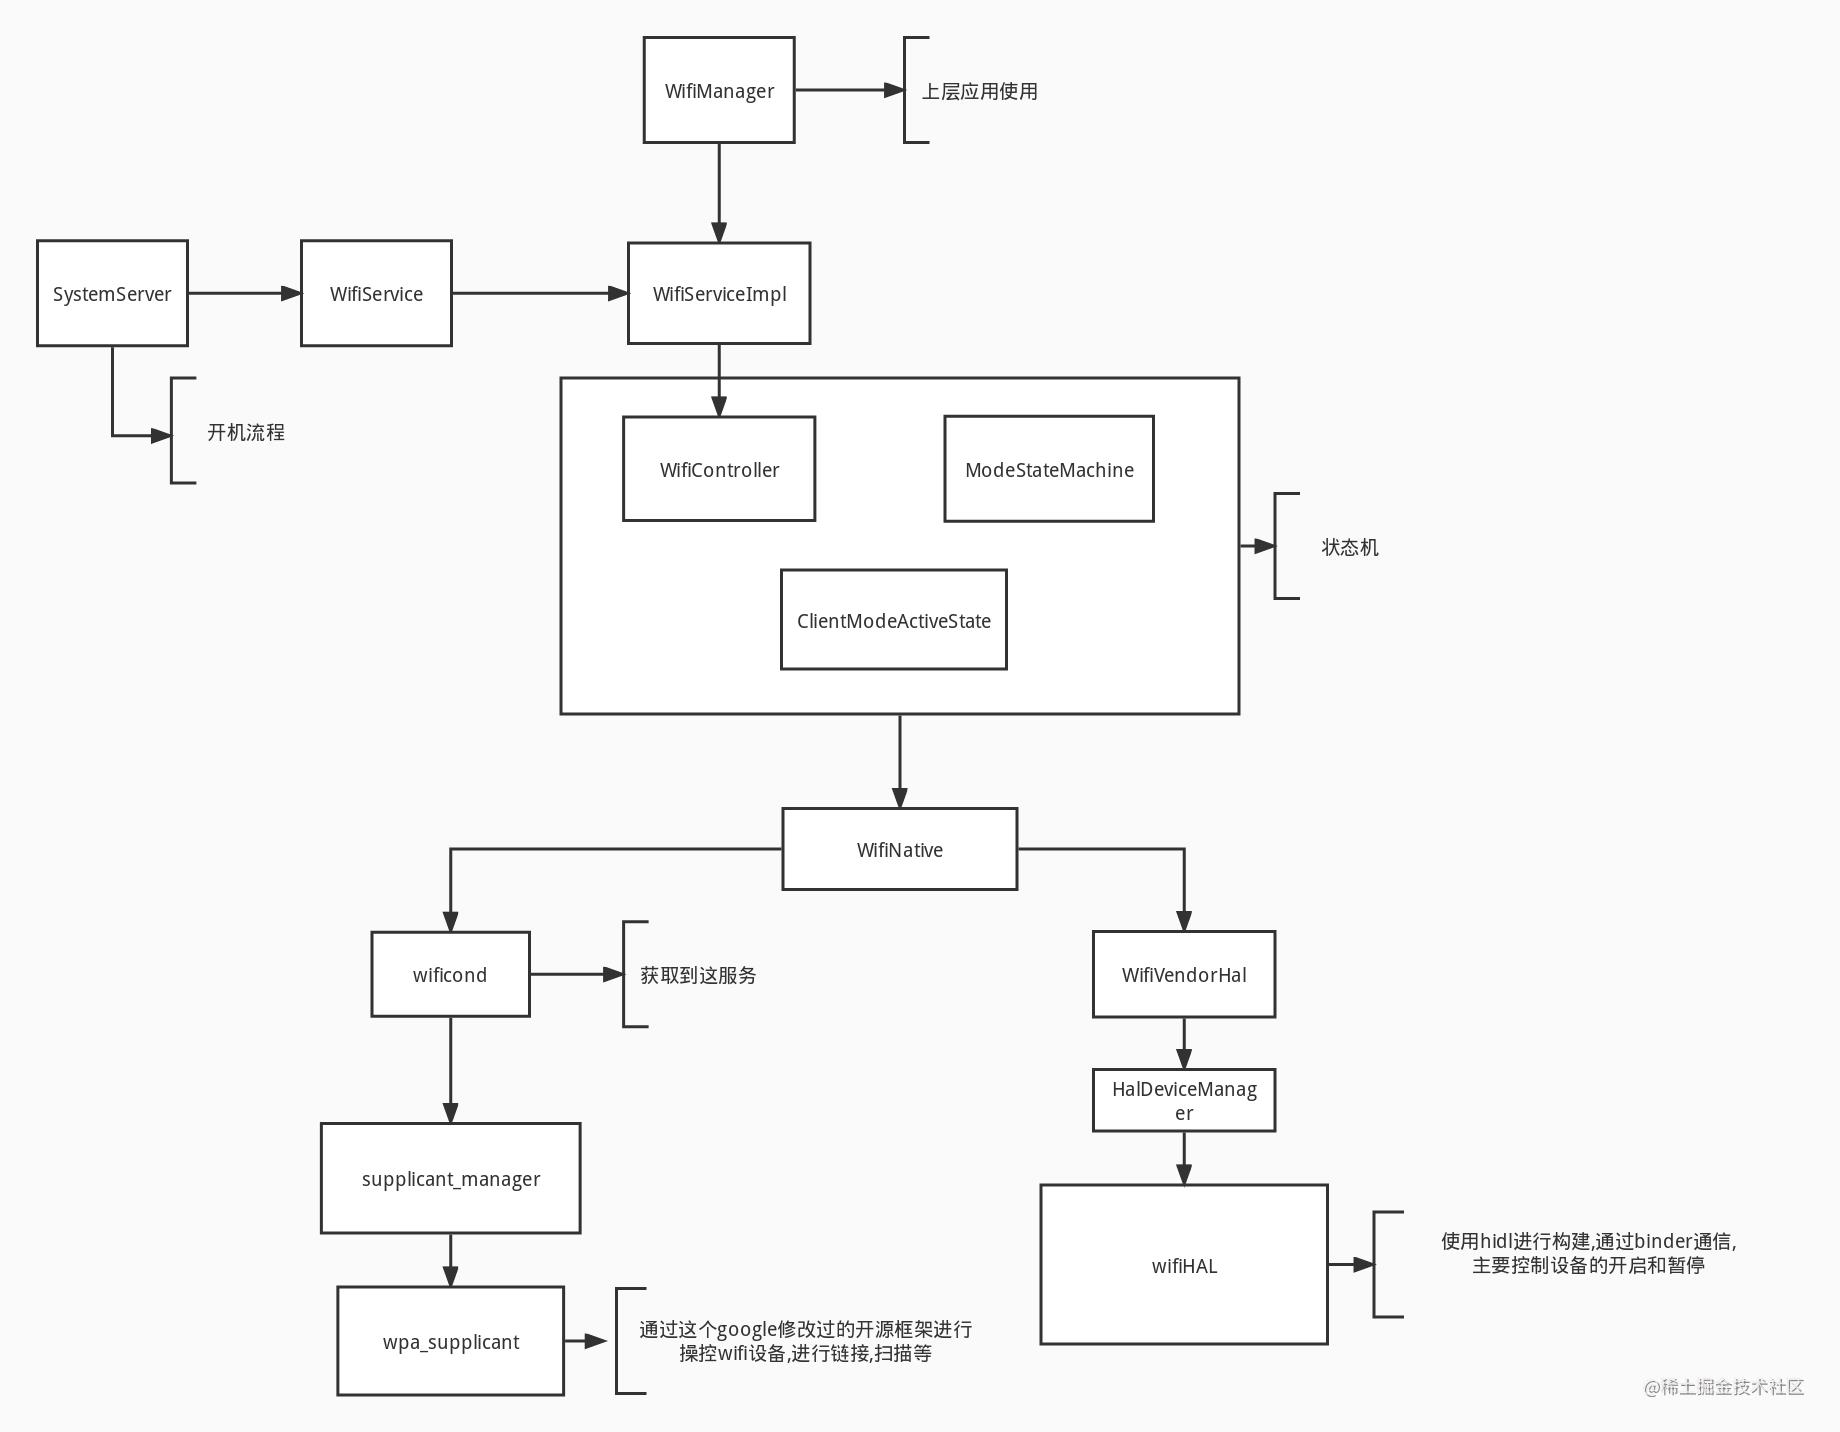
接下来就不去写关于wifi链接和扫描等相关内容了,其代码量之大,平常需要改动的需求也是非常少的,有兴趣了解的根据梳理的流程自行查看.接下来我们画一个图,来表示整个流程中我们重点关注的模块,和其主要功能.
闲聊一些
-
Java层主要优化方向可能放在开机流程,不过提前启动应该收效甚微。
-
状态机优化,这个从Google不同版本的源代码就可以看出,Google自己在新的版本中也在不断的优化关于状态机的模块。 理解上层的逻辑代码也必须了解状态机。
-
hal层主要控制了硬件设备的启动和暂停。
-
wpa_supplicant,关注这个模块应该是深入了解和优化,也是一个开源项目。(留待以后深入研究。)
-
后续的计划呢,可能重心要放在优化方向。关于binder的文章还要再推迟,不知道今年能不能完成了。
文末
要想成为架构师,那就不要局限在编码,业务,要会选型、扩展,提升编程思维。此外,良好的职业规划也很重要,学习的习惯很重要,但是最重要的还是要能持之以恒,任何不能坚持落实的计划都是空谈。
如果你没有方向,这里给大家分享一套由阿里高级架构师编写的《Android八大模块进阶笔记》,帮大家将杂乱、零散、碎片化的知识进行体系化的整理,让大家系统而高效地掌握Android开发的各个知识点。
相对于我们平时看的碎片化内容,这份笔记的知识点更系统化,更容易理解和记忆,是严格按照知识体系编排的。
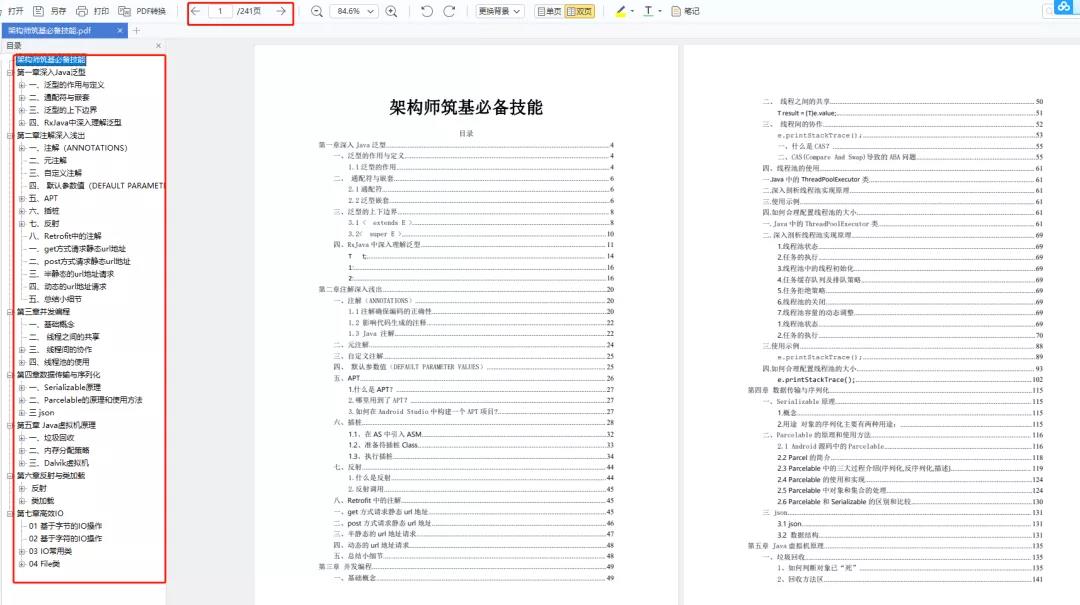
一、架构师筑基必备技能
1、深入理解Java泛型
2、注解深入浅出
3、并发编程
4、数据传输与序列化
5、Java虚拟机原理
6、高效IO
……
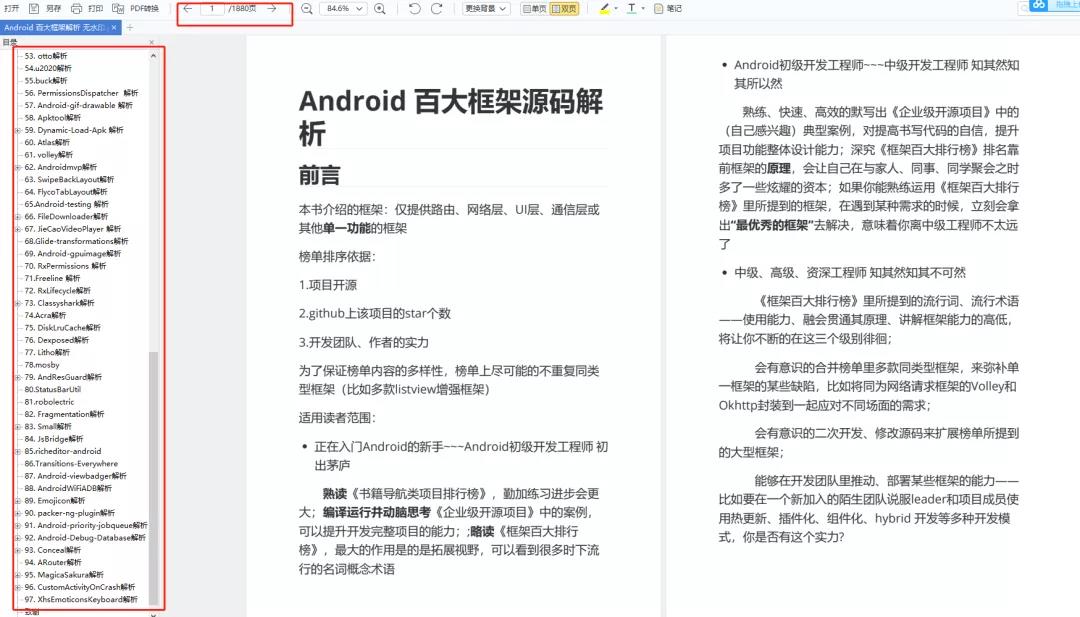
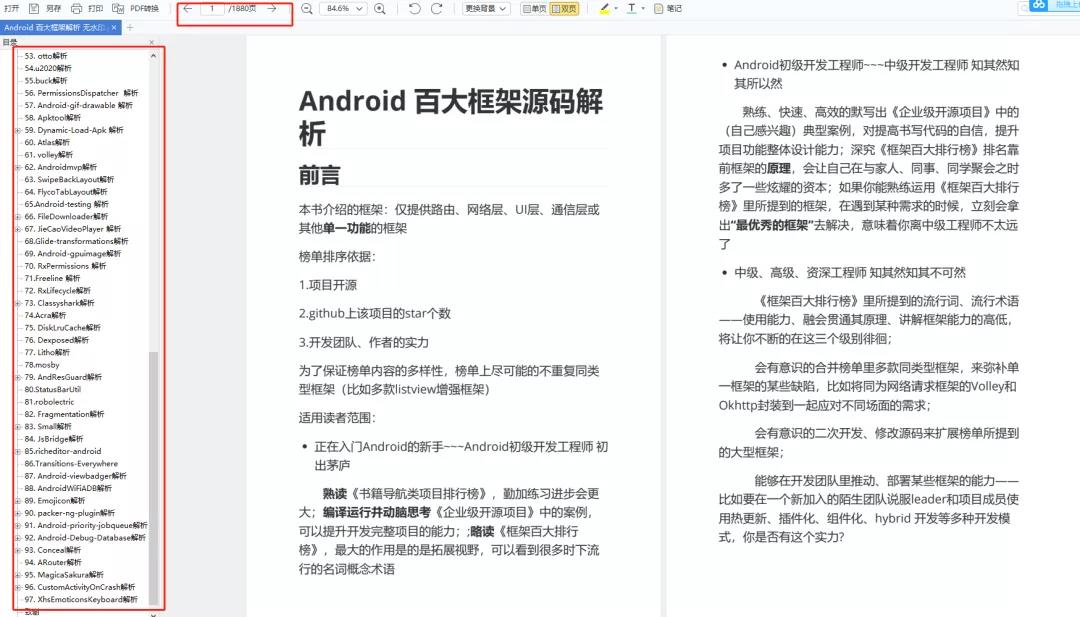
二、Android百大框架源码解析
1.Retrofit 2.0源码解析
2.Okhttp3源码解析
3.ButterKnife源码解析
4.MPAndroidChart 源码解析
5.Glide源码解析
6.Leakcanary 源码解析
7.Universal-lmage-Loader源码解析
8.EventBus 3.0源码解析
9.zxing源码分析
10.Picasso源码解析
11.LottieAndroid使用详解及源码解析
12.Fresco 源码分析——图片加载流程
三、Android性能优化实战解析
- 腾讯Bugly:对字符串匹配算法的一点理解
- 爱奇艺:安卓APP崩溃捕获方案——xCrash
- 字节跳动:深入理解Gradle框架之一:Plugin, Extension, buildSrc
- 百度APP技术:Android H5首屏优化实践
- 支付宝客户端架构解析:Android 客户端启动速度优化之「垃圾回收」
- 携程:从智行 Android 项目看组件化架构实践
- 网易新闻构建优化:如何让你的构建速度“势如闪电”?
- …
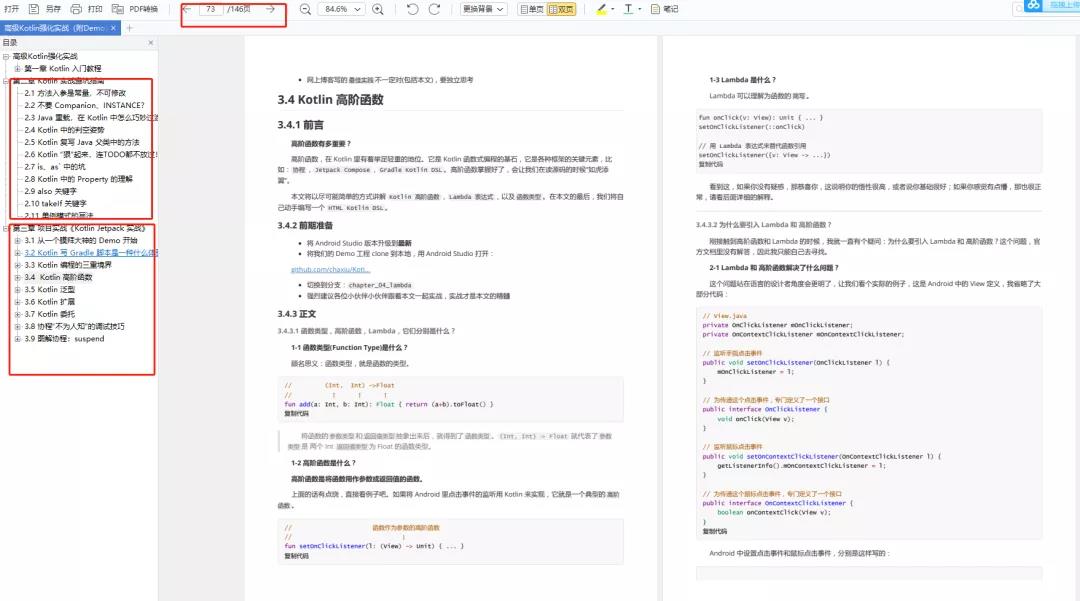
四、高级kotlin强化实战
1、Kotlin入门教程
2、Kotlin 实战避坑指南
3、项目实战《Kotlin Jetpack 实战》
-
从一个膜拜大神的 Demo 开始
-
Kotlin 写 Gradle 脚本是一种什么体验?
-
Kotlin 编程的三重境界
-
Kotlin 高阶函数
-
Kotlin 泛型
-
Kotlin 扩展
-
Kotlin 委托
-
协程“不为人知”的调试技巧
-
图解协程:suspend
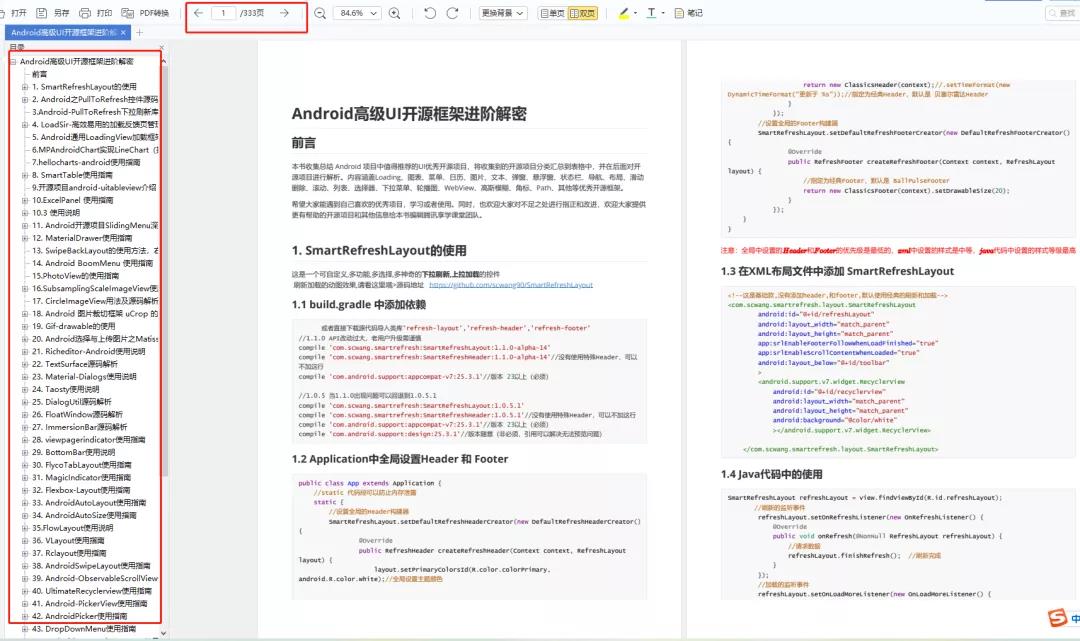
五、Android高级UI开源框架进阶解密
1.SmartRefreshLayout的使用
2.Android之PullToRefresh控件源码解析
3.Android-PullToRefresh下拉刷新库基本用法
4.LoadSir-高效易用的加载反馈页管理框架
5.Android通用LoadingView加载框架详解
6.MPAndroidChart实现LineChart(折线图)
7.hellocharts-android使用指南
8.SmartTable使用指南
9.开源项目android-uitableview介绍
10.ExcelPanel 使用指南
11.Android开源项目SlidingMenu深切解析
12.MaterialDrawer使用指南
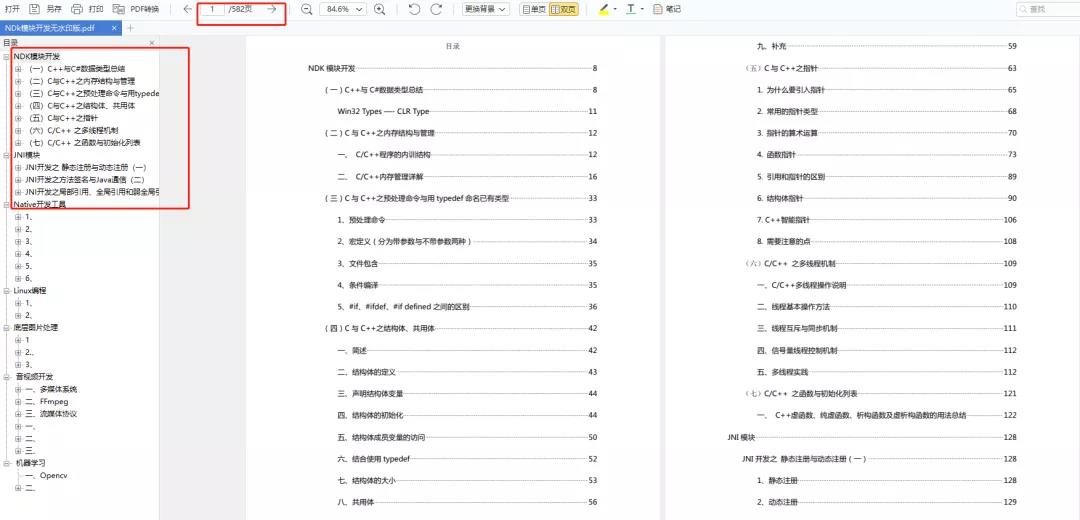
六、NDK模块开发
1、NDK 模块开发
2、JNI 模块
3、Native 开发工具
4、Linux 编程
5、底层图片处理
6、音视频开发
7、机器学习
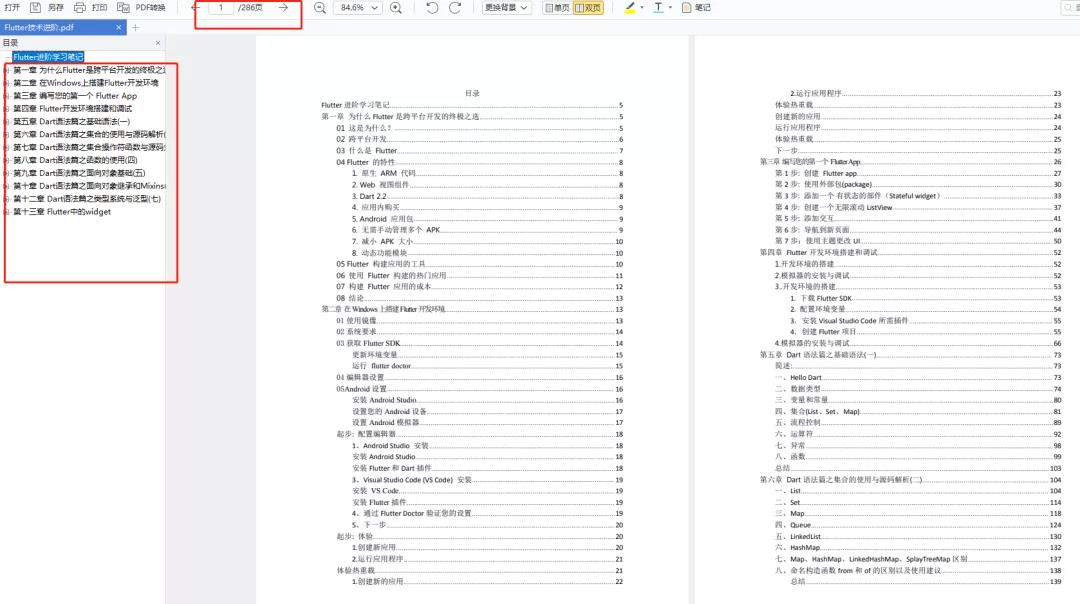
七、Flutter技术进阶
1、Flutter跨平台开发概述
2、Windows中Flutter开发环境搭建
3、编写你的第一个Flutter APP
4、Flutter开发环境搭建和调试
5、Dart语法篇之基础语法(一)
6、Dart语法篇之集合的使用与源码解析(二)
7、Dart语法篇之集合操作符函数与源码分析(三)
…
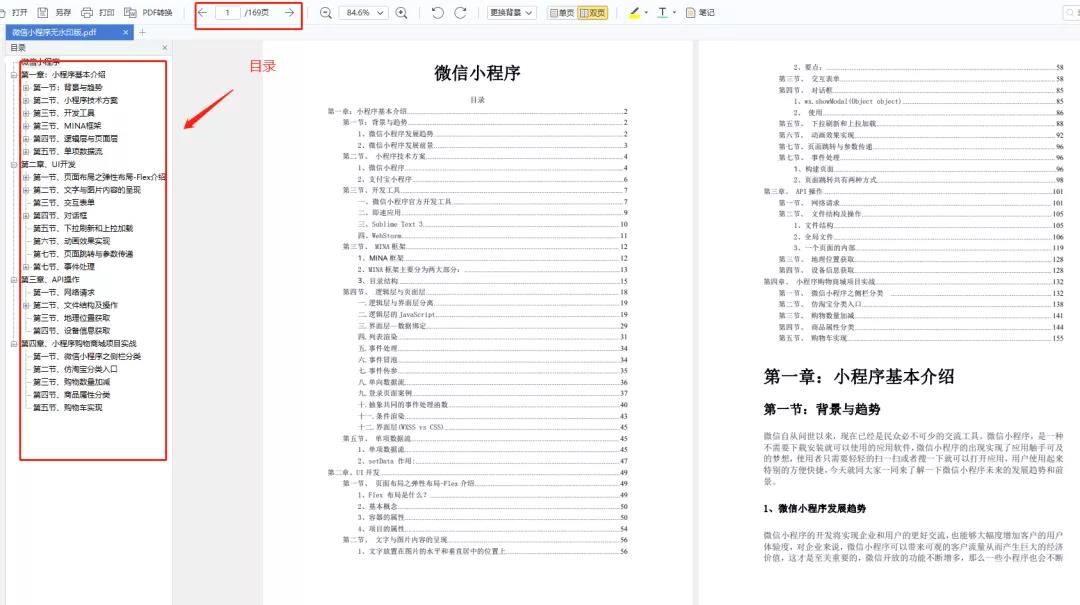
八、微信小程序开发
1、小程序概述及入门
2、小程序UI开发
3、API操作
4、购物商场项目实战……
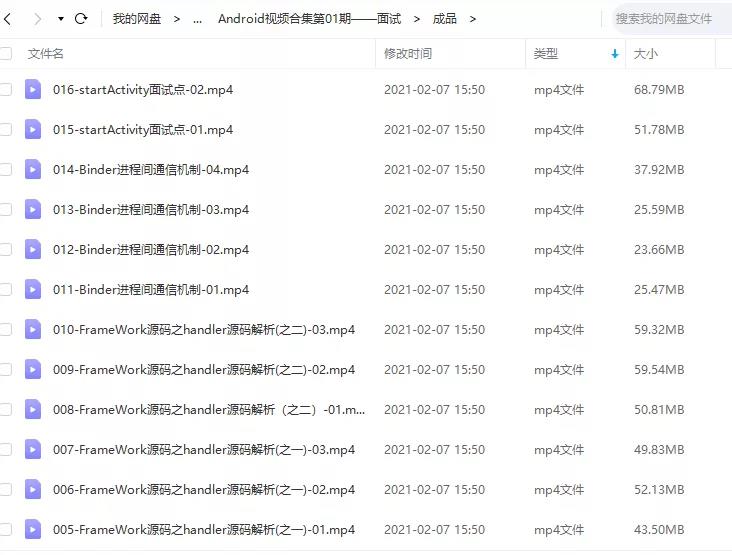
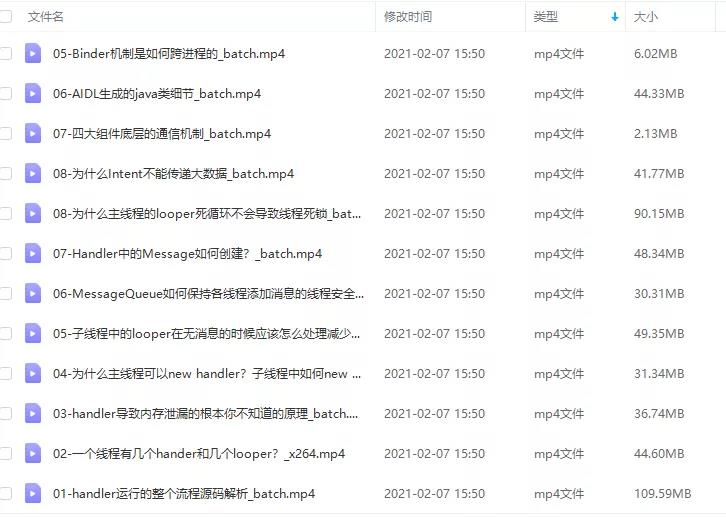
全套视频资料:
一、面试合集
二、源码解析合集
三、开源框架合集
欢迎大家一键三连支持,若需要文中资料,直接点击文末CSDN官方认证微信卡片免费领取【保证100%免费】↓↓↓

 开发者涨薪指南
 48位大咖的思考法则、工作方式、逻辑体系
以上是关于Android WIFI 模块解析的主要内容,如果未能解决你的问题,请参考以下文章
借助ESP8266 WIFI模块,实现Android手机有人网络调试助手(或Android手机网络调试助手)与单片机互相通信。
解析-ESP01模块开发Arduino物联网wifi开关模块
[android开发篇][ wifi模块] [3] wifiConnectAndCheck