用spring boot快速创建 Restful Web Service
Posted
tags:
篇首语:本文由小常识网(cha138.com)小编为大家整理,主要介绍了用spring boot快速创建 Restful Web Service相关的知识,希望对你有一定的参考价值。
新建项目目录:hello
项目结构目录:mkdir src\main\java\hello
创建Gradle项目构建文件: build.gradle
buildscript {
    repositories {
        mavenCentral()
    }
    dependencies {
       classpath("org.springframework.boot:spring-boot-gradle-plugin:1.4.3.RELEASE")
    }
}

apply plugin: ‘java‘
apply plugin: ‘eclipse‘
apply plugin: ‘idea‘
apply plugin: ‘org.springframework.boot‘

jar {
    baseName = ‘gs-rest-service‘
    version = ‘0.1.0‘
}

repositories {
    mavenCentral()
}

sourceCompatibility = 1.8
targetCompatibility = 1.8

dependencies {
   compile("org.springframework.boot:spring-boot-starter-web")
   testCompile(‘org.springframework.boot:spring-boot-starter-test‘)
}
创建实体类 - 交互数据的载体: src/main/java/hello/Greeting.java
package hello;

public class Greeting
{

    private final long id;
    private final String content;

    public Greeting(long id, String content) {
        this.id = id;
        this.content = content;
    }

    public long getId() {
        return id;
    }

    public String getContent() {
        return content;
    }
}新增Controller: src/main/java/hello/GreetingController.java
package hello;

import java.util.concurrent.atomic.AtomicLong;
import org.springframework.web.bind.annotation.RequestMapping;
import org.springframework.web.bind.annotation.RequestParam;
import org.springframework.web.bind.annotation.RestController;

@RestController
public class
GreetingController {

    private static final String template = "Hello, %s!";
    private final AtomicLong counter = new AtomicLong();

    @RequestMapping("/greeting")
    public Greeting
greeting(@RequestParam(value="name", defaultValue="World") String name) {
        return new Greeting(counter.incrementAndGet(), String.format(template, name));
    }
}
程序入口:src/main/java/hello/GreetingController.java
package hello;

import org.springframework.boot.SpringApplication;
import org.springframework.boot.autoconfigure.SpringBootApplication;

@SpringBootApplication
public class Application {

    public static void main(String[] args) {
        SpringApplication.run(Application.class, args);
    }
}查看构建命令:Gradle tasks
运行构架命令:Gradle build/bootrun 生成Jar包
启动Java的jar包:java -jar build/libs/gs-rest-service-0.1.0.jar
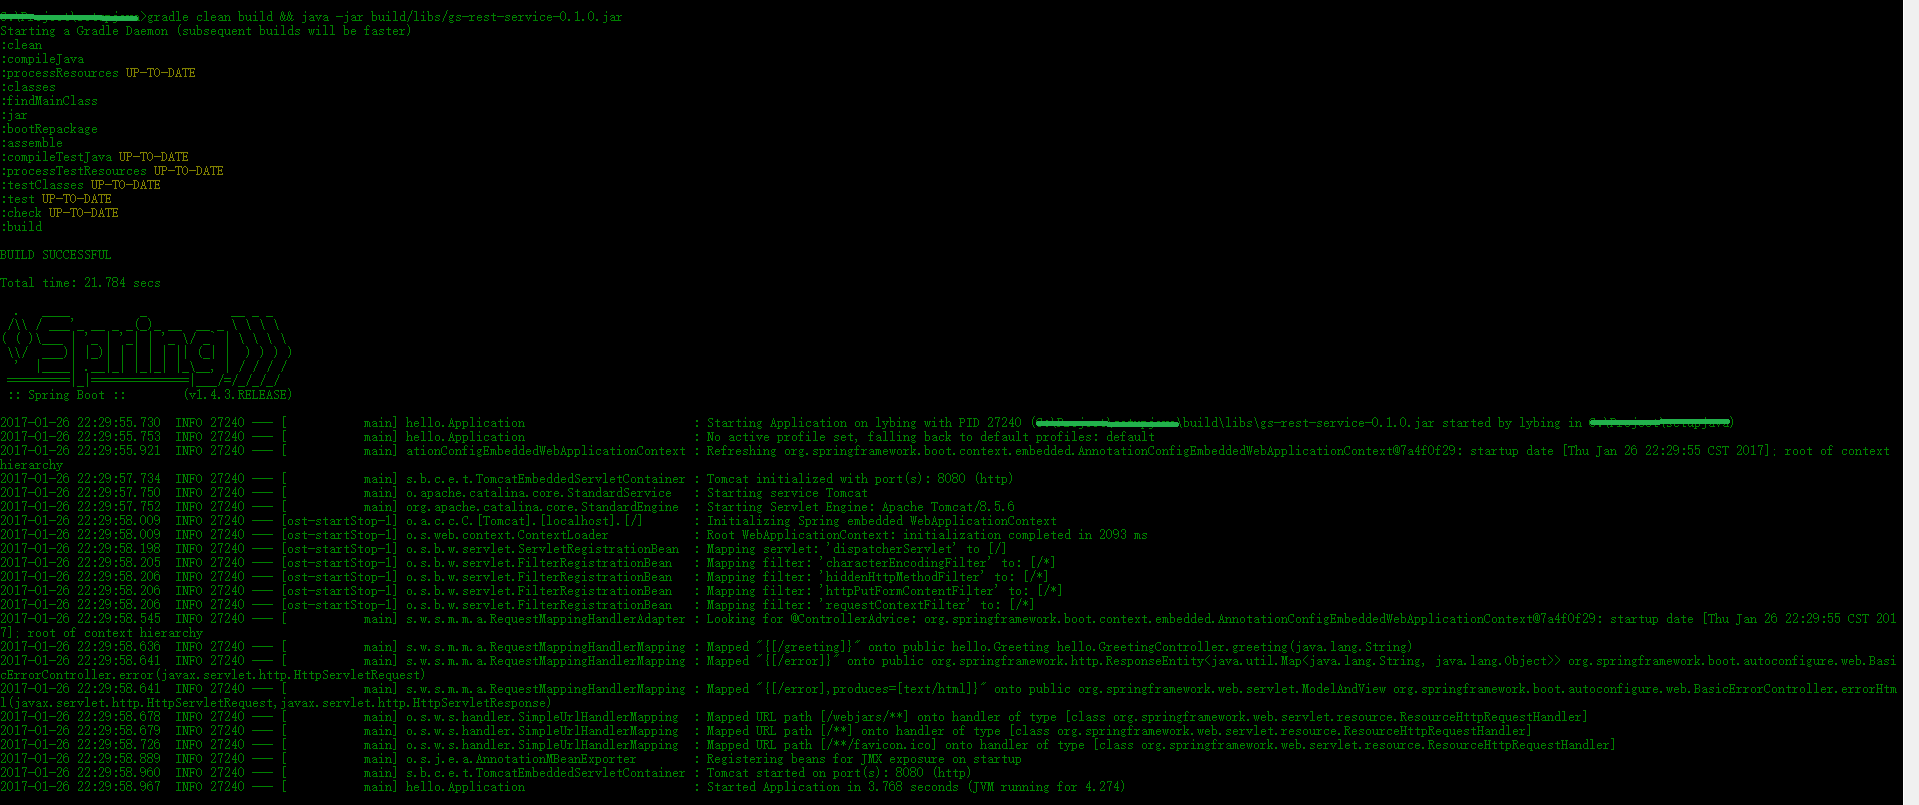
或者从构建到运行一部到位: gradle clean build && java -jar build/libs/gs-rest-service-0.1.0.jar
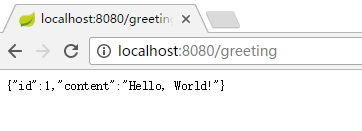
命令中敲入:http://localhost:8080/greeting
得到输出:
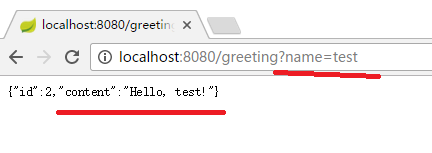
传入name的参数:
有关Rest的介绍:
http://spring.io/understanding/REST
本文出自 “lybing” 博客,请务必保留此出处http://lybing.blog.51cto.com/3286625/1894301
以上是关于用spring boot快速创建 Restful Web Service的主要内容,如果未能解决你的问题,请参考以下文章


