Vue安装axios实现接口请求
Posted 讲师郭
tags:
篇首语:本文由小常识网(cha138.com)小编为大家整理,主要介绍了Vue安装axios实现接口请求相关的知识,希望对你有一定的参考价值。
一、vue-cli使用aios
1、安装命令:cnpm instal axios --save
2、main.js引入全局使用
//axios

import axios from ‘axios‘
Vue.prototype.$axios = axios
3、组件或页面中使用
 methods:
      {
        testAxios1:function(){
            console.log(‘test‘);
             this.$axios({
                                method: ‘get‘,
                                url: ‘data/personData.json‘
                                })
                                .then(function (response) {
                                console.log(response)
                                })
                                .catch(function (error) {
                                console.log(error)
                                })


        },
二、axios配置开发环境跨域请求代理
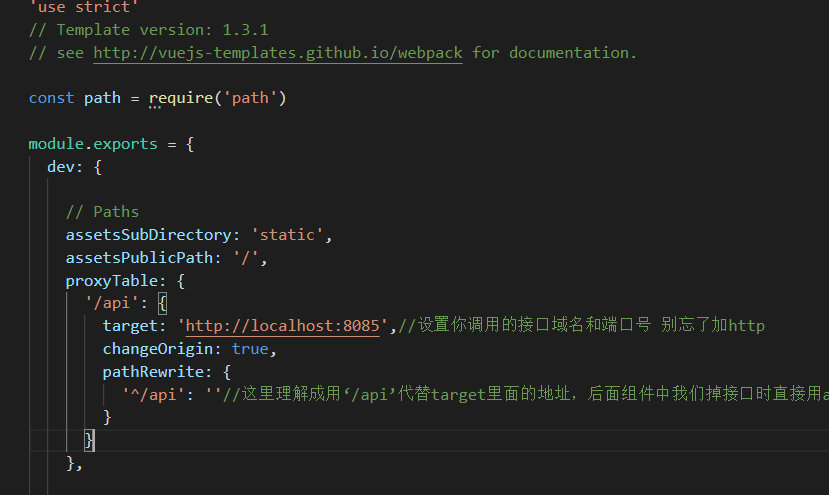
1:打开config/index.js
在这里面找到proxyTable{},改为这样:
  proxyTable: {
      ‘/api‘: {
        target: ‘http://localhost:8085‘,//设置你调用的接口域名和端口号 别忘了加http
        changeOrigin: true,
        pathRewrite: {
          ‘^/api‘: ‘‘//这里理解成用‘/api’代替target里面的地址,后面组件中我们掉接口时直接用api代替 比如我要调用‘http://40.00.100.100:3002/user/add‘,直接写‘/api/user/add’即可
        }
      }
    },
2、使用
 methods:
      {
        testAxios1:function(){
            console.log(‘test‘);
             this.$axios({
                                method: ‘post‘,
                                url: ‘http://localhost:8085/screen/selCaugh‘
                                })
                                .then(function (response) {
                                console.log(response)
                                })
                                .catch(function (error) {
                                console.log(error)
                                })


        },
三、axios传参
1:Vue官方推荐组件axios默认就是提交 JSON 字符串,所以我们要以json字符串直接拼接在url后面的形式,直接将json对象传进去就行了
let postData = {
companyCode:‘tur‘,
userName:‘123456789123456789‘,
password:‘123456‘
}
axios.get(‘/api/yt_api/login/doLogin‘,{
params: {
...postData,
}
})
.then(function (response) {
console.log(1)
console.log(response);
})
.catch(function (error) {
console.log(error);
});
以上是关于Vue安装axios实现接口请求的主要内容,如果未能解决你的问题,请参考以下文章