webpack编译多个html
Posted qq_27449993
tags:
篇首语:本文由小常识网(cha138.com)小编为大家整理,主要介绍了webpack编译多个html相关的知识,希望对你有一定的参考价值。
通过webpack编译打包多个html,通过webpack-dev-server自动刷新启动服务,解决webpack-cli跟webpack-dev-server版本不兼容问题
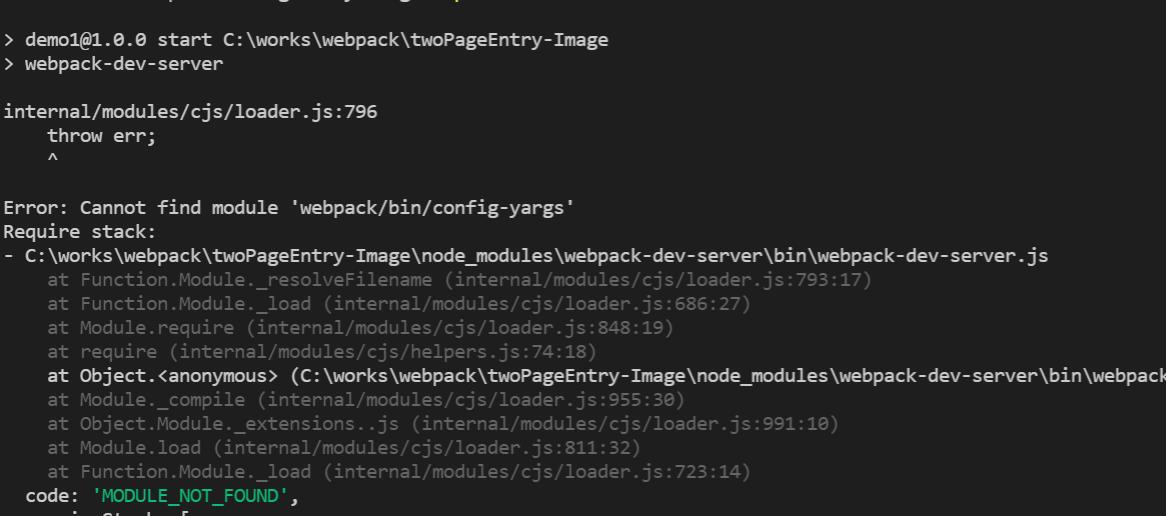
在安装webpack-cli 跟webpack-dev-server的时候,运行报下面的错就是版本不兼容,网上很多说卸载重装
 1先新建一个项目目录
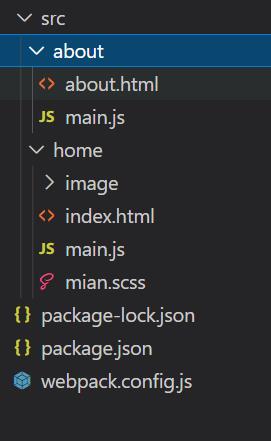
分别包含两个入口页:home跟about
入口entry的配置如下:
	entry:
		'assets/js/home': path.resolve(__dirname, './src/home/main.js'),
		'assets/js/about': path.resolve(__dirname, './src/about/main.js'),
,entry接受三种形式的值:字符串,数组和对象,字符串跟数组都只是对象的简化形式
字符串适用单入口页,这里用对象模式
'assets/js/home‘会将入口是src下的home的main.js打包在assets下的js下
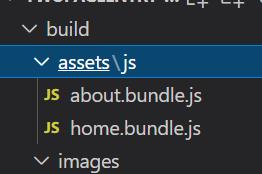
output配置:
	output:
		filename: '[name].bundle.js',
		path: path.resolve(__dirname, './build'),
		chunkFilename: '[name].bundle.js',
,主要的是plugin的配置,如何为各自的html自动打包生成一个对应的html并且在对应的html中只包含自己模块的打包的js主要通过chunks配置
-
chunks:允许插入到模板中的一些chunk,不配置此项默认会将entry中所有的thunk注入到模板中。在配置多个页面时,每个页面注入的thunk应该是不相同的,需要通过该配置为不同页面注入不同的thunk;
plugins: [
		new htmlWebpackPlugin(
			template: './src/home/index.html',
			filename: 'home.html',
			chunks: ['assets/js/home'],
		),
		new htmlWebpackPlugin(
			template: './src/home/index.html',
			filename: 'about.html',
			chunks: ['assets/js/about'],
		),
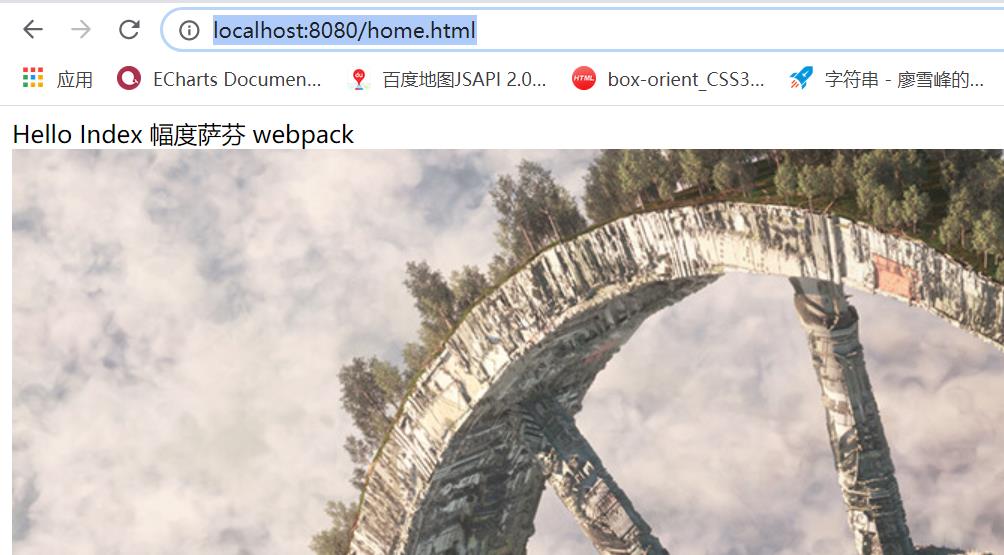
接下来是devServer的配置 opoenPage服务启动初始页面
	devServer:
		contentBase: path.join(__dirname, 'build'),
    openPage:'home.html',
		compress: true,
		open: true,
		port: 8080,
	,
以上是关于webpack编译多个html的主要内容,如果未能解决你的问题,请参考以下文章