Android模拟器中替换库和img
Posted 胡刚2016
tags:
篇首语:本文由小常识网(cha138.com)小编为大家整理,主要介绍了Android模拟器中替换库和img相关的知识,希望对你有一定的参考价值。
文章目录
1. 在 ubuntu 安装 vscode
1.1 官网下载
https://code.visualstudio.com/
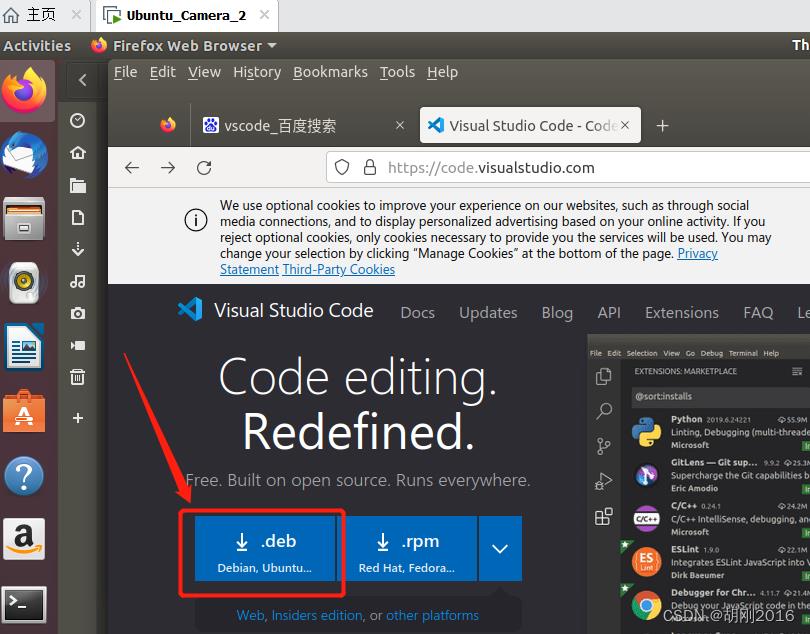
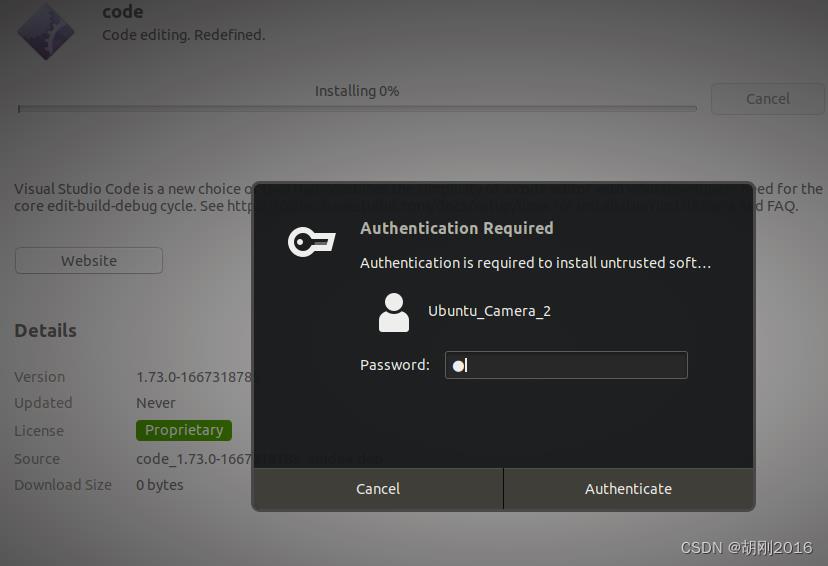
1.2 双击下载好的 deb 文件,点击 install 进行安装


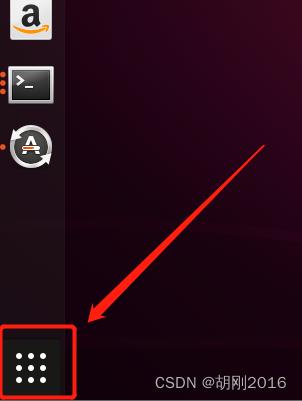
1.3 在设置里面搜索 vscode 打开

2. 修改验证 android Camera Java Framework
2.1 打开文件夹
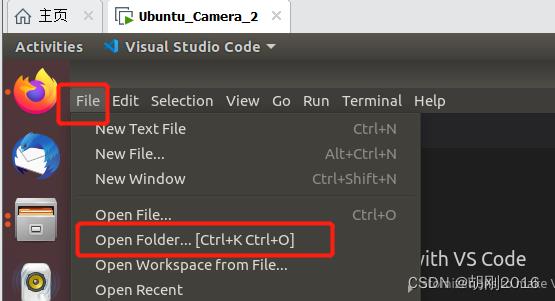
选择这个路径 /home/hg/android-12.1.0_r4/frameworks/base/core/java/android/hardware
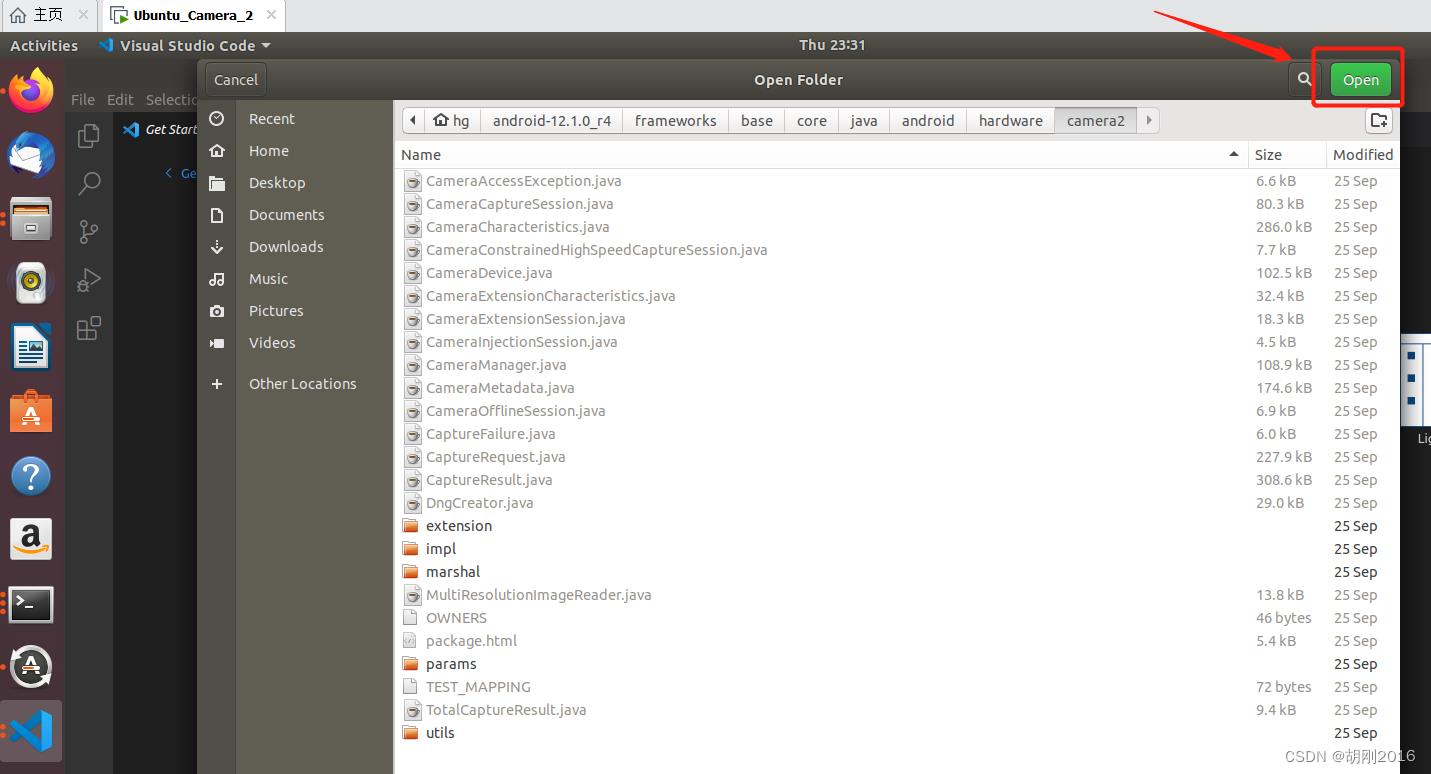
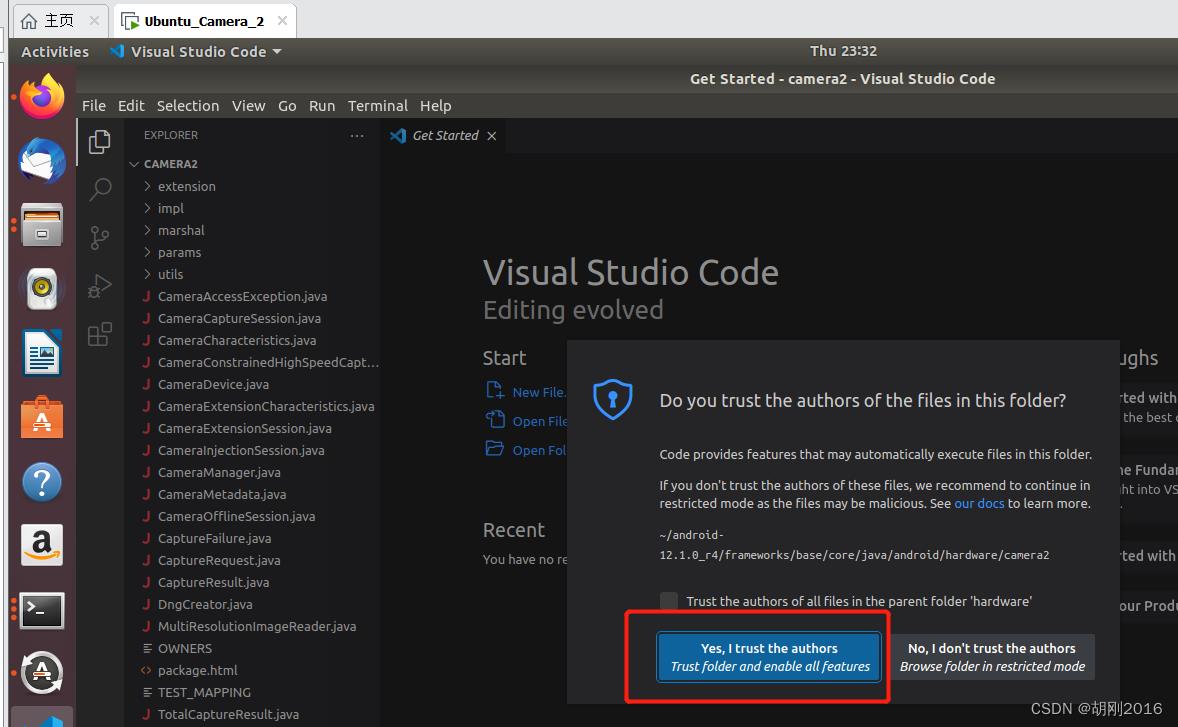
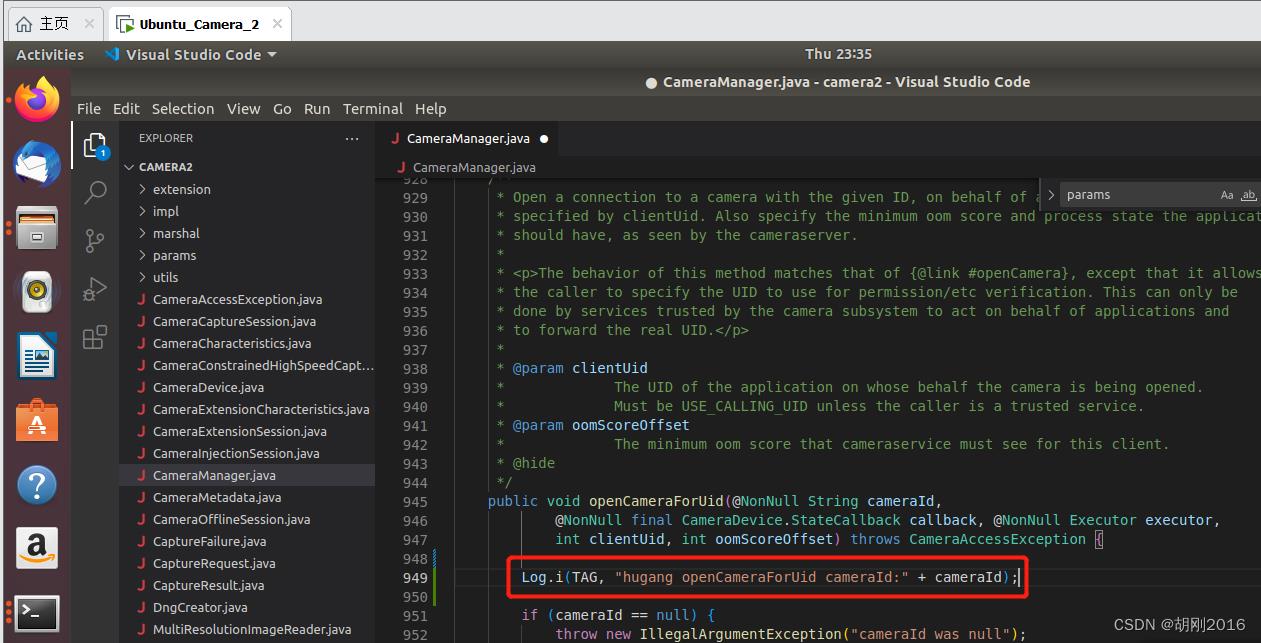
2.2 添加代码,并保存
Log.i(TAG, "hugang openCameraForUid cameraId:" + cameraId);
2.3 编译 systemimage
cd ~/android-12.1.0_r4
su
source build/envsetup.sh
lunch sdk_phone_x86_64
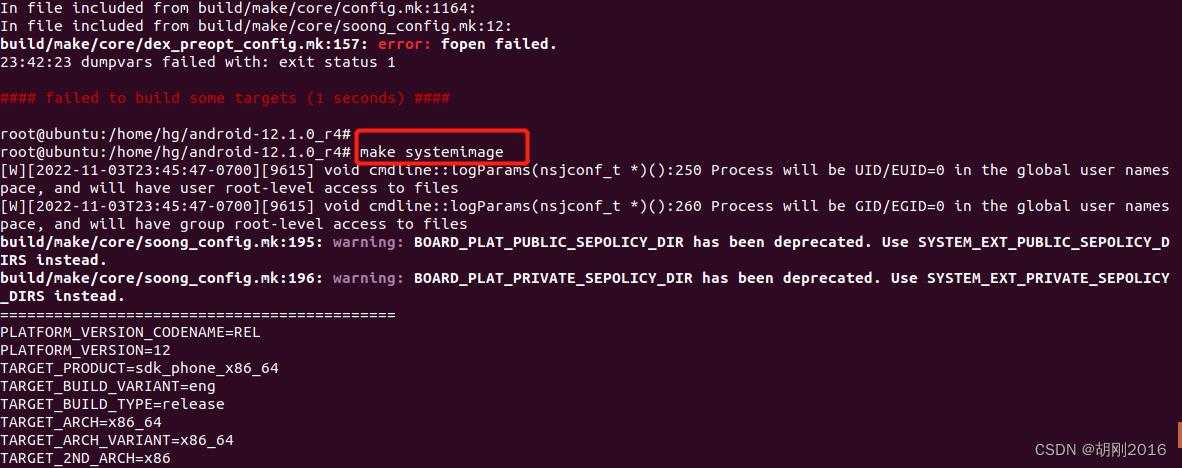
make systemimage

2.4 编译报错
[W][2022-11-03T23:42:23-0700][9508] void cmdline::logParams(nsjconf_t *)():250 Process will be UID/EUID=0 in the global user namespace, and will have user root-level access to files
[W][2022-11-03T23:42:23-0700][9508] void cmdline::logParams(nsjconf_t *)():260 Process will be GID/EGID=0 in the global user namespace, and will have group root-level access to files
In file included from build/make/core/config.mk:1164:
In file included from build/make/core/soong_config.mk:12:
build/make/core/dex_preopt_config.mk:157: error: fopen failed.
23:42:23 dumpvars failed with: exit status 1

#### failed to build some targets (1 seconds) ####
2.5 解决办法:
cd  ~/android-12.1.0_r4
chmod 777 out/ -R
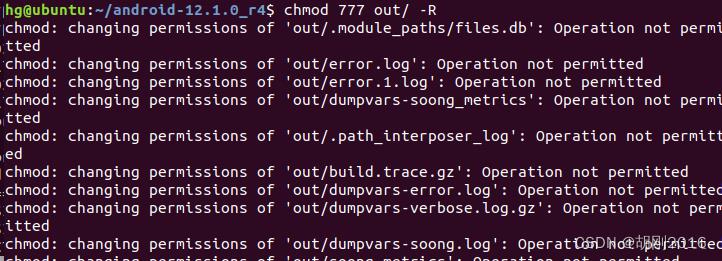
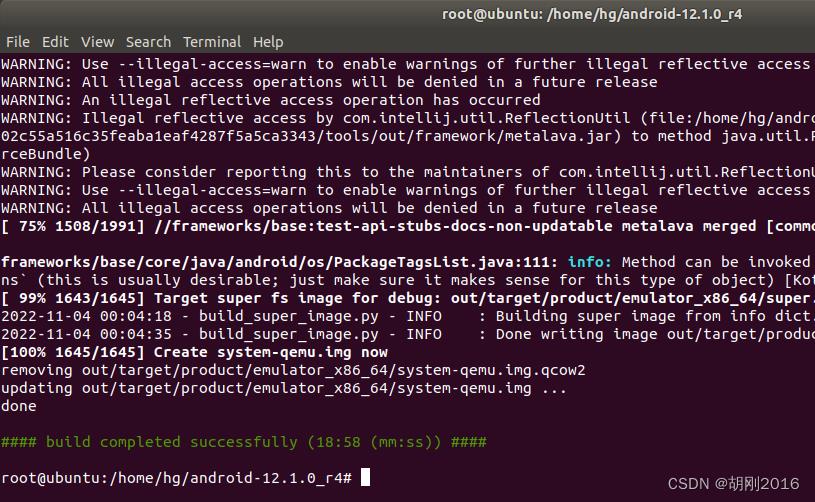
2.6 再次编译
make systemimage
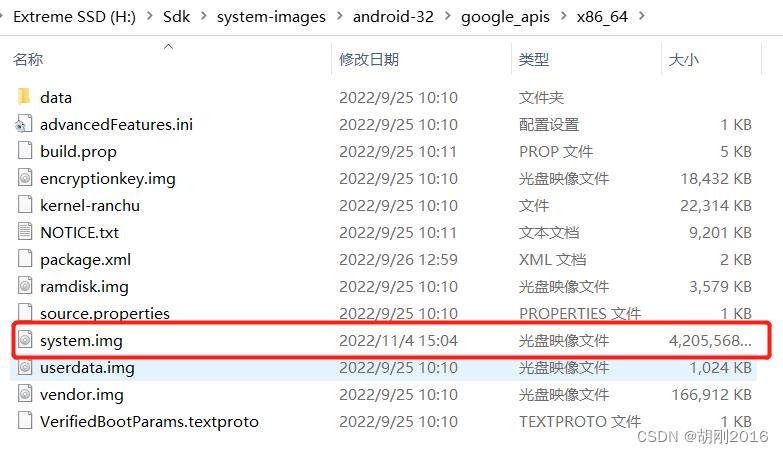
2.7 拷贝 system-qemu.img 到 windows
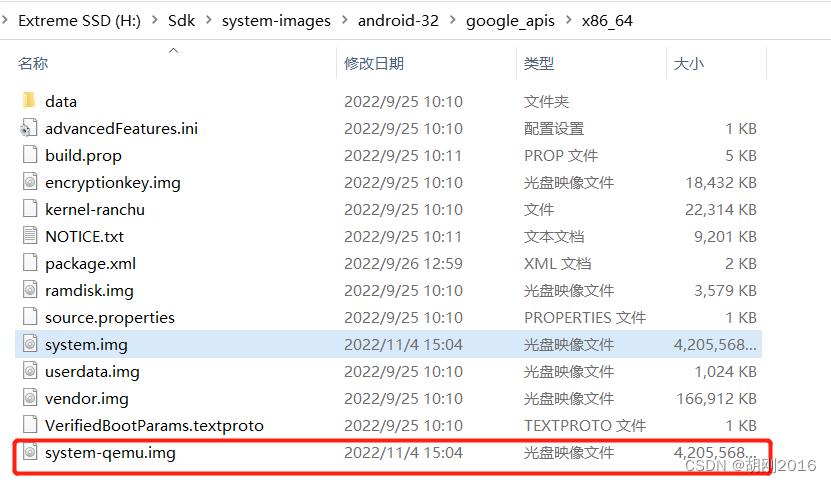
拷贝 /home/hg/android-12.1.0_r4/out/target/product 路径下的 system-qemu.img 到 windows 的 H:\\Sdk\\system-images\\android-32\\google_apis\\x86_64

2.8 将原来的 system.img 删掉
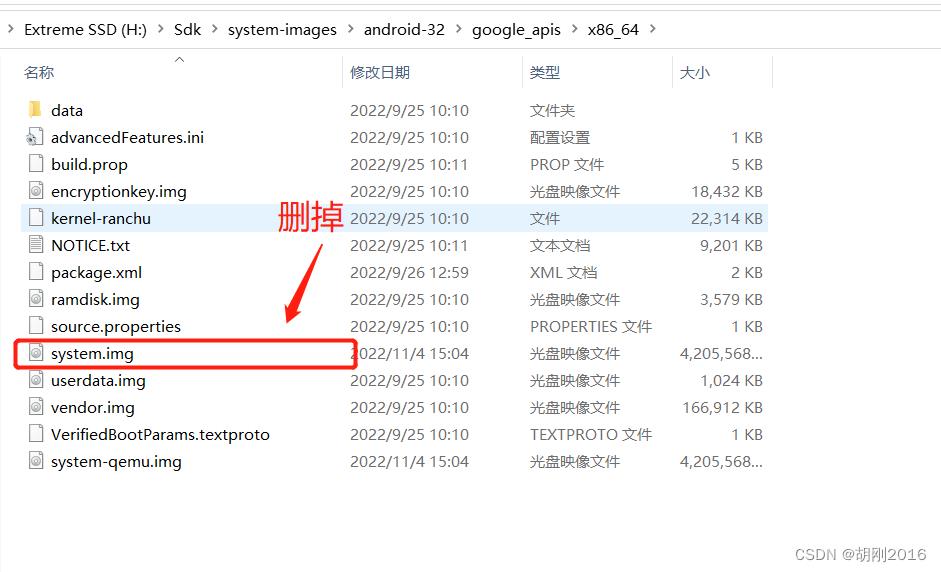
2.9 将 system-qemu.img 的文件名改为 system.img
2.10 启动模拟器
H:
cd H:\\Sdk\\emulator
.\\emulator.exe -writable-system -avd Pixel_XL_API_32_2 -no-snapshot-load -qemu
2.11 重新打开一个 cmd,输入打印 log 的命令
logcat -c
logcat |grep -iE "hugang"
2.12 点击模拟器的 camera app
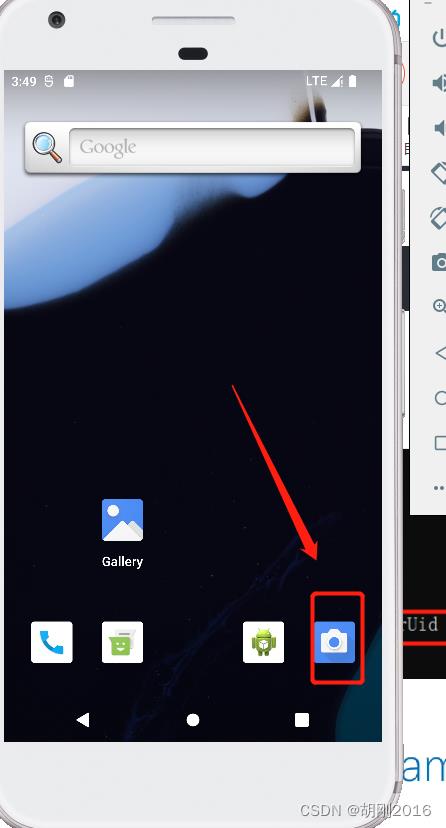
cmd 中就打印出了我们在 CameraManager.java 中加入的 log

3. 修改验证 Android Camera Native Framework
3.1 打开文件夹
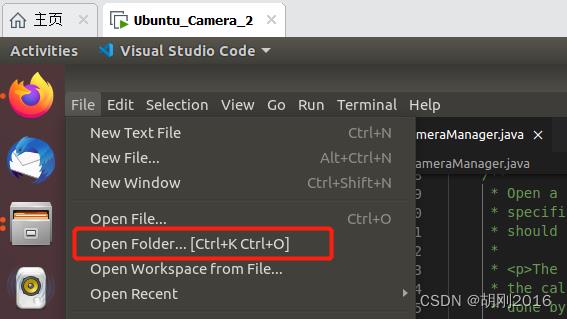
打开文件夹 /home/hg/android-12.1.0_r4/frameworks/av/services/camera/libcameraservice

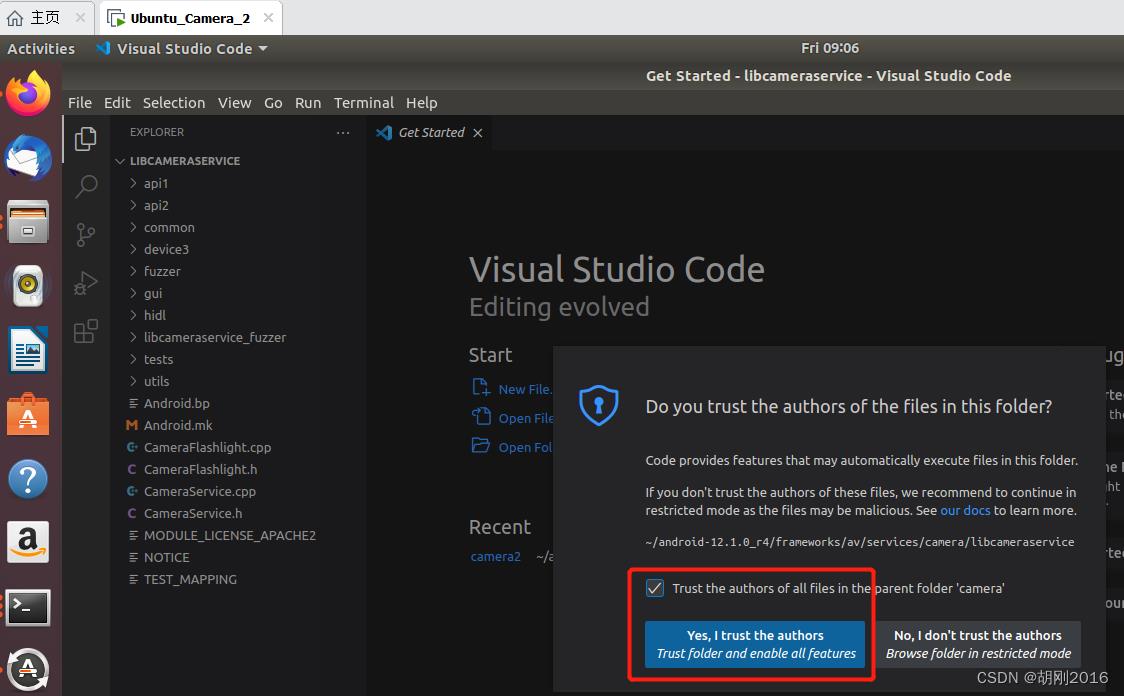
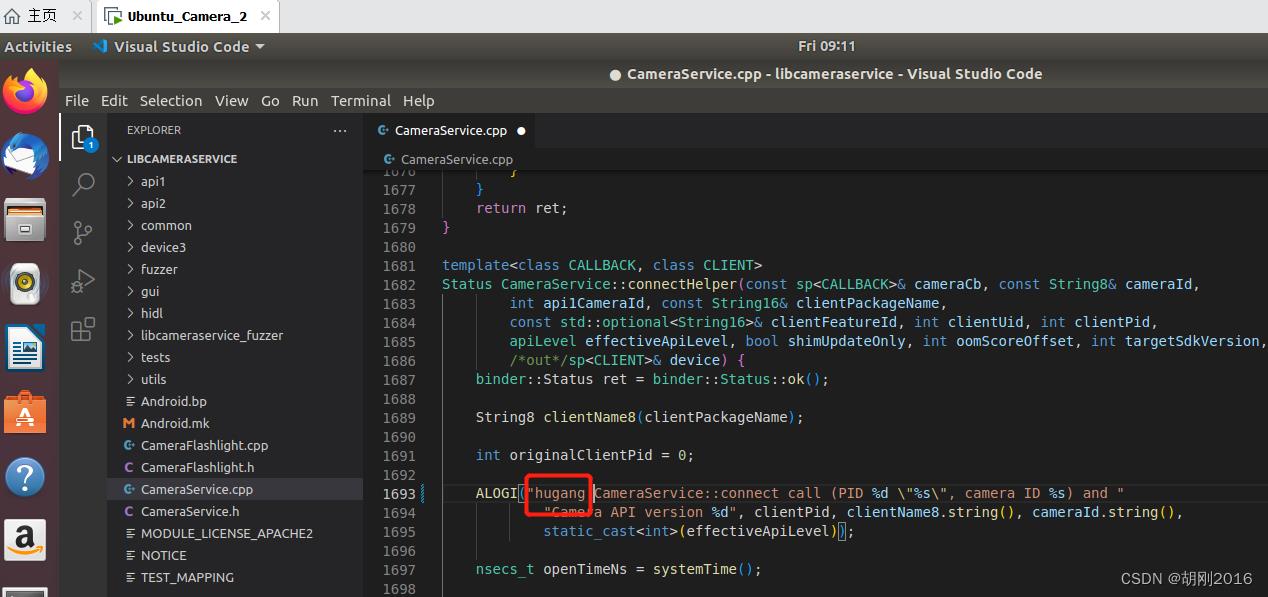
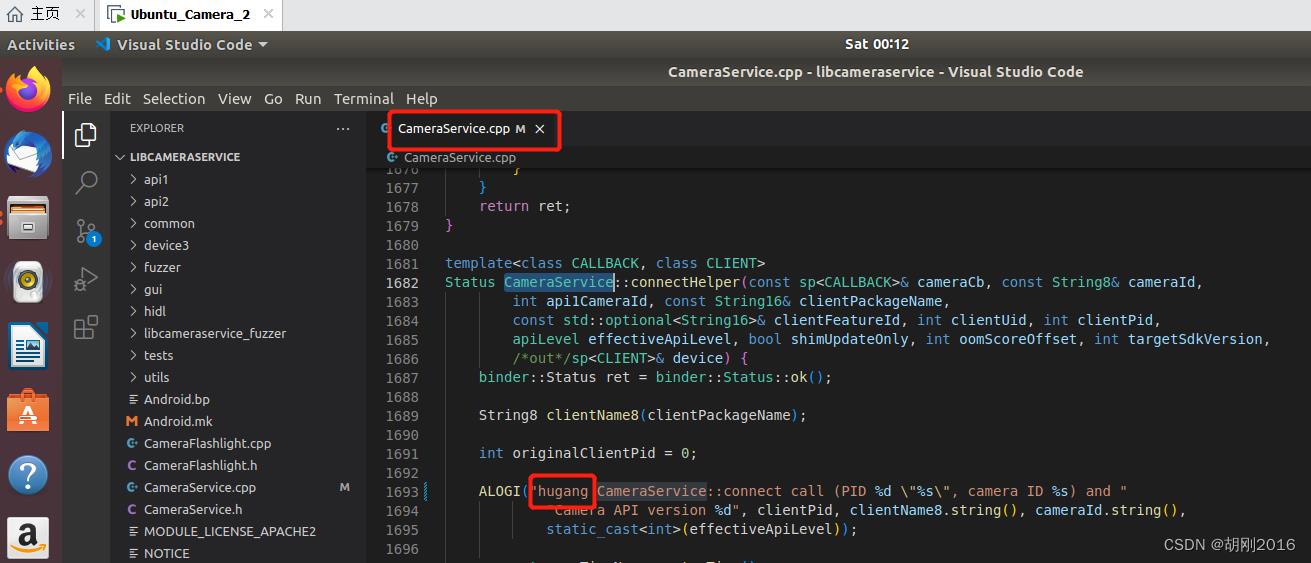
3.2 修改 CameraService.cpp 的 connectHelper 函数中的打印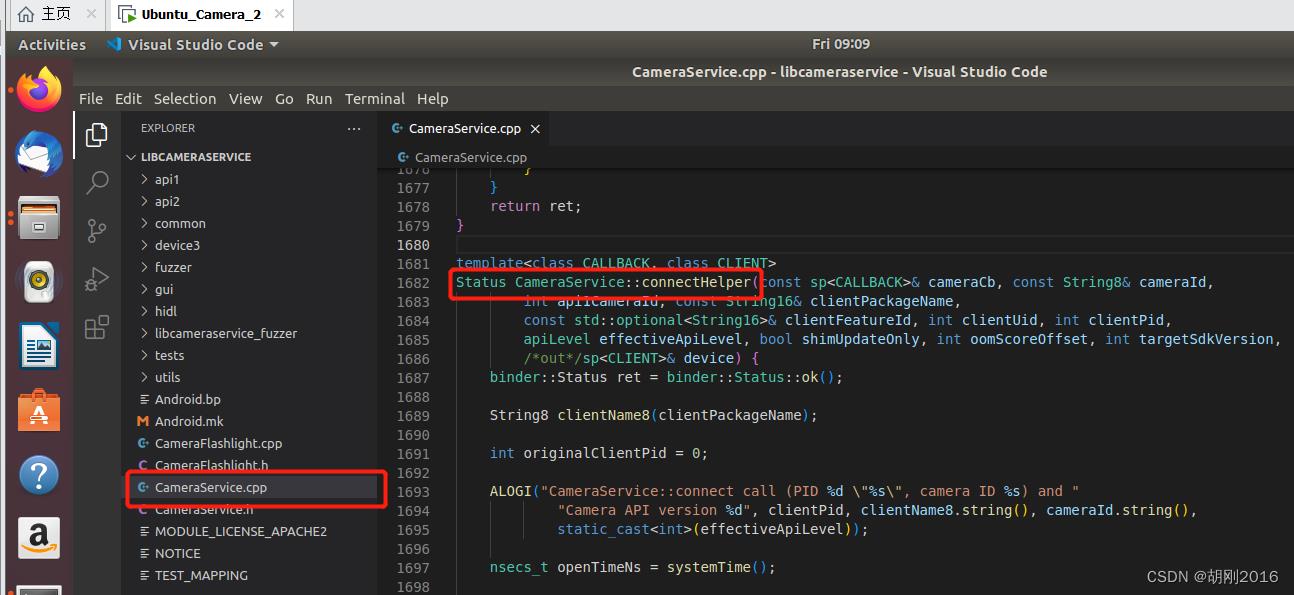
在它的打印里面加上 “hugang”,然后保存
3.3 编译
cd ~/android-12.1.0_r4
source build/envsetup.sh
lunch sdk_phone_x86_64
m libcameraservice
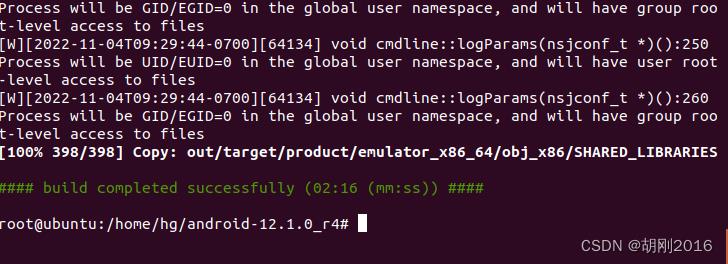
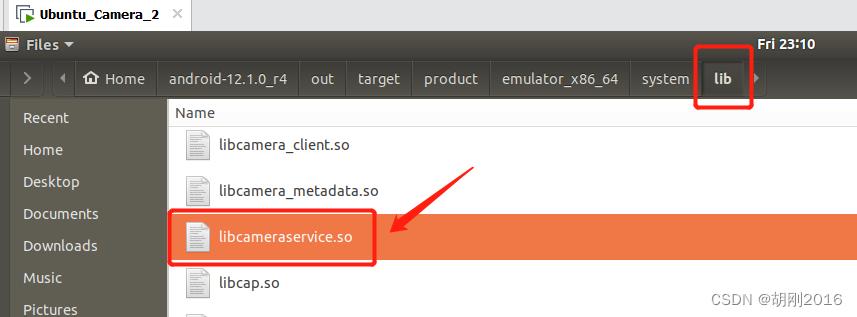
在 /home/hg/android-12.1.0_r4/out/target/product/emulator_x86_64/system 路径下,有 lib 和 lib64 两个文件夹,里面分别有编译生成的 32位 和 64位的 libcameraservice.so

3.4 查看Android 模拟器中使用的 libcameraservice.so 是 32位 还是 64位
打开一个 cmd,输入以下命令**
adb shell
cd system
#通过 ls 命令可以打印 system 目录下的文件夹,包含 lib 和 lib64
ls
find . -name libcameraservice.so
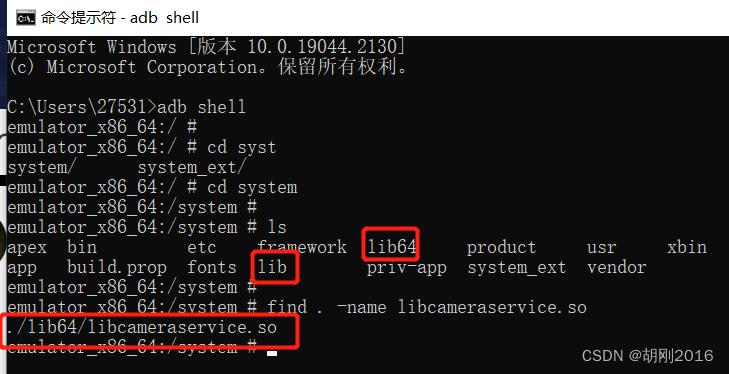
通过打印我们可以看到只有 lib64 文件夹下面有 libcameraservice.so,说明模拟器的 libcameraservice.so 是64位的。
把编译好的64位的 libcameraserice.so(就是 lib64目录下的 libcameraserice.so) 拷贝到windows
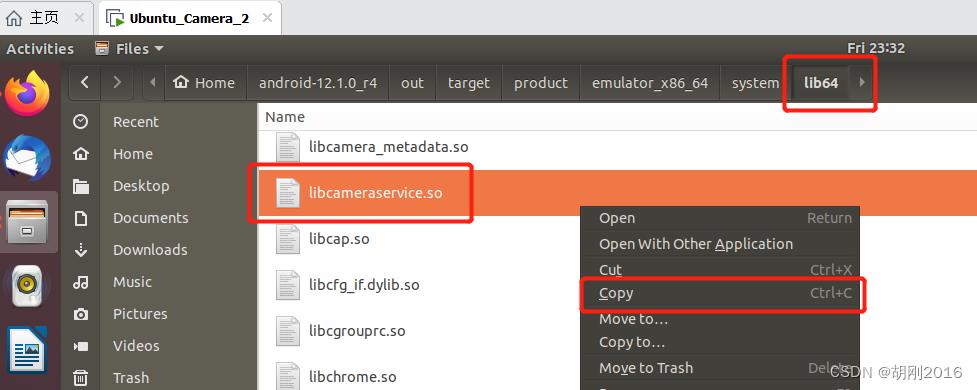
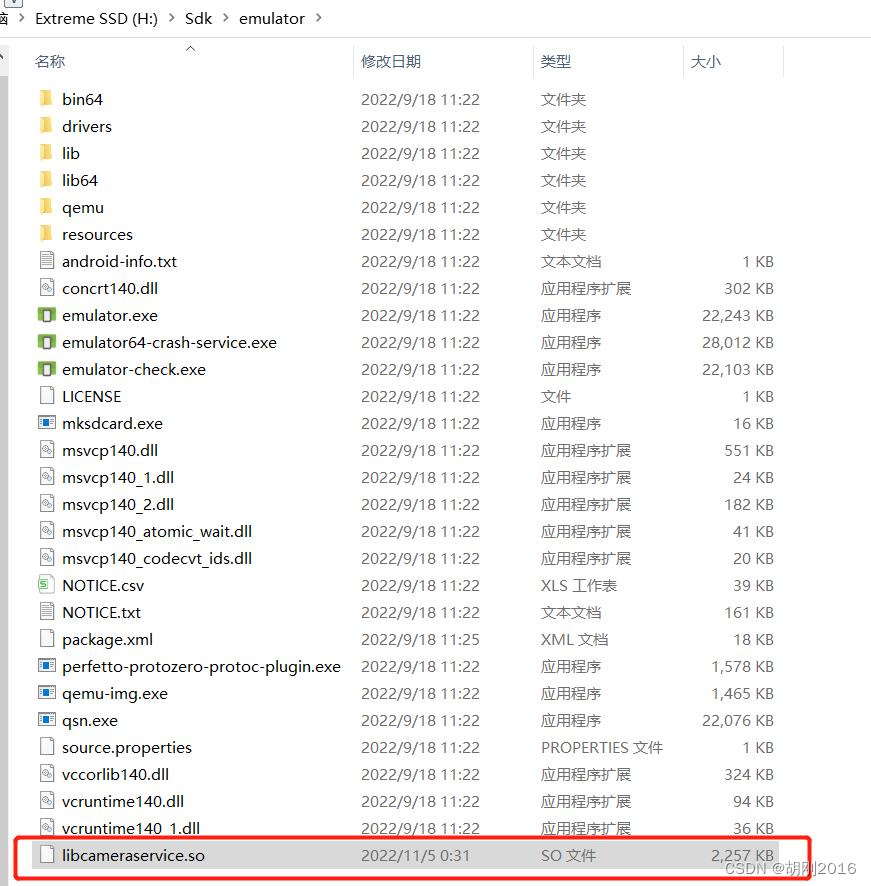
libcameraservice.so 可以拷贝到 windows 的任意路径
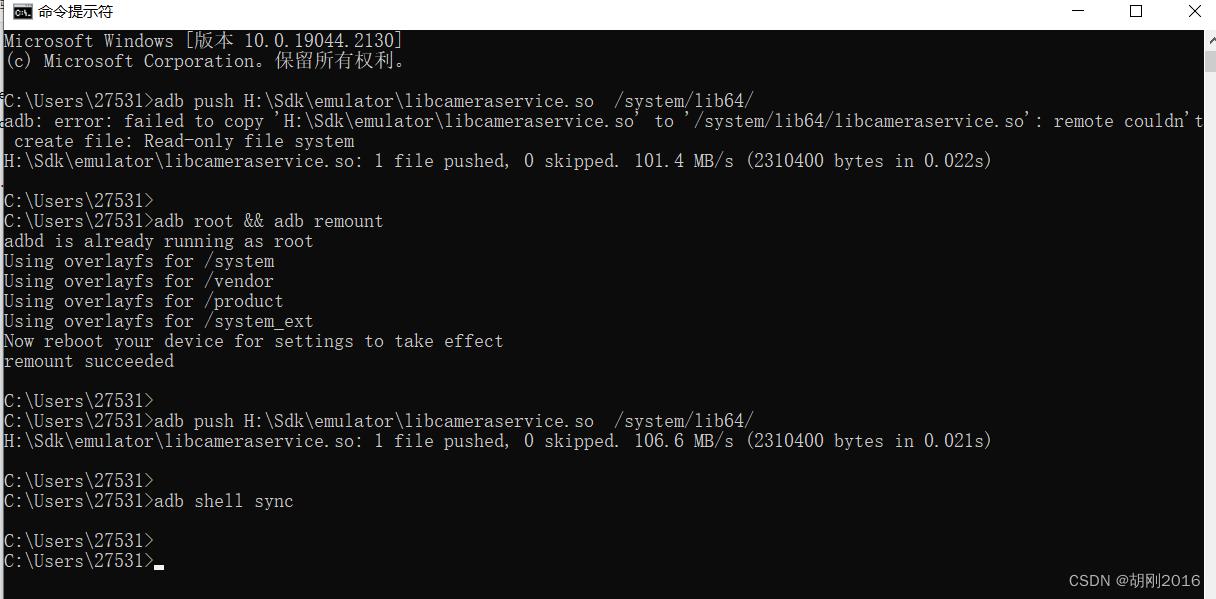
3.5 将 64位的 libcameraservice.so push 到 模拟器
adb push H:\\Sdk\\emulator\\libcameraservice.so /system/lib64/
3.6 报错

C:\\Users\\27531>adb push H:\\Sdk\\emulator\\libcameraservice.so  /system/lib64/
adb: error: failed to copy 'H:\\Sdk\\emulator\\libcameraservice.so' to '/system/lib64/libcameraservice.so': remote couldn't create file: Read-only file system
H:\\Sdk\\emulator\\libcameraservice.so: 1 file pushed, 0 skipped. 101.4 MB/s (2310400 bytes in 0.022s)
3.7 解决报错
输入下面的命令
adb root && adb remount
再次 push
adb push H:\\Sdk\\emulator\\libcameraservice.so  /system/lib64/
adb shell sync
3.8 重启 cameraserver 进程
首先,找到 camera 的进程号
adb shell
#找到 camera 的进程号
ps -A |grep -i camera

这里,我的模拟器的 camera 的进程号是 469
然后,杀掉这个 469 进程
kill -9 469
杀掉这个 469 进程后,Android 会自动再次为我们分配一个 cameraserver 的进程,然后加载到我们 Push 进去的 libcameraservice.so
再次,查看 cameraserver 的进程号
ps -A |grep -i camera
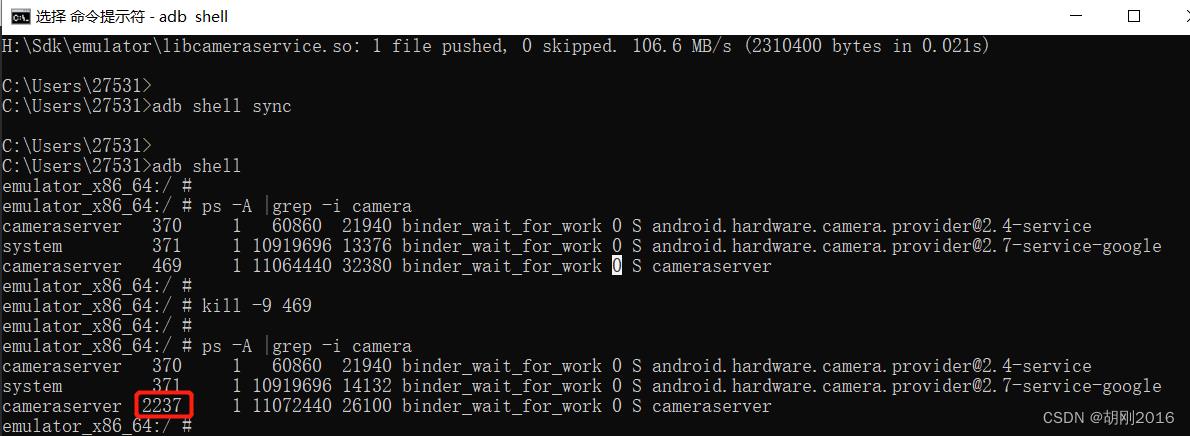
此时发现 cameraerver 的进程号变为了 2237,说明Android已经重新启动了新的 cameraserver 进程。
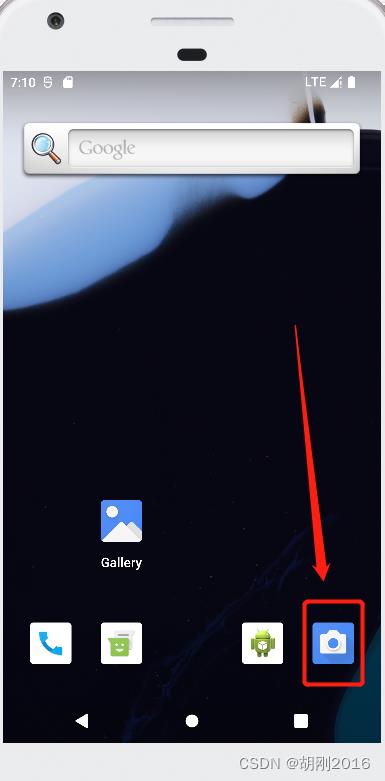
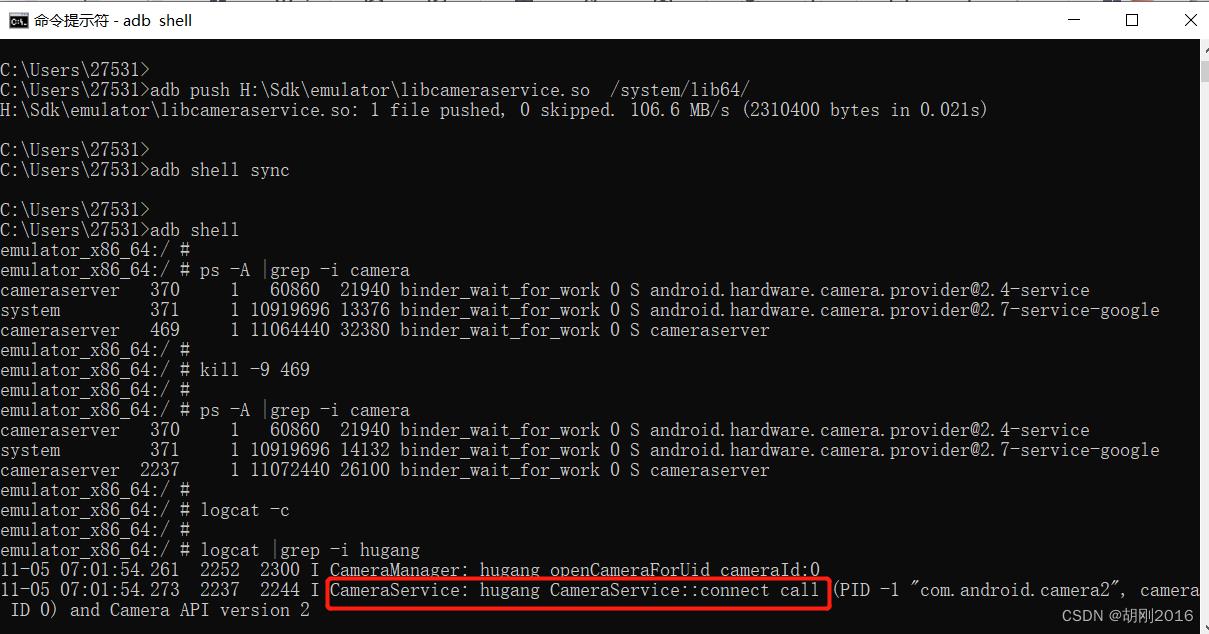
现在,cameraserver 进程已经加载到了我们 push 的 libcameraservice.so ,我们可以打开 模拟器的 camera app 查看打印来验证。
3.9 验证
输入下面的命令
logcat -c
logcat |grep -i hugang
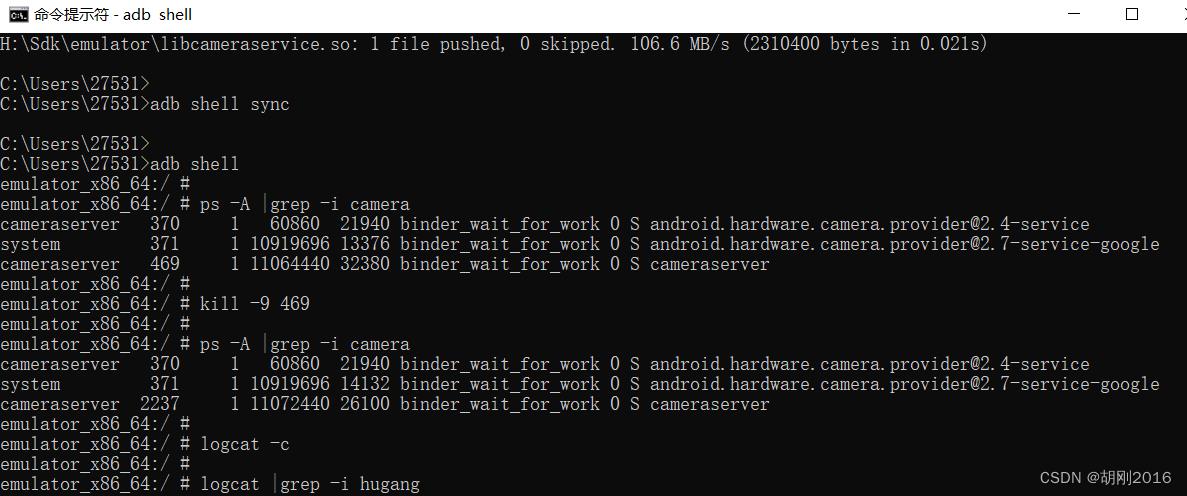
然后打开 模拟器的 camera app
日志打印出了我们在 CameraService.cpp 中加入的 log
4. 修改验证 后置摄像头 HAL 代码
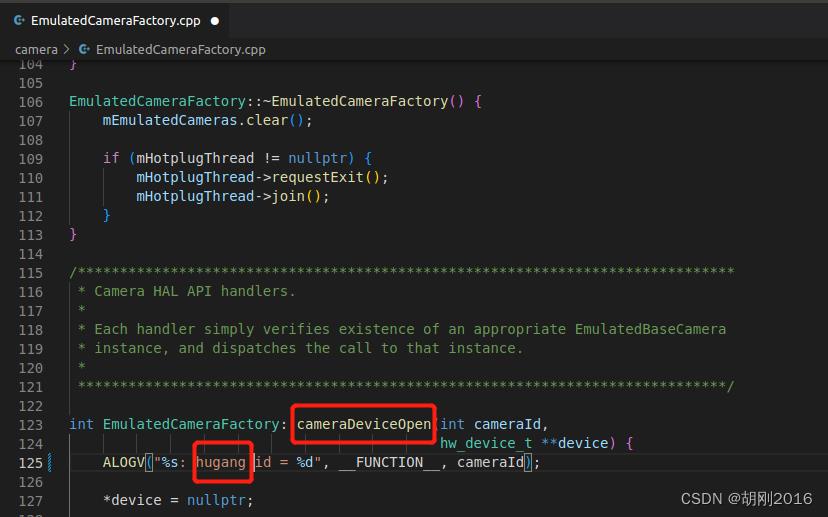
4.1 修改文件的 log
使用 VSCode 打开相应的文件夹
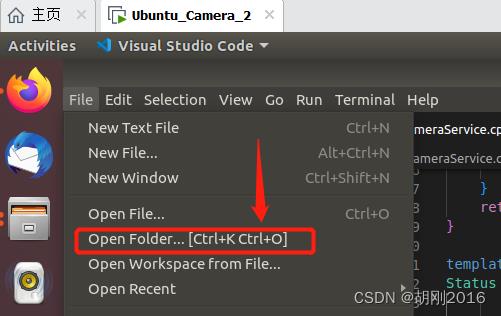
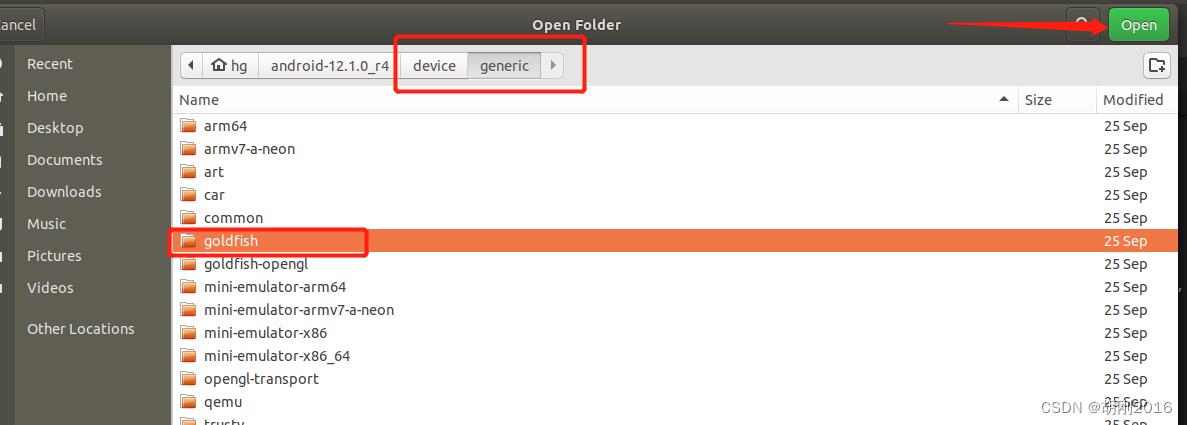
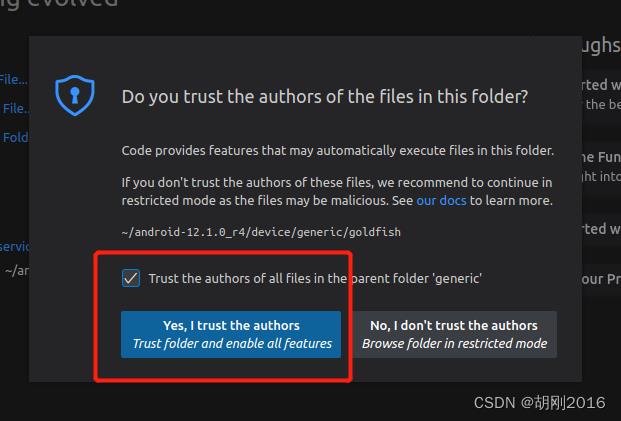
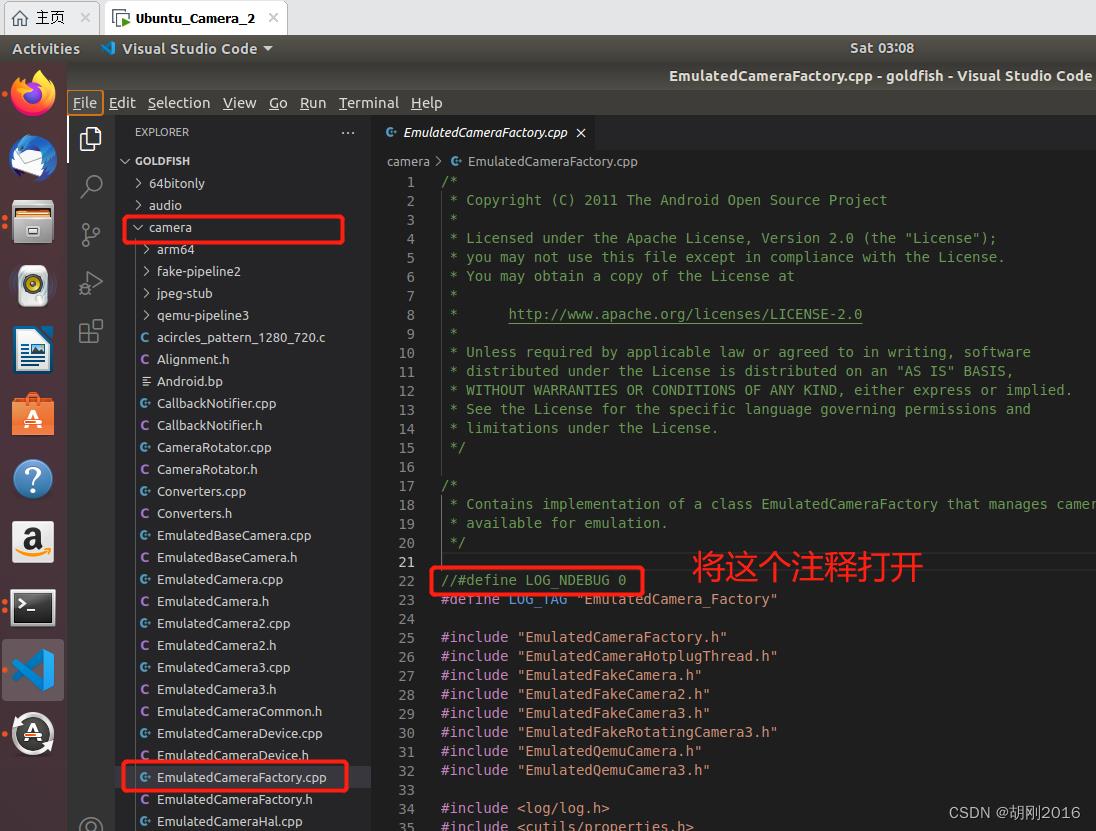
在 cameraDeviceOpen 函数的打印里面 加上 hugang,然后保存
4.2 编译
make camera.ranchu

注意:这里会同时编译好 32位 和 64位的 camera.ranchu.so
其中 64位的库位于 /home/hg/android-12.1.0_r4/out/target/product/emulator_x86_64/obj/SHARED_LIBRARIES/camera.ranchu_intermediates
32 位的库位于 /home/hg/android-12.1.0_r4/out/target/product/emulator_x86_64/obj_x86/SHARED_LIBRARIES/camera.ranchu_intermediates
因为我的模拟器上的 2.4 的进程是 32位的,所以我要拷贝 32位的 camera.ranchu.so 到 Windows
4.3 拷贝 32位 的 camera.ranchu.so 到 Windows

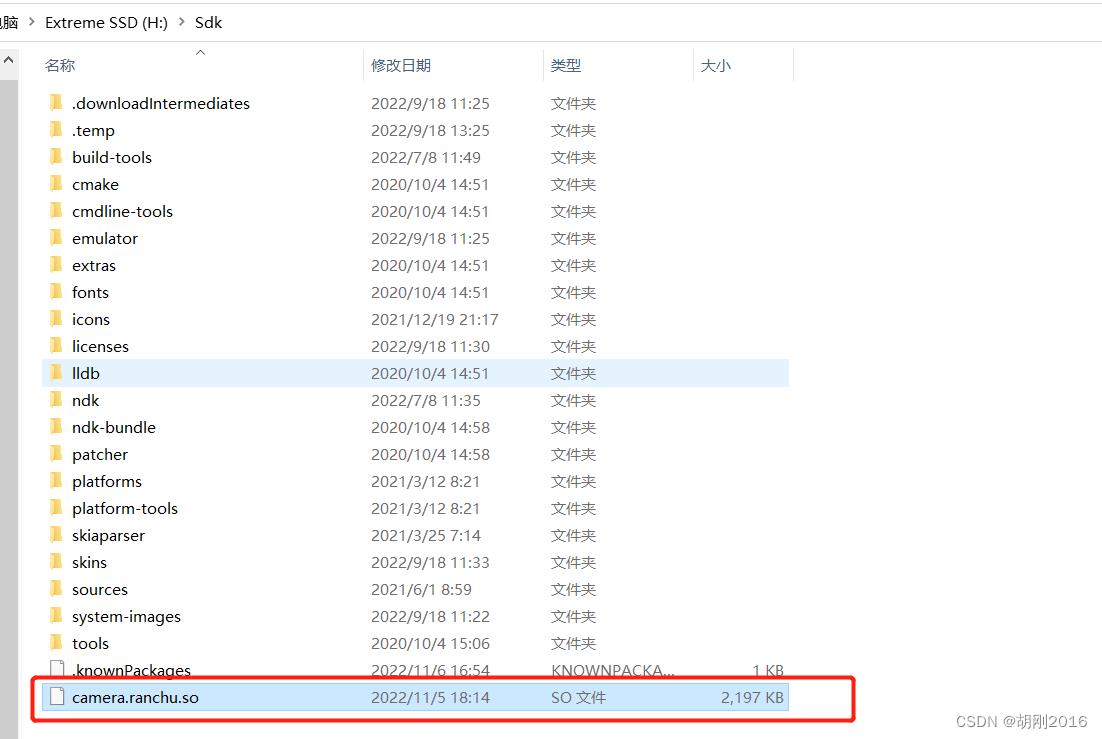
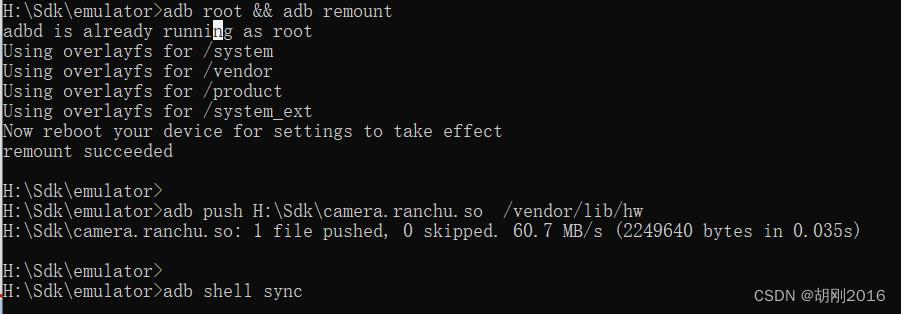
4.4 push 32位的 camera.ranchu.so 到模拟器
adb root && adb remount
adb push H:\\Sdk\\camera.ranchu.so  /vendor/lib/hw
adb shell sync
4.5 重启后置摄像头的进程
首先,查看模拟器的 camera 进程有哪些
adb shell
ps -A|grep -i camera

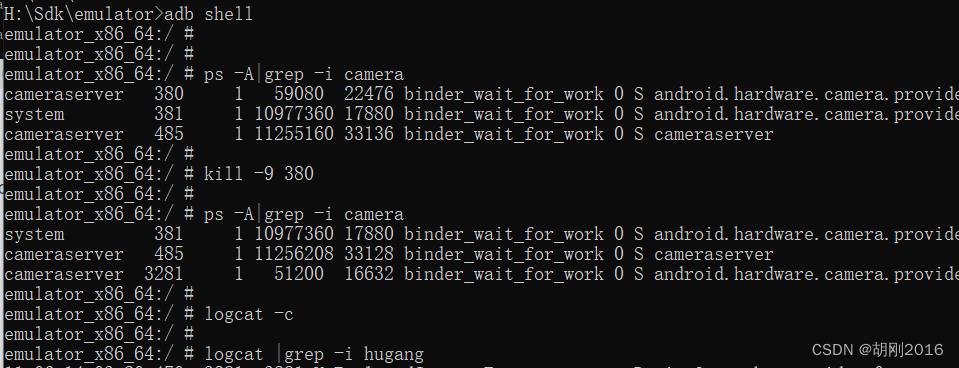
可以看到,这里 2.4 的 进程号为 380
现在 kill 掉这个进程, 2.4 的进程会重启,然后加载到刚才 push 的 camera.ranchu.so
kill -9 380
ps -A|grep -i camera

可以看到 2.4 进程重启了,进程号和以前不一样了
4.6 开启log,验证
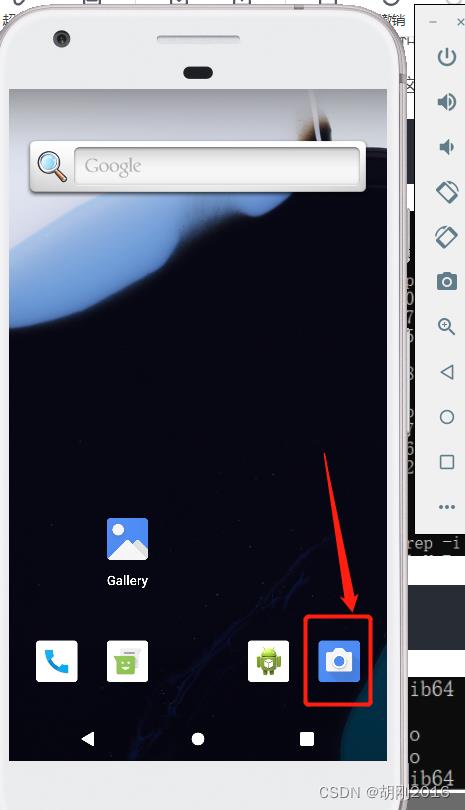
开启log,然后打开 camera,这样就能打印出我们在 EmulatedCamera_Factory.cpp 中加入的 log
logcat -c
logcat |grep -i hugang
打开 camera
打开 camera 后,log打印如下(因为 camera.ranchu.so 是负责后置摄像头,camera app 打开后默认打开的就是后置摄像头,所以会直接打印出下面的 log)

说明我们 push 的 camera.ranchu.so 生效了。
5. 修改验证 前置摄像头 HAL 代码
5.1 查找前置摄像头对应的进程
首先,查看 camera 的进程有哪些
ps -A|grep -i camera

可以看到,2.7的进程号位 381,2.7 的意思就是前置摄像头对应的进程,这个进程加载了 libgooglecamerahal.so
然后,我们查看 381 这个进程加载了哪些 so
cat /proc/381/maps |greps -i googlecamera
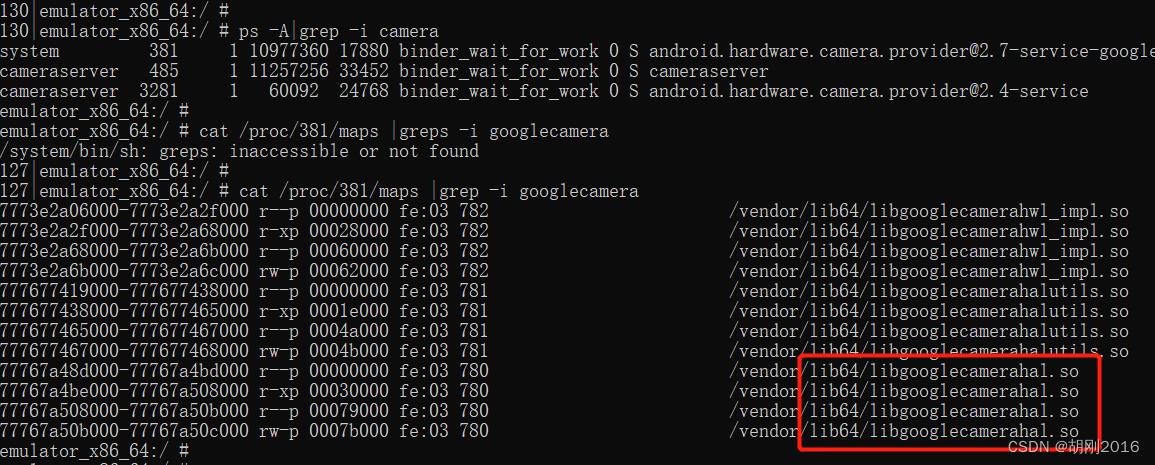
可以看到,这个进程加载了 libgooglecamerahal.so,而且所有的 so 都在 /vendor/lib64 目录下,所以这个进程是 64 位的。
5.2 修改前置镜头的 hal 相关代码

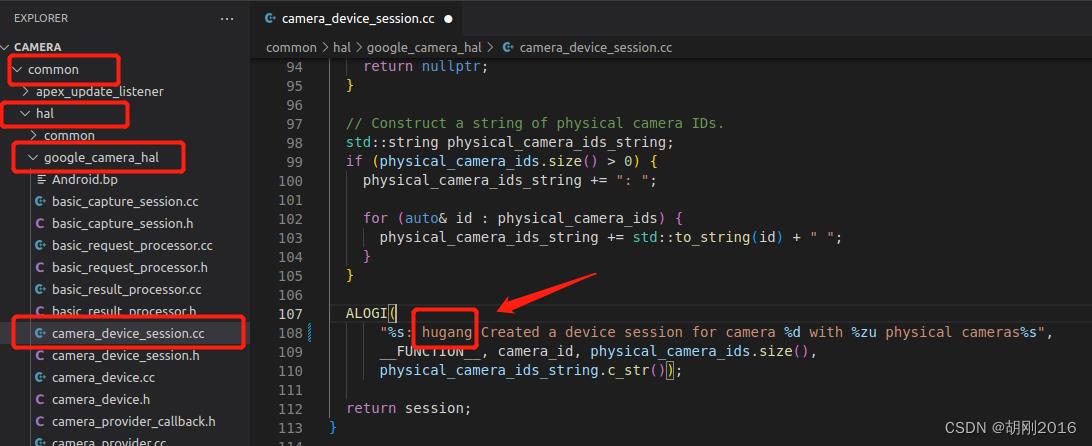
修改 /home/hg/android-12.1.0_r4/hardware/google/camera/common/hal/google_camera_hal/camera_device_session.cc 的 log,然后保存。
5.3 编译
make libgooglecamerahal

会编译 32位和64位两种 libgooglecamerahal.so
64位的 libgooglecamerahal.so 的路径 :out/target/product/emulator_x86_64/obj/SHARED_LIBRARIES/libgooglecamerahal_intermediates/
32位的 libgooglecamerahal.so 的路径 :
/home/hg/android-12.1.0_r4/out/target/product/emulator_x86_64/obj_x86/SHARED_LIBRARIES/libgooglecamerahalutils_intermediates
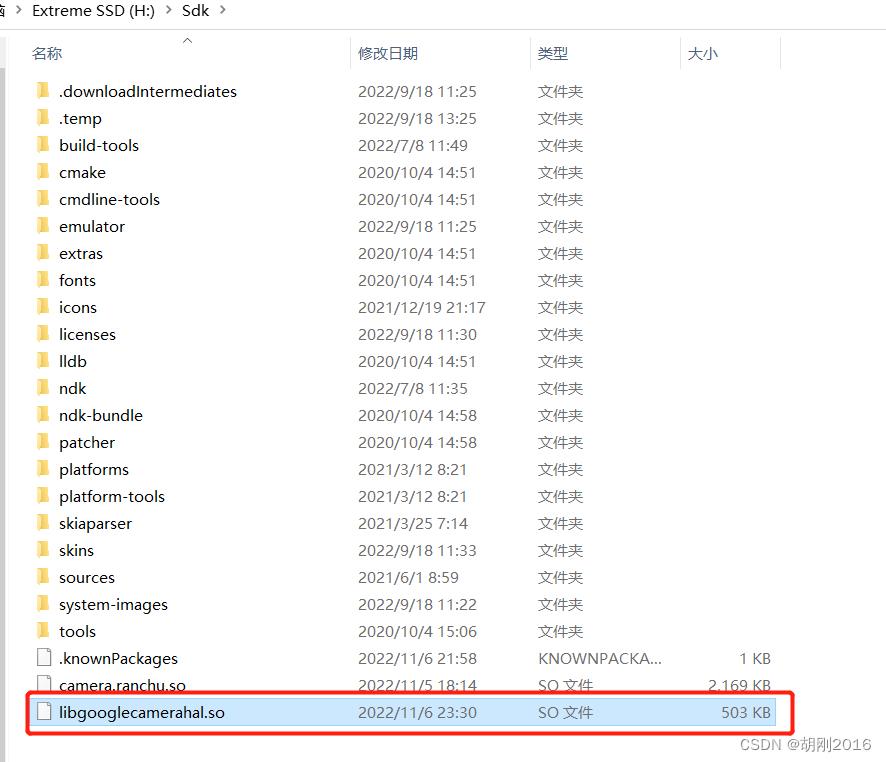
因为我的模拟器上的 libgooglecamerahal.so 是64位的,所以拷贝64位的 so 到 Windows

5.4 push 64位的 libgooglecamerahal.so 到模拟器
adb root &&  adb remount
adb push H:\\Sdk\\libgooglecamerahal.so  /vendor/lib64/
adb shell sync
5.5 重启前置摄像头的进程
查看 camera 的进程
adb shell
ps -A|grep -i camera

可以看到 2.7 的进程号为 381
重启 2.7 的进程
kill -9 381
ps -A|grep -i camera

可以看到 2.1 的进程号变了,现在已经加载到了之前push 的 libgooglecameahal.so
5.6 开启 log 打印,验证
logcat -c
logcat |grep -i hugang

然后,打开 camera
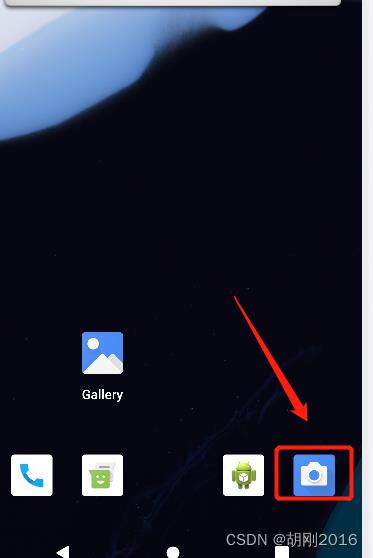
因为我们测试的是前置摄像头,所以要将摄象头切换为前置的
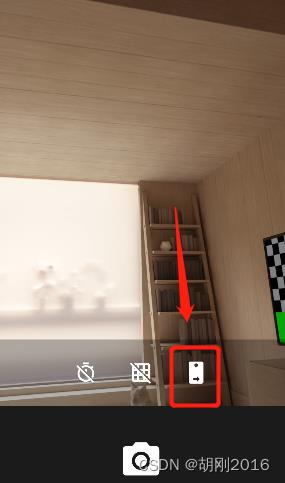
点击上图的按钮,就会切换摄像头为前置的,画面会变成下面这个样子

现在log打印如下
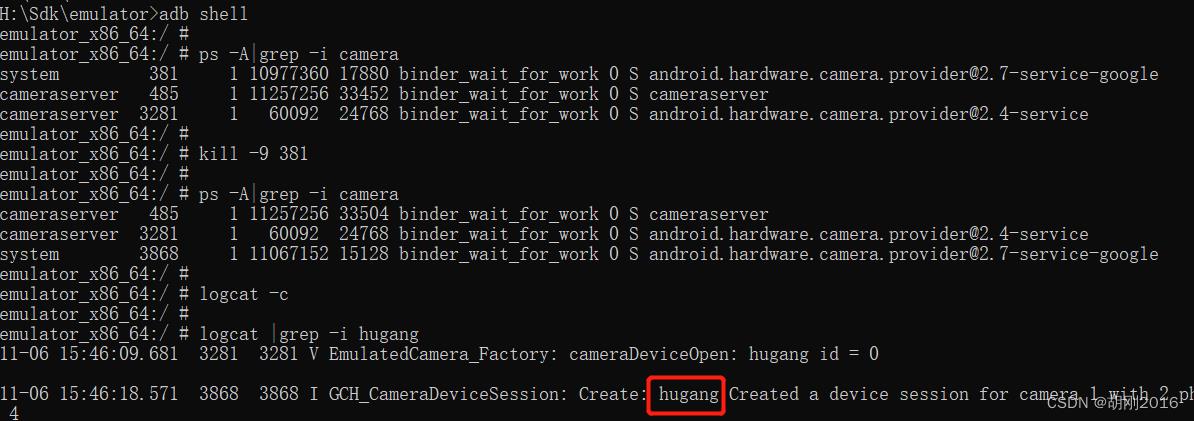
说明成功了
以上是关于Android模拟器中替换库和img的主要内容,如果未能解决你的问题,请参考以下文章