Android 入门之基本布局
Posted 清风伴佳人
tags:
篇首语:本文由小常识网(cha138.com)小编为大家整理,主要介绍了Android 入门之基本布局相关的知识,希望对你有一定的参考价值。
android 入门之基本布局和常用属性
一.LinearLayout (线性布局)
 <LinearLayout
        android:layout_width="match_parent"
        android:layout_height="wrap_content"
        android:orientation="horizontal"></LinearLayout>
其中 layout_width属性指的是布局的宽度,layout_height指的是布局的高度,orientation指的是布局方向。
android:layout_width="match_parent"
match_parent指的是最大也就是铺满。
android:layout_width="wrap_content"
wrap_content指的是自适应
android:layout_width="45dp"
android:layout_height="45dp"
也可以根据自己的需求设置固定的长度或者宽度,单位常用dp或px
android:orientation="horizontal"
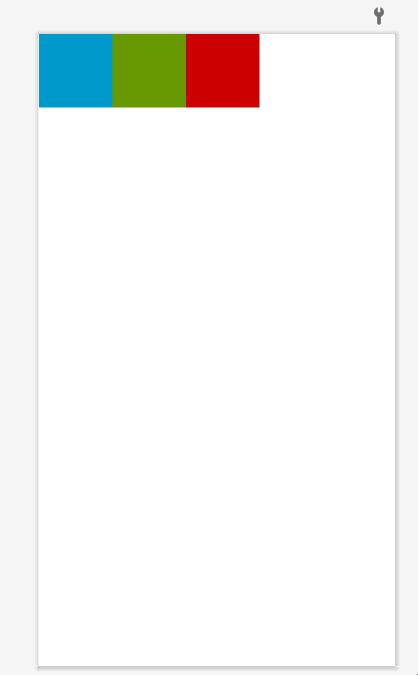
horizontal为横向排布(这里就用imageView举例,比较直观)
 <LinearLayout
        android:layout_width="match_parent"
        android:layout_height="wrap_content"
        android:orientation="horizontal">
        <ImageView
            android:layout_width="85dp"
            android:layout_height="85dp"
            android:background="@android:color/holo_blue_dark"/>
        <ImageView
            android:layout_width="85dp"
            android:layout_height="85dp"
            android:background="@android:color/holo_green_dark"/>
        <ImageView
            android:layout_width="85dp"
            android:layout_height="85dp"
            android:background="@android:color/holo_red_dark"/>
    </LinearLayout>
效果是这样的
android:orientation="vertical"
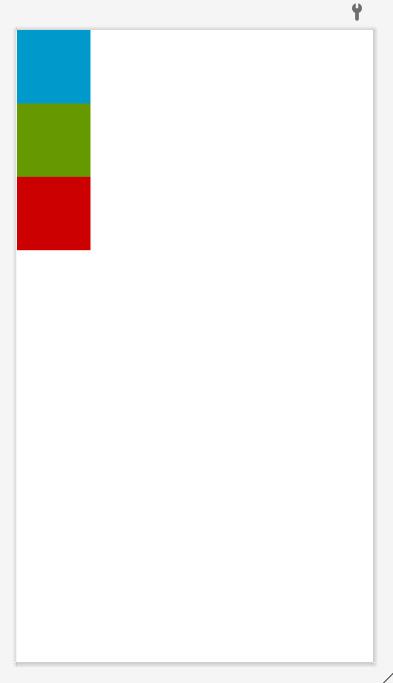
vertical为竖向排列
 <LinearLayout
        android:layout_width="match_parent"
        android:layout_height="wrap_content"
        android:orientation="vertical">
        <ImageView
            android:layout_width="85dp"
            android:layout_height="85dp"
            android:background="@android:color/holo_blue_dark"/>
        <ImageView
            android:layout_width="85dp"
            android:layout_height="85dp"
            android:background="@android:color/holo_green_dark"/>
        <ImageView
            android:layout_width="85dp"
            android:layout_height="85dp"
            android:background="@android:color/holo_red_dark"/>
    </LinearLayout>
效果是这样的
然后我们讲一下他的其他的常用属性,分别是
1.gravity居中方式
android:gravity="center"
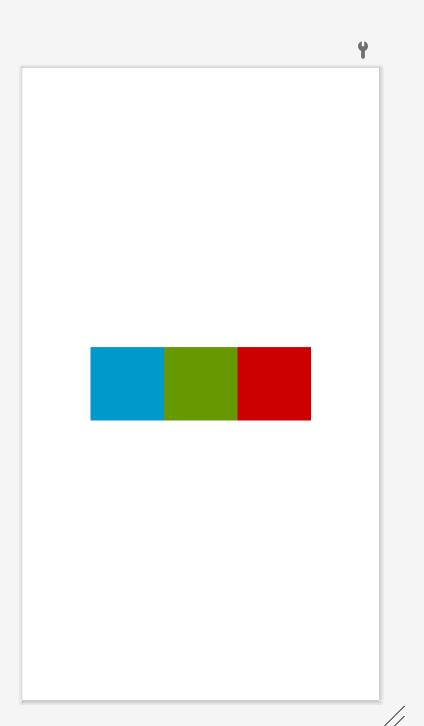
center为布局居中
 <LinearLayout
        android:layout_width="match_parent"
        android:layout_height="match_parent"
        android:gravity="center"
        android:orientation="horizontal">
        <ImageView
            android:layout_width="85dp"
            android:layout_height="85dp"
            android:background="@android:color/holo_blue_dark"/>
        <ImageView
            android:layout_width="85dp"
            android:layout_height="85dp"
            android:background="@android:color/holo_green_dark"/>
        <ImageView
            android:layout_width="85dp"
            android:layout_height="85dp"
            android:background="@android:color/holo_red_dark"/>
    </LinearLayout>
当我们把 布局的高度和宽度全部设置为match_parent(最大),居中方式设置为center
然后还有 bottom(底部),center_horizontal(横向居中),center_vertical(竖向居中),right(居右)等可选属性,我就不一一举例了。
2.layout_gravity相对于父容器的居中方式
同样的可选属性也是center(居中),bottom(底部),center_horizontal(横向居中),center_vertical(竖向居中),right(居右)等可选属性
 <LinearLayout
        android:layout_width="match_parent"
        android:layout_height="match_parent"

        android:orientation="horizontal">
        <ImageView
            android:layout_width="85dp"
            android:layout_gravity=""
            android:layout_height="85dp"
            android:background="@android:color/holo_blue_dark"/>
        <ImageView
            android:layout_width="85dp"
            android:layout_height="85dp"
            android:background="@android:color/holo_green_dark"/>
        <ImageView
            android:layout_width="85dp"
            android:layout_height="85dp"
            android:layout_gravity="center"
            android:background="@android:color/holo_red_dark"/>
    </LinearLayout>
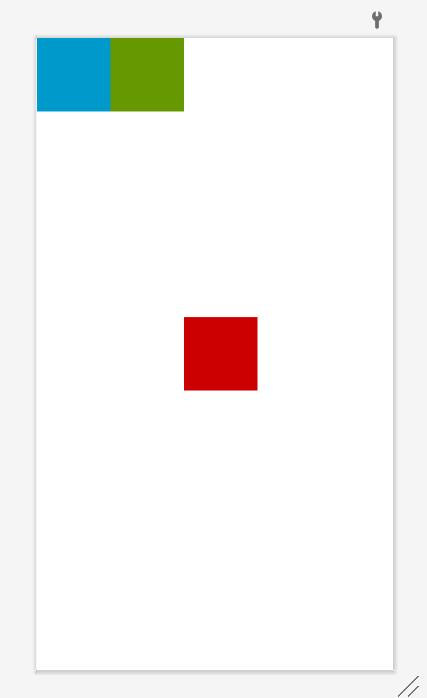
我们删除LinearLayout的gravity属性后,为第三个imageView添加layout_gravity属性
android:layout_gravity="center"
3.layout_weight权重
权重就是每个控件相对于父容器比例
设置权重的时候,想要控件在哪个方向按照权重划分,就要把那个方向的属性设置为0
例如想要设置横向权重划分的话
<ImageView android:layout_width="0dp" android:layout_height="85dp" android:layout_weight="3" android:background="@android:color/holo_blue_dark" />
竖向也是同样的操作,具体按照什么方向划分就要按照LinearLayout的orientation属性。
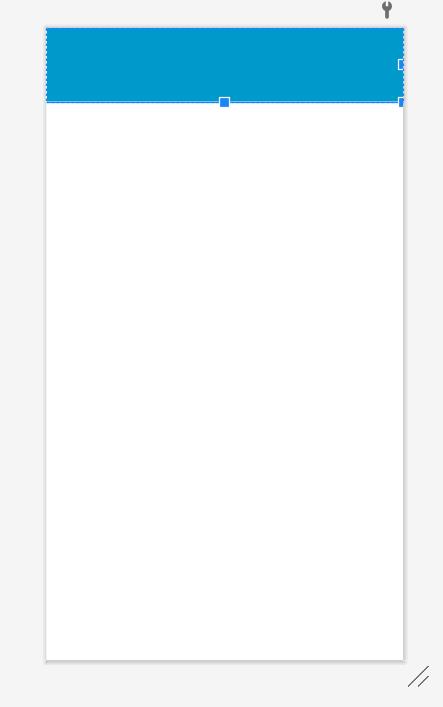
如果只有一个控件,那无论他的比例是几,他都会铺满父容器。例如
 <LinearLayout
        android:layout_width="match_parent"
        android:layout_height="match_parent"
        android:orientation="horizontal">

        <ImageView
            android:layout_width="0dp"
            android:layout_height="85dp"
            android:layout_weight="1"
            android:background="@android:color/holo_blue_dark" />


    </LinearLayout>
android:layout_weight="1"
这里的layout_weight=1效果如下
 <LinearLayout
        android:layout_width="match_parent"
        android:layout_height="match_parent"
        android:orientation="horizontal">

        <ImageView
            android:layout_width="0dp"
            android:layout_height="85dp"
            android:layout_weight="3"
            android:background="@android:color/holo_blue_dark" />


    </LinearLayout>
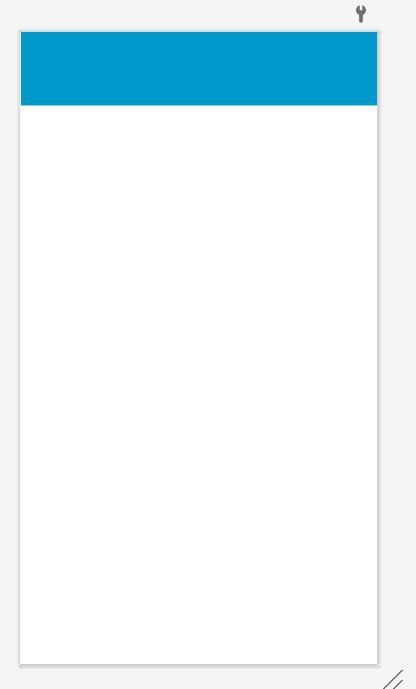
android:layout_weight="3"
这里的 android:layout_weight="3"效果还是一样的
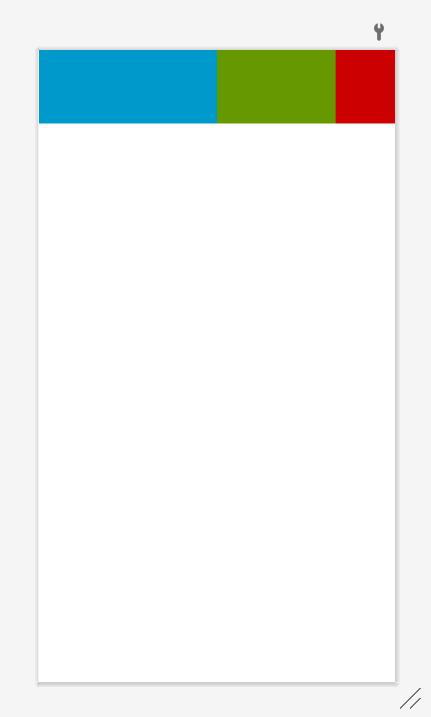
如果有多个控件,就会按照权重去划分每个控件所占的空间
 <LinearLayout
        android:layout_width="match_parent"
        android:layout_height="match_parent"
        android:orientation="horizontal">

        <ImageView
            android:layout_width="0dp"
            android:layout_height="85dp"
            android:layout_weight="3"
            android:background="@android:color/holo_blue_dark" />
        <ImageView
            android:layout_width="0dp"
            android:layout_height="85dp"
            android:layout_weight="2"
            android:background="@android:color/holo_green_dark" />

        <ImageView
            android:layout_width="0dp"
            android:layout_height="85dp"
            android:layout_weight="1"
            android:layout_gravity="end"
            android:background="@android:color/holo_red_dark" />
    </LinearLayout>
二.FrameLayout(帧布局)
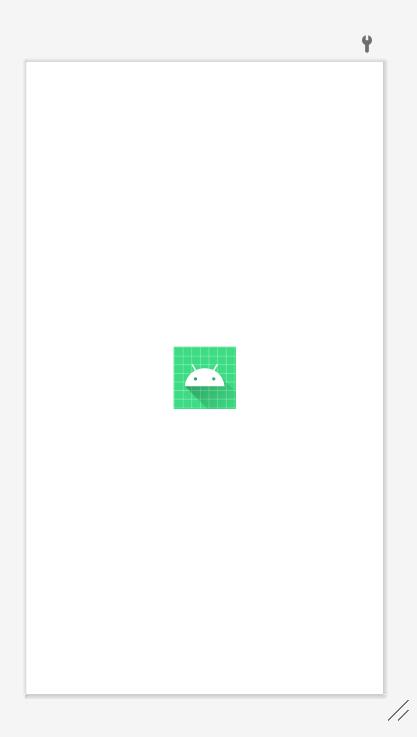
FrameLayout(帧布局)可以说是六大布局中最为简单的一个布局,这个布局直接在屏幕上开辟出一块空白的区域,当我们往里面添加控件的时候,会默认把他们放到这块区域的左上角,而这种布局方式却没有任何的定位方式,所以它应用的场景并不多;帧布局的大小由控件中最大的子控件决定,如果控件的大小一样大的话,那么同一时刻就只能看到最上面的那个组件!后续添加的控件会覆盖前一个!虽然默认会将控件放置在左上角,但是我们也可以通过layout_gravity属性,指定到其他的位置!
常用属性
android:foreground:*设置改帧布局容器的前景图像
android:foregroundGravity:设置前景图像显示的位置
 <FrameLayout
        android:layout_width="match_parent"
        android:layout_height="match_parent"
        android:foreground="@mipmap/ic_launcher"
        android:foregroundGravity="center">
    </FrameLayout>
但是需要注意一点
 <FrameLayout
        android:layout_width="match_parent"
        android:layout_height="match_parent"
        android:foreground="@mipmap/ic_launcher"
        android:foregroundGravity="center">
        <ImageView
            android:layout_width="185dp"
            android:layout_height="185dp"
            android:layout_weight="1"
            android:background="@android:color/holo_green_dark" />
        <ImageView
            android:layout_width="85dp"
            android:layout_height="85dp"
            android:layout_weight="1"
            android:background="@android:color/holo_red_dark" />
    </FrameLayout>
FrameLayout后面添加控件会覆盖住前面添加的控件
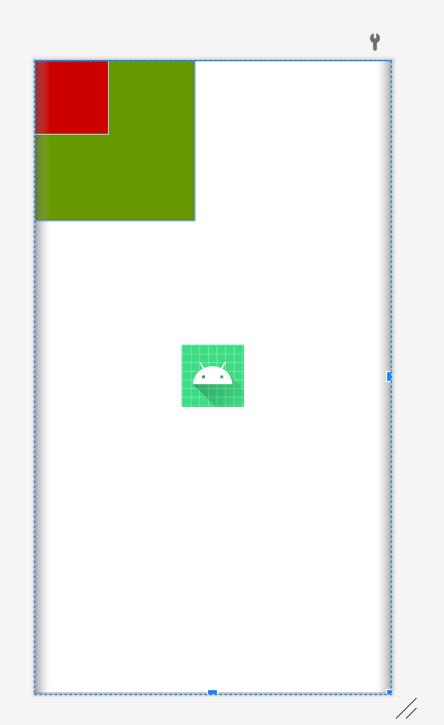
同样两个FrameLayout也会相互覆盖,后面添加的会覆盖住前面添加的
  <FrameLayout
        android:layout_width="match_parent"
        android:layout_height="match_parent"
        android:foreground="@mipmap/ic_launcher"
        android:foregroundGravity="center">
        <ImageView
            android:layout_width="185dp"
            android:layout_height="185dp"
            android:layout_weight="1"
            android:background="@android:color/holo_green_dark" />
        <ImageView
            android:layout_width="85dp"
            android:layout_height="85dp"
            android:layout_weight="1"
            android:background="@android:color/holo_red_dark" />


    </FrameLayout>
    <FrameLayout
        android:layout_width="match_parent"
        android:layout_height="match_parent"
        android:foreground="@android:color/holo_blue_dark"
        >
    </FrameLayout>
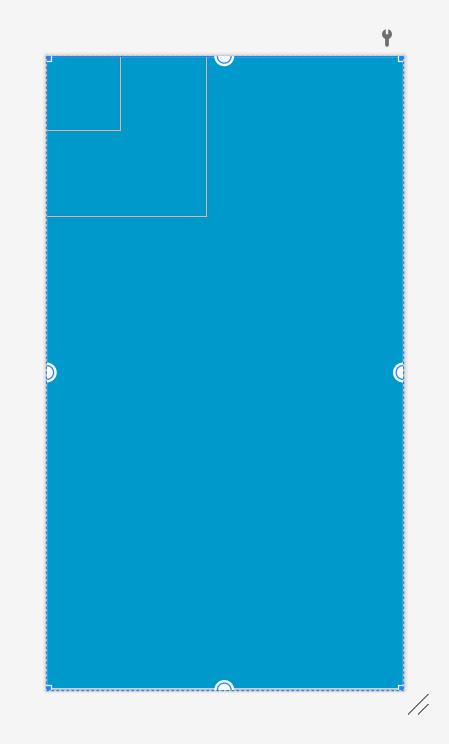
这里可以看到左上角的两个imageView也被覆盖住了
三.RelativeLayout(相对布局)
这个布局应该是最复杂的一个常用布局了,复杂是因为他的属性多。具体分类
自身属性gravity:这个属性和其他的布局一样
子控件属性 (相对于父容器)
layout alignParentLeft(左对齐)
layout_alignParentRight(右对齐)
layout_alignParentTop(顶部对齐)
layout _alignParentBottom (底部对齐)
layout_centerHorizontal(水平居中)
layout centerVertical(垂直居中)
layout_centerInParent(中间居中)
 <RelativeLayout
        android:layout_width="match_parent"
        android:layout_height="match_parent">

        <ImageView
            android:layout_width="85dp"
            android:layout_height="85dp"
            android:layout_alignParentLeft="true"
            android:background="@android:color/holo_red_dark" />

        <ImageView
            android:layout_width="85dp"
            android:layout_height="85dp"
            android:layout_alignParentRight="true"
            android:background="@android:color/holo_green_dark" />

        <ImageView
            android:layout_width="85dp"
            android:layout_centerVertical="true"
            android:layout_height="85dp"
            android:background="@android:color/black" />

        <ImageView
            android:layout_width="85dp"
            android:layout_height="85dp"
            android:layout_centerHorizontal="true"
            android:background="@android:color/holo_blue_bright" />

        <ImageView
            android:layout_width="85dp"
            android:layout_height="85dp"
            android:layout_alignParentTop="true"
            android:background="@android:color/holo_orange_dark" />

        <ImageView
            android:layout_width="85dp"
            android:layout_height="85dp"
            android:layout_alignParentBottom="true"
            android:background="@android:color/holo_purple" />

        <ImageView
            android:layout_width="85dp"
            android:layout_height="85dp"
            android:layout_centerInParent="true"
            android:background="@android:color/darker_gray" />
    </RelativeLayout>
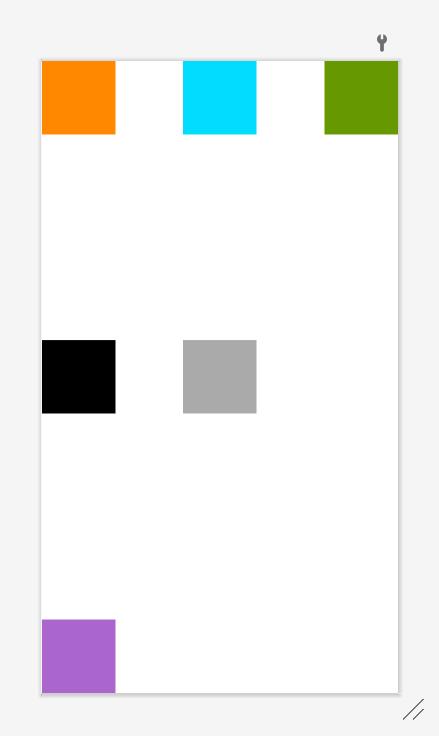
其中
android:layout_alignParentTop="true"
和
android:layout_alignParentLeft="true"
重叠所以会被覆盖,后面添加的会覆盖住前面添加的。
子控件属性 (相对于其他控件)
layout_toLeftof(参考组件的左边)
layout_toRightOf(参考组件的右边)
layout_above(参考组件的上方)
layout_below(参考组件的下方)
layout_alignTop(对齐参考组件的上边界)
layout alignBottom(对齐参考组件的下边界)
layout_alignLeft(对齐参考组件的左边界)
layout_alignRight(对齐参考组件的右边界)
<RelativeLayout
        android:layout_width="match_parent"
        android:layout_height="match_parent">

        <ImageView
            android:id="@+id/image"
            android:layout_width="85dp"
            android:layout_centerInParent="true"
            android:layout_height="85dp"
            android:background="@android:color/holo_red_dark" />

        <ImageView
            android:layout_width="85dp"
            android:layout_height="85dp"
            android:layout_toLeftOf="@+id/image"
            以上是关于Android 入门之基本布局的主要内容,如果未能解决你的问题,请参考以下文章