TensorRT安装与engine生成
Posted AI 菌
tags:
篇首语:本文由小常识网(cha138.com)小编为大家整理,主要介绍了TensorRT安装与engine生成相关的知识,希望对你有一定的参考价值。
1、下载
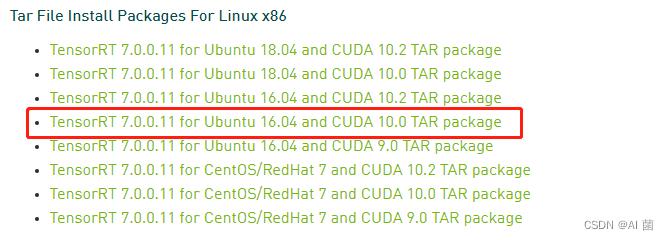
- 选择合适的TensorRT版本,在官网进行下载

- 下载完后后,需要进行解压:
tar -xzvf TensorRT-$version.Linux.$arch-gnu.$cuda.$cudnn.tar.gz
- 添加TensorRT lib的绝对路径到系统环境变量LD_LIBRARY_PATH:
export LD_LIBRARY_PATH=$LD_LIBRARY_PATH:<TensorRT-$version/lib>
- 拷贝lib文件到你指定的项目文件中:
cp ./libs/.* ./dst_file/
安装教程参考:https://blog.csdn.net/weixin_41552975/article/details/114238425
2、pth转onnx
- 使用自带函数进行转
torch.onnx.export()
- 如果网络中使用了自适应池化层,需通过onnxsim来转换
pip install onnxsim
pip install onnxruntime
python -m onnxsim origin.onnx sim.onnx
- 通过trtexec,来验证onnx,并测试推理时间
./trtexec --onnx=model.onnx
3、onnx转engine
/mnt/download/TensorRT-7.0.0.11/bin/trtexec --onnx=best.onnx --verbose --saveEngine=best.engine --explicitBatch --workspace=4096 --fp16
相关链接
- 官方使用指南:https://docs.nvidia.com/deeplearning/tensorrt/install-guide/index.html
- https://blog.csdn.net/dou3516/article/details/125976923
- https://blog.csdn.net/qq_40081208/article/details/118383068
以上是关于TensorRT安装与engine生成的主要内容,如果未能解决你的问题,请参考以下文章