编写playbook实现LNMP架构基于源码方式变量,加密文件
Posted 咖啡调调。
tags:
篇首语:本文由小常识网(cha138.com)小编为大家整理,主要介绍了编写playbook实现LNMP架构基于源码方式变量,加密文件相关的知识,希望对你有一定的参考价值。
编写playbook实现LNMP架构基于源码方式,变量、加密
文章目录
一、准备工作
//修改主机名
[root@localhost ~]# hostnamectl set-hostname ansible
[root@localhost ~]# bash

//修改清单默认路径
[root@ansible ~]# vim /etc/ansible/ansible.cfg
inventory      = /etc/ansible/inventory

//构建清单
[root@ansible ~]# cd /etc/ansible/
[root@ansible ansible]# touch inventory
[root@ansible ansible]# vim inventory
[root@ansible ~]# ansible all --list-hosts
  hosts (3):
    192.168.183.135
    192.168.183.136
    192.168.183.137

//设置免密登录
[root@ansible ansible]# ssh-keygen
[root@ansible ansible]# ssh-copy-id 192.168.183.135
[root@ansible ansible]# ssh-copy-id 192.168.183.136
[root@ansible ansible]# ssh-copy-id 192.168.183.137

//测试清单主机连通性
[root@ansible ansible]# ansible all -m ping
192.168.183.135 | SUCCESS =>
    "ansible_facts":
        "discovered_interpreter_python": "/usr/libexec/platform-python"
    ,
    "changed": false,
    "ping": "pong"

192.168.183.136 | SUCCESS =>
    "ansible_facts":
        "discovered_interpreter_python": "/usr/libexec/platform-python"
    ,
    "changed": false,
    "ping": "pong"

192.168.183.137 | SUCCESS =>
    "ansible_facts":
        "discovered_interpreter_python": "/usr/libexec/platform-python"
    ,
    "changed": false,
    "ping": "pong"
二、编写playbook
环境说明
| 主机 | IP | 版本 | 系统 |
|---|---|---|---|
| ansible | 192.168.183.138 | 2.9.27 | centos 8 |
| nginx | 192.168.183.135 | 1.22.0 | centos 8 |
| mysql | 192.168.183.136 | 5.7.38 | centos 8 |
| php | 192.168.183.137 | 8.1.10 | centos 8 |
//文件结构
[root@ansible ~]# tree /etc/ansible/playbooks/lnmp/
/etc/ansible/playbooks/lnmp/
├── lnmp.yml //playbook
├── mysql_pass.yml //数据库加密文件
├── nginx.conf //nginx主配置文件
└── vars //变量目录
├── mysql_test.yml //mysql变量文件
├── nginx_test.yml //nginx变量文件
└── php_test.yml //php变量文件
1 directory, 6 files
//变量文件
[root@ansible ~]# cat /etc/ansible/playbooks/lnmp/vars/nginx_test.yml
install_dir: /usr/local/nginx
package_nginx: nginx-1.22.0
[root@ansible ~]# cat /etc/ansible/playbooks/lnmp/vars/mysql_test.yml
package_mysql: mysql-5.7.38-linux-glibc2.12-x86_64
unzip_dir: /usr/local/
install_dir: /usr/local/mysql
data_dir: /opt/data
[root@ansible ~]# cat /etc/ansible/playbooks/lnmp/vars/php_test.yml
package_php: php-8.1.10
install_dir: /usr/local/php8
//nginx.conf文件
[root@ansible lnmp]# cat nginx.conf
#user nobody;
worker_processes 1;
#error_log logs/error.log;
#error_log logs/error.log notice;
#error_log logs/error.log info;
#pid logs/nginx.pid;
events
worker_connections 1024;
http
include mime.types;
default_type application/octet-stream;
#log_format main '$remote_addr - $remote_user [$time_local] "$request" '
# '$status $body_bytes_sent "$http_referer" '
# '"$http_user_agent" "$http_x_forwarded_for"';
#access_log logs/access.log main;
sendfile on;
#tcp_nopush on;
#keepalive_timeout 0;
keepalive_timeout 65;
#gzip on;
server
listen 80;
server_name localhost;
#charset koi8-r;
#access_log logs/host.access.log main;
location /
root html;
index index.php index.html index.htm;
#error_page 404 /404.html;
# redirect server error pages to the static page /50x.html
#
error_page 500 502 503 504 /50x.html;
location = /50x.html
root html;
# proxy the PHP scripts to Apache listening on 127.0.0.1:80
#
#location ~ \\.php$
# proxy_pass http://127.0.0.1;
#
# pass the PHP scripts to FastCGI server listening on 127.0.0.1:9000
#
location ~ \\.php$
root html;
fastcgi_pass 192.168.183.137:9000;
fastcgi_index index.php;
fastcgi_param SCRIPT_FILENAME /var$fastcgi_script_name;
include fastcgi_params;
# deny access to .htaccess files, if Apache's document root
# concurs with nginx's one
#
#location ~ /\\.ht
# deny all;
#
# another virtual host using mix of IP-, name-, and port-based configuration
#
#server
# listen 8000;
# listen somename:8080;
# server_name somename alias another.alias;
# location /
# root html;
# index index.html index.htm;
#
#
# HTTPS server
#
#server
# listen 443 ssl;
# server_name localhost;
# ssl_certificate cert.pem;
# ssl_certificate_key cert.key;
# ssl_session_cache shared:SSL:1m;
# ssl_session_timeout 5m;
# ssl_ciphers HIGH:!aNULL:!MD5;
# ssl_prefer_server_ciphers on;
# location /
# root html;
# index index.html index.htm;
#
#
//playbook文件
[root@ansible ~]# cat /etc/ansible/playbooks/lnmp/lnmp.yml
---
- name: Disable selinux and firewalld
hosts: all
tasks:
- name: disabled selinux
lineinfile:
path: /etc/selinux/config
regexp: '^SELINUX='
line: SELINUX=disabled
- name: disabled firewalld
service:
name: firewalld
state: stopped
enabled: no
- name: Deploy the nginx service
hosts: 192.168.183.135
vars_files:
- /etc/ansible/playbooks/lnmp/vars/nginx_test.yml
tasks:
- name: Create the nginx user
user:
name: nginx
system: yes
create_home: no
shell: /sbin/nologin
state: present
- name: Create the nginx directory
file:
path: " install_dir "
state: directory
owner: nginx
group: nginx
recurse: yes
- name: Install dependencies
yum: name=pcre-devel,openssl,openssl-devel,gd-devel,gcc,gcc-c++,vim,wget,make state=present
- name: Download the nginx package
copy:
src: /opt/ package_nginx .tar.gz
dest: /opt/
- name: Unzip the nginx package
unarchive:
src: /opt/ package_nginx .tar.gz
dest: /usr/local/
remote_src: yes
- name: Configure and make install
shell:
cd /usr/local/ package_nginx && \\
./configure \\
--prefix=/usr/local/nginx \\
--user=nginx \\
--group=nginx \\
--with-debug \\
--with-http_ssl_module \\
--with-http_realip_module \\
--with-http_image_filter_module \\
--with-http_gunzip_module \\
--with-http_gzip_static_module \\
--with-http_stub_status_module \\
--http-log-path=/var/log/nginx/access.log \\
--error-log-path=/var/log/nginx/error.log && make && make install
- name: Configuring environment Variables
copy:
dest: /etc/profile.d/nginx.sh
content: export PATH= install_dir /sbin:$PATH
- name: Write nginx service file
copy:
dest: /usr/lib/systemd/system/nginx.service
content: |
[Unit]
Description=nginx server daemon
After=network.target
[Service]
Type=forking
ExecStart= install_dir /sbin/nginx
ExecStop= install_dir /sbin/nginx -s stop
ExecReload=/bin/kill -HUP \\$MAINPID
[Install]
WantedBy=multi-user.target
- name: Start the nginx service
service:
name: nginx
state: started
enabled: yes
- name: Deploy mysql
hosts: 192.168.183.136
vars_files:
- /etc/ansible/playbooks/lnmp/vars/mysql_test.yml
tasks:
- name: Create a mysql user
user:
name: mysql
system: yes
create_home: no
shell: /sbin/nologin
state: present
- name: Download and Unzip the mysql package
unarchive:
src: /opt/ package_mysql .tar.gz
dest: " unzip_dir "
- name: Mysql Soft links
file:
src: " unzip_dir package_mysql "
dest: " install_dir "
state: link
- name: Change the owner of the owner group
file:
path: " install_dir "
owner: mysql
group: mysql
state: directory
recurse: yes
- name: Include Soft links
file:
src: " install_dir /include"
dest: /usr/include/mysql
state: link
- name: Configuring environment Variables
copy:
dest: /etc/ld.so.conf.d/mysql.conf
content: " install_dir /lib/"
- name: Configuring environment Variables mysql.sh
copy:
dest: /etc/profile.d/mysql.sh
content: export PATH= install_dir /bin:$PATH
- name: Create a data directory
file:
path: " data_dir "
owner: mysql
group: mysql
state: directory
recurse: yes
- name: Initializing the database
shell:
cat /tmp/pass || mysqld --initialize --user mysql --datadir data_dir &> /tmp/pass
- name: Generating configuration files
copy:
dest: /etc/my.cnf
content: |
[mysqld]
basedir = install_dir
datadir = data_dir
socket = /tmp/mysql.sock
port = 3306
pid-file = data_dir /mysql.pid
user = mysql
skip-name-resolve
- name: mysqld service file
copy:
dest: /usr/lib/systemd/system/mysqld.service
content: |
[Unit]
Description=mysqld server daemon
After=network.target
[Service]
Type=forking
ExecStart= install_dir /support-files/mysql.server start
ExecStop= install_dir /support-files/mysql.server stop
ExecReload=/bin/kill -HUP $MAINPID
[Install]
WantedBy=multi-user.target
- name: reload daemon
shell:
systemctl daemon-reload
- name: Start the mysqld service
service:
name: mysqld
state: started
enabled: yes
- name: Install PHP
hosts: 192.168.183.137
vars_files:
- /etc/ansible/playbooks/lnmp/vars/php_test.yml
tasks:
- name: Download and Unzip the PHP package
unarchive:
src: /opt/ package_php .tar.gz
dest: /usr/local/
- name: Install dependencies
yum: name=make,libxml2-devel,openssl-devel,curl-devel,libjpeg-devel,libpng-devel,libicu-devel,freetype-devel,openldap-devel,openldap,openldap-devel,gcc,gcc-c++,sqlite-devel,libzip-devel,http://mirror.centos.org/centos/8-stream/PowerTools/x86_64/os/Packages/oniguruma-devel-6.8.2-2.el8.x86_64.rpm,openssl,libcurl-devel.x86_64,libpng.x86_64,libpng-devel.x86_64,freetype-devel
- name: Configure and make install
shell:
cd /usr/local/ package_php && \\
./configure --prefix= install_dir --with-config-file-path=/usr/local/php/etc --enable-mysqlnd --with-mysqli=mysqlnd --with-pdo-mysql=mysqlnd --enable-fpm --enable-static --enable-sockets --with-zip --enable-calendar --enable-bcmath --enable-mbstring --with-zlib --with-iconv=/usr/local/libiconv --enable-gd --enable-mbstring --with-curl --with-freetype --disable-ipv6 --disable-debug --with-openssl --enable-intl --enable-opcach --with-iconv && make && make install
- name: Configuring environment Variables
copy:
dest: /etc/profile.d/php8.sh
content: export PATH= install_dir /bin:$PATH
- name: Copy Configuration file startup script
copy:
src: " install_dir /etc/php-fpm.conf.default"
dest: " install_dir /etc/php-fpm.conf"
remote_src: yes
- name: Copy Configuration file startup script
copy:
src: " install_dir /etc/php-fpm.d/www.conf.default"
dest: " install_dir /etc/php-fpm.d/www.conf"
remote_src: yes
- name: PHP service file
copy:
dest: /usr/lib/systemd/system/php.service
content: |
[Unit]
Description=php
After=network.target
[Service]
Type=forking
ExecStart= install_dir /sbin/php-fpm
ExecStop=ps -ef |grep php|grep -v grep|awk 'print $2' |xargs kill -9
ExecReload=/bin/kill -HUP $MAINPID
[Install]
WantedBy=multi-user.target
- name: Start the PHP service
service:
name: php
state: started
enabled: yes
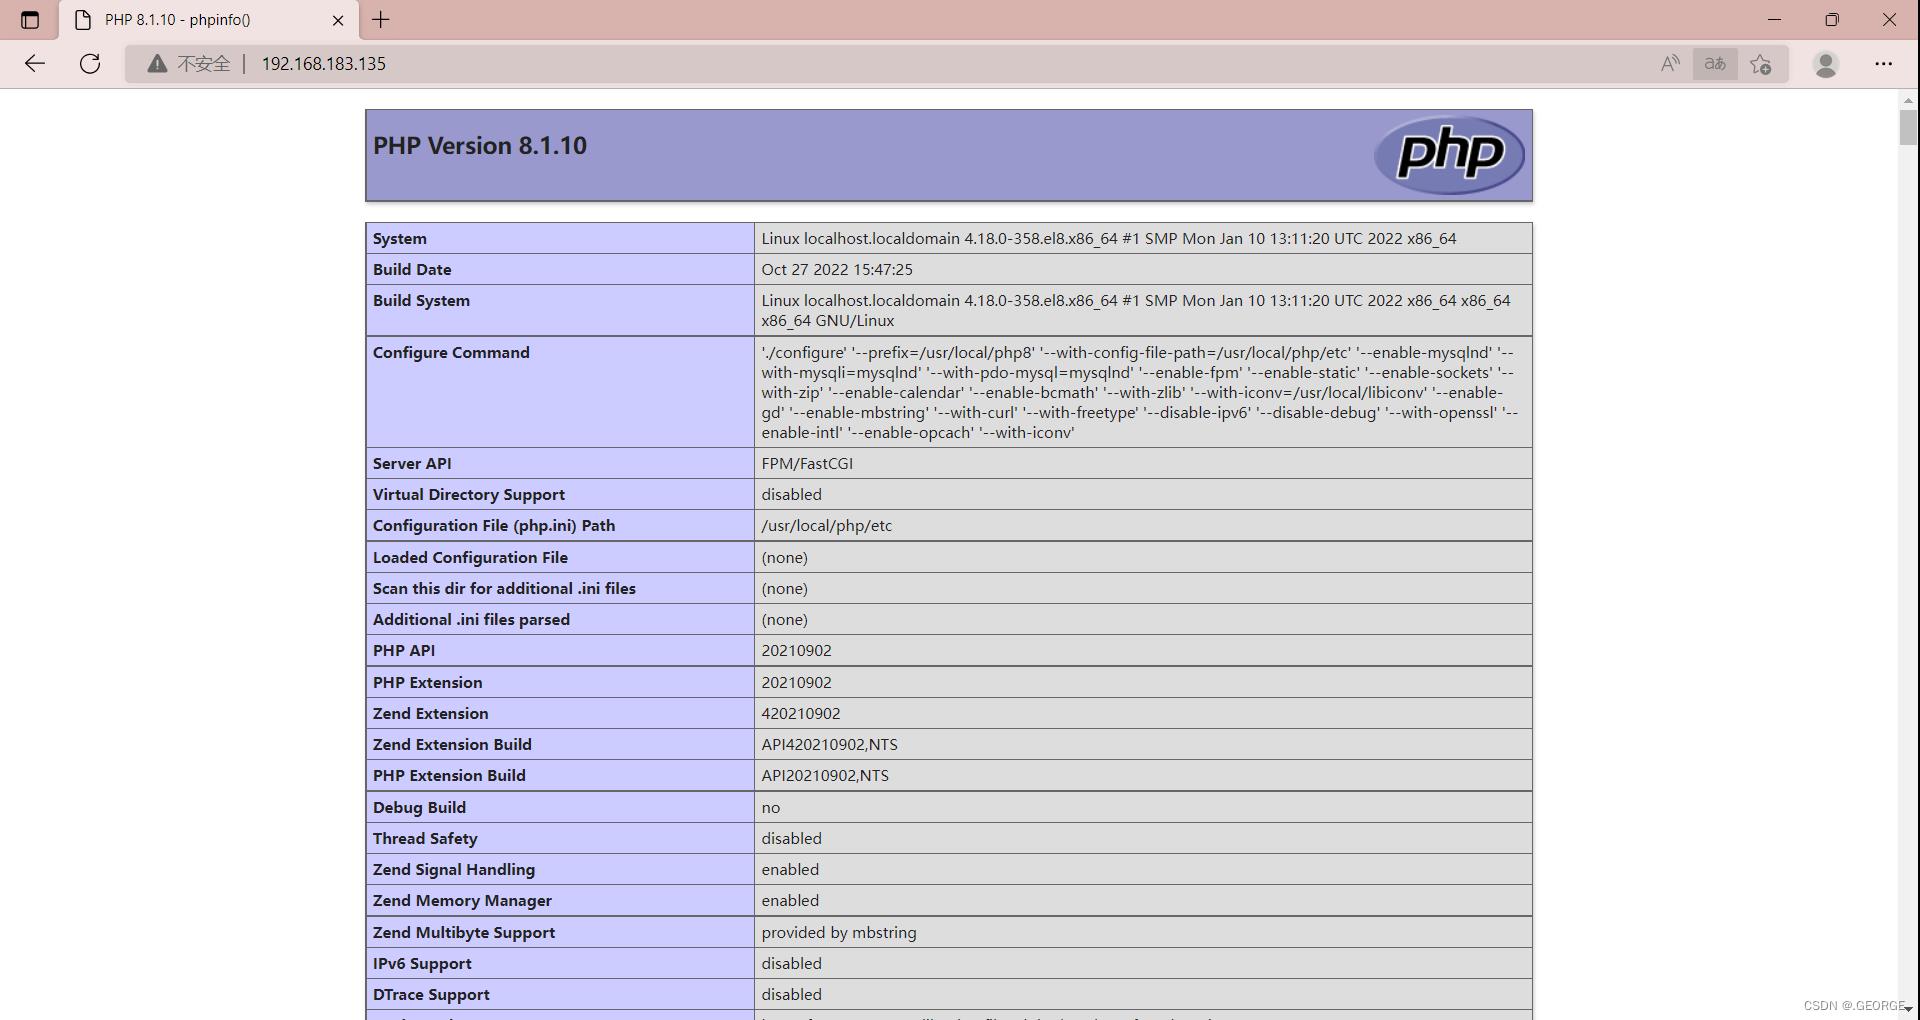
- name: Create index.php file
copy:
dest: /var/index.php
content: |
<?php
phpinfo();
?>
- name: Exposing php Ports
lineinfile:
path: " install_dir /etc/php-fpm.d/www.conf"
regexp: '^listen = '
line: listen = 192.168.183.137:9000
- name: Connect the nginx
lineinfile:
path: " install_dir /etc/php-fpm.d/www.conf"
regexp: '^;listen.allowed_clients = '
line: listen.allowed_clients = 192.168.183.135
- name: Restart the PHP service
service:
name: php
state: restarted
- name: Create index.php file in nginx
hosts: 192.168.183.135
vars_files:
- /etc/ansible/playbooks/lnmp/vars/nginx_test.yml
tasks:
- name: Backup nginx
copy:
src: " install_dir /conf/nginx.conf"
dest: " install_dir /conf/nginx.conf-bak"
remote_src: yes
- name: Generate a new nginx
copy:
src: /etc/ansible/playbooks/lnmp/nginx.conf
dest: " install_dir /conf/nginx.conf"
- name: Restart the nginx service
service:
name: nginx
state: restarted
三、检查playbook语法
在执行playbook之前,最好要进行验证,确保其内容的语法正确无误。ansible-playbook命令提供了一个–syntax-check选项,可用于验证playbook的语法。
[root@ansible playbooks]# ansible-playbook --syntax-check lnmp.yml

playbook: lnmp.yml
四、执行剧本
执行playbook。
[root@ansible lnmp]# ansible-playbook lnmp.yml
五、访问测试
访问时需确保selinux状态为disabled状态。
六、加密数据库密码文件
//查看mysql密码
[root@ansible ~]# ansible 192.168.183.136 -a 'cat /tmp/pass'
192.168.183.136 | CHANGED | rc=0 >>
2022-10-25T14:15:10.414652Z 0 [Warning] TIMESTAMP with implicit DEFAULT value is deprecated. Please use --explicit_defaults_for_timestamp server option (see documentation for more details).
2022-10-25T14:15:10.616701Z 0 [Warning] InnoDB: New log files created, LSN=45790
2022-10-25T14:15:10.668312Z 0 [Warning] InnoDB: Creating foreign key constraint system tables.
2022-10-25T14:15:10.672358Z 0 [Warning] No existing UUID has been found, so we assume that this is the first time that this server has been started. Generating a new UUID: 6f7a02ae-546f-11ed-a76c-000c2907de9b.
2022-10-25T14:15:10.672933Z 0 [Warning] Gtid table is not ready to be used. Table 'mysql.gtid_executed' cannot be opened.
2022-10-25T14:15:10.911035Z 0 [Warning] A deprecated TLS version TLSv1 is enabled. Please use TLSv1.2 or higher.
2022-10-25T14:15:10.911045Z 0 [Warning] A deprecated TLS version TLSv1.1 is enabled. Please use TLSv1.2 or higher.
2022-10-25T14:15:10.911386Z 0 [Warning] CA certificate ca.pem is self signed.
2022-10-25T14:15:10.940083Z 1 [Note] A temporary password is generated for root@localhost: spEob8CoO?sj

//写到加密yml文件中
[root@ansible ~]# echo "mysql_pass=spEob8CoO?sj" >mysql_pass.yml

//加密输入新密码
[root@ansible ~]# ansible-vault encrypt mysql_pass.yml
New Vault password:
Confirm New Vault password:
Encryption successful

//查看加密后的密码
[root@ansible ~]# cat mysql_pass.yml
$ANSIBLE_VAULT;1.1;AES256
34306262343765663234346436323663336161303432366138346530353533393035356632333366
3633613938333938663636656436613566303332353963330a353164363134343636343337333866
38376536663564646339643566653934656534633933346539346466373166623065333538356431
3362363966323365320a623364633731366334396264353933376235333965336263333761323961
64363863363438376533343437333238663430396131623239323032376435313566

//输入查看密码
[root@ansible ~]# ansible-vault view mysql_pass.yml
Vault password:
mysql_pass=spEob8CoO?sj
实验——实现基于LNMP的电子商务平台架构
一、 环境准备: centos系统、nginx源码、 yum源(安装mysql与php-fpm)
二、 安装步骤:
1、先确定一下防火墙都清空了

2、安装nginx(推荐源码编译安装)
3、yum方式安装mariadb、mariadb-server、 php-mysql、 php、 php-fpm 
4、下载小米商城源码, 解压缩到/data/web目录, 修改权限为nobody
新建目录,然后解压缩到目录下

发现所有文件的属主属组都是root,权限太大
于是我们将它改为nobody
三、 修改配置文件:
1、修改nginx配置, 把nginx.conf.default模板复制为配置文件进行修改,指定网站访问目录为/data/web, 并设置默认用户和配置与php-fpm交互
将模板复制为配置文件
修改配置文件

用户为nobody

启用info日志,更改日志的路径(如果没有这个路径记得自己去建好)

连接数改大一点,改为65535

将日志去掉注释,并修改存放路径
设置其他属性

写上端口和服务名(名随便起),指定网站访问目录为/data/web

因为上面定义了路径,因此下面这行就可以删掉了:

删掉后如下:

与PHP交互,将PHP那段代码取消注释,并将php扩展解析文件路径(fastcgi_param那行)修改为如下代码:
fastcgi_param SCRIPT_FILENAME $document_root$fastcgi_script_name;
修改完毕,保存退出,然后可以使用nginx -t查看是否有语法错误
它显示warn警告说连接数设置的有些大,超过了1024
于是我们修改一下允许打开的最大文件数:

然后再测一下,没有语法错误了
然后使用systemctl start nginx启动一下服务
2、 修改PHP.ini中功能配置
编辑配置文件

修改时钟配置 date.timezone = Asia/Shanghai

设置short_open_tag = On

然后保存退出,使用systemctl start php-fpm启动一下服务
同样,使用systemctl start mariadb启动一下数据库服务
修改好之后我们可以先验证一下,看看之前设置的路径是否正确,我们就在/data/web/下建一个test.html文件

然后访问一下

访问成功,说明路径设置正确了。
四、网站部署和验证
登录数据库,创建一个新的数据库,起名叫xiaomi
exit退出数据库。
我们发现php程序的用户是apache,但是我们nginx程序之前设置的只有nobody才能写进去
于是我们要修改php的配置文件

这里用户和组都是apache

我们将它改为nobody

使用systemctl restart php-fpm重启服务
然后我们就可以去浏览器上访问IP/ebak/index.php了
用户名为admin,密码为123456,登陆
登陆之后点击参数设置,然后写上参数:
点击提交,就将配置文件修改成功了。如果网站方法无法使用,可以手动去改配置文件,方法如下:
找到配置文件,在/data/web/data下,有一个config.php文件
将数据库名称改为xiaomi,密码改成空
然后就可以恢复数据了,点击“恢复数据”:
点击“选择目录”

选择database_20170529184126
选择要导入的数据库为xiaomi

点击开始恢复

恢复完成

然后我们就可以访问啦!输入IP/index.php
访问成功!!
五、后台管理
先要把/var/lib/nginx/下的tmp文件夹的属主属组也修改成nobody

因为nginx里很多默认安装路径都是/var/lib/nginx/下的tmp,所以以后会有修改此文件夹下的内容,需要给nobody权限
编辑nginx的配置文件

添加一个index.php

检测一下,没有问题
使用systemctl restart nginx重启服务
访问一下IP/admin(因为刚才改过配置文件,所以其实它自动去找admin下的index.php页面去访问的,如果你不想改配置文件,那么输入IP/admin/index.php也可以访问)
输入账号admin,密码为admin888
就可以开始管理了
配置Nginx状态监控页面
#Nginx运行状态,StubStatus模块获取Nginx自启动的工作状态(编译时要开启对应功能)
首先编辑nginx配置文件

开启模块功能

保存退出,nginx -t检测是否有错,然后systemctl restart nginx重启服务
然后访问页面IP/status

出来状态页面了。

我们也可以给它加个日志,然后也可以再加个密码
同样,编辑nginx配置文件/etc/nginx/nginx.conf

保存退出,用nginx -t检查一下没有错误。然后systemctlrestart nginx重启服务。
然后进入/etc/nginx目录,敲htpasswd命令,生成htpasswd文件,给nginx用户设置密码

然后再次访问status页面的时候就需要输入用户名和密码了~
Nginx实现路由-URL重定向
rewrite功能就是,使用nginx提供的全局变量或自己设置的变量,结合正则表达式和标志位实现url重写以及重定向。rewrite只能放在server{},location{},if{}中,并且只能对域名后边的除去传递的参
数外的字符串起作用
举例:http://www.magedu.com/index.php =>http://www.magedu.com/new/index.php
表明看rewrite和location功能有点像,都能实现跳转,主要区别在于rewrite是在同一域名内更改获取资源的路径,而location是对一类路径做控制访问或反向代理,可以proxy_pass到其他机器。很多情况下rewrite也会写在location里,它们的执行顺序是:
1、执行server块的rewrite指令
2、执行location匹配
3、执行选定的location中的rewrite指令
如果其中某步URI被重写,则重新循环执行1-3,直到找到真实存在的文件;循环超过10次,则返回500Internal Server Error错误。
语法rewrite regexreplacement [flag];

flag标志位
last: 相当于Apache的[L]标记,表示完成rewrite
break: 停止执行当前虚拟主机的后续rewrite指令集
redirect: 返回302临时重定向,地址栏会显示跳转后的地址
permanent: 返回301永久重定向,地址栏会显示跳转后的地址
因为301和302不能简单的只返回状态码,还必须有重定向的URL,
这就是return指令无法返回301,302的原因了。这里 last 和 break区别有点难以理解:
last一般写在server和if中,而break一般使用在location中
last不终止重写后的url匹配,即新的url会再从server走一遍匹配流程,而break终止重写后的匹配break和last都能组织继续执行后面的rewrite指令
if判断指令
语法为if(condition){...},对给定的条件condition进行判断。如果为真,大括号内的rewrite指令将被执行,if条件(conditon)可以是如下任何内容:
当表达式只是一个变量时,如果值为空或任何以0开头的字符串都会当做false直接比较变量和内容时,使用=或!=
~正则表达式匹配, ~*不区分大小写的匹配, !~区分大小写的不匹配
-f和!-f用来判断是否存在文件
-d和!-d用来判断是否存在目录
-e和!-e用来判断是否存在文件或目录
-x和!-x用来判断文件是否可执行
常见全局变量
$host :请求主机头字段,否则为服务器名称。
$http_user_agent :客户端agent信息
$http_cookie :客户端cookie信息
$limit_rate :这个变量可以限制连接速率。
$request_method :客户端请求的动作,通常为GET或POST。
$remote_addr :客户端的IP地址。
$request_filename :当前请求的文件路径,由root或alias指令与URI请
求生成。
$scheme : HTTP方法(如http, https)。
$server_protocol :请求使用的协议,通常是HTTP/1.0或HTTP/1.1。
$server_addr :服务器地址,在完成一次系统调用后可以确定这个值。
$server_name :服务器名称。
$server_port :请求到达服务器的端口号。
$request_uri :包含请求参数的原始URI,不包含主机名,如:
”/foo/bar.php?arg=baz”
案例
实验
比如我们来配一个:如果是IE浏览器,就跳转到手机端界面(就是上面的案例1)
编辑nginx配置文件

添加如下三行代码:

保存退出,检查语法错误,重启服务。
然后使用IE浏览器访问一下界面,果然变成手机版了。
类似的,如果改为如下代码的话

就是用IE浏览器访问界面,都会跳转到百度页面去。(redirect表示跳转)
本文出自 “Ty_endless” 博客,请务必保留此出处http://tyendless.blog.51cto.com/12435756/1978990
以上是关于编写playbook实现LNMP架构基于源码方式变量,加密文件的主要内容,如果未能解决你的问题,请参考以下文章