Unity 之 解决2019之后的版本打apk卡到Building Gradle project问题
Posted 陈言必行
tags:
篇首语:本文由小常识网(cha138.com)小编为大家整理,主要介绍了Unity 之 解决2019之后的版本打apk卡到Building Gradle project问题相关的知识,希望对你有一定的参考价值。
Unity 之 解决2019之后的版本打apk卡到Building Gradle project问题
一,遇到问题
安装环境:安装android Build Support;【需要将下拉菜单的两项一并安装】
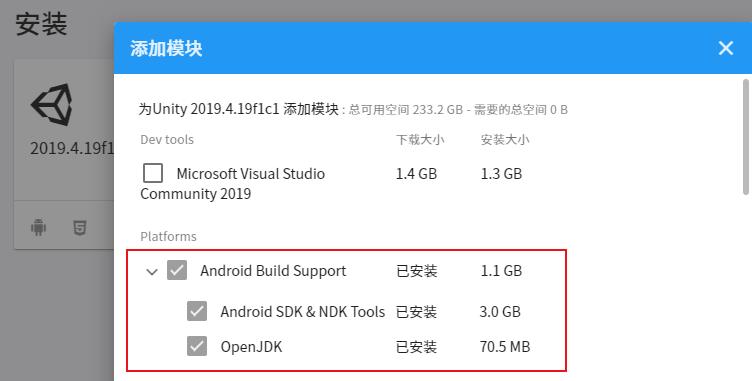
问题:
Unity2019 版本打包apk,卡到Building Gradle project这一直不动,长时间等待后打包失败
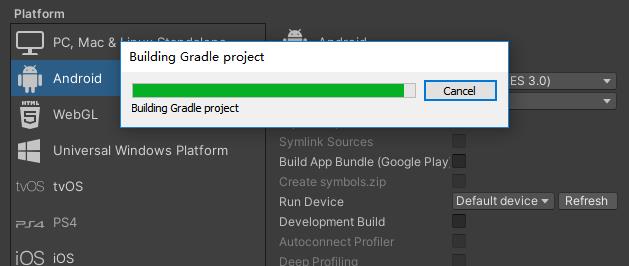
二,分析问题
失败原因:是在下载的对应版本Gradle时,需要访问外网下载速度慢或者网络不稳定导致失败
三,解决问题
方法一:修改配置文件
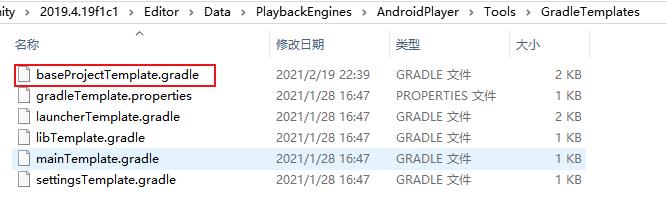
1,找到Untiy安装目录下的AndroidPlayer\\Tools\\GradleTemplates文件夹下的 baseProjectTemplate.gradle 文件
参考我的目录:
D:\\Program Files\\Unity\\2019.4.19f1c1\\Editor\\Data\\PlaybackEngines\\AndroidPlayer\\Tools\\GradleTemplates
// GENERATED BY UNITY. REMOVE THIS COMMENT TO PREVENT OVERWRITING WHEN EXPORTING AGAIN

allprojects
    buildscript
        repositories **ARTIFACTORYREPOSITORY**
            google()
            jcenter()


        dependencies
            // If you are changing the Android Gradle Plugin version, make sure it is compatible with the Gradle version preinstalled with Unity
            // See which Gradle version is preinstalled with Unity here https://docs.unity3d.com/Manual/android-gradle-overview.html
            // See official Gradle and Android Gradle Plugin compatibility table here https://developer.android.com/studio/releases/gradle-plugin#updating-gradle
            // To specify a custom Gradle version in Unity, go do "Preferences > External Tools", uncheck "Gradle Installed with Unity (recommended)" and specify a path to a custom Gradle version
            classpath 'com.android.tools.build:gradle:3.4.0'
            **BUILD_SCRIPT_DEPS**


    repositories **ARTIFACTORYREPOSITORY**
        google()
        jcenter()
        flatDir
            dirs "$project(':unityLibrary').projectDir/libs"


task clean(type: Delete)
    delete rootProject.buildDir
修改为:
// GENERATED BY UNITY. REMOVE THIS COMMENT TO PREVENT OVERWRITING WHEN EXPORTING AGAIN

allprojects
    buildscript
        repositories **ARTIFACTORYREPOSITORY**
            //google()
            //jcenter()
           maven url 'http://maven.aliyun.com/repository/google'
           maven url 'http://maven.aliyun.com/repository/gradle-plugin'
           maven url 'http://maven.aliyun.com/nexus/content/groups/public/'
           maven url 'http://maven.aliyun.com/repository/jcenter'


        dependencies
            // If you are changing the Android Gradle Plugin version, make sure it is compatible with the Gradle version preinstalled with Unity
            // See which Gradle version is preinstalled with Unity here https://docs.unity3d.com/Manual/android-gradle-overview.html
            // See official Gradle and Android Gradle Plugin compatibility table here https://developer.android.com/studio/releases/gradle-plugin#updating-gradle
            // To specify a custom Gradle version in Unity, go do "Preferences > External Tools", uncheck "Gradle Installed with Unity (recommended)" and specify a path to a custom Gradle version
            classpath 'com.android.tools.build:gradle:3.4.0'
            **BUILD_SCRIPT_DEPS**


    repositories **ARTIFACTORYREPOSITORY**
        //google()
        //jcenter()
        maven url 'http://maven.aliyun.com/repository/google'
        maven url 'http://maven.aliyun.com/repository/gradle-plugin'
        maven url 'http://maven.aliyun.com/nexus/content/groups/public/'
        maven url 'http://maven.aliyun.com/repository/jcenter'

        flatDir
            dirs "$project(':unityLibrary').projectDir/libs"


task clean(type: Delete)
    delete rootProject.buildDir
然后重新打包即可。
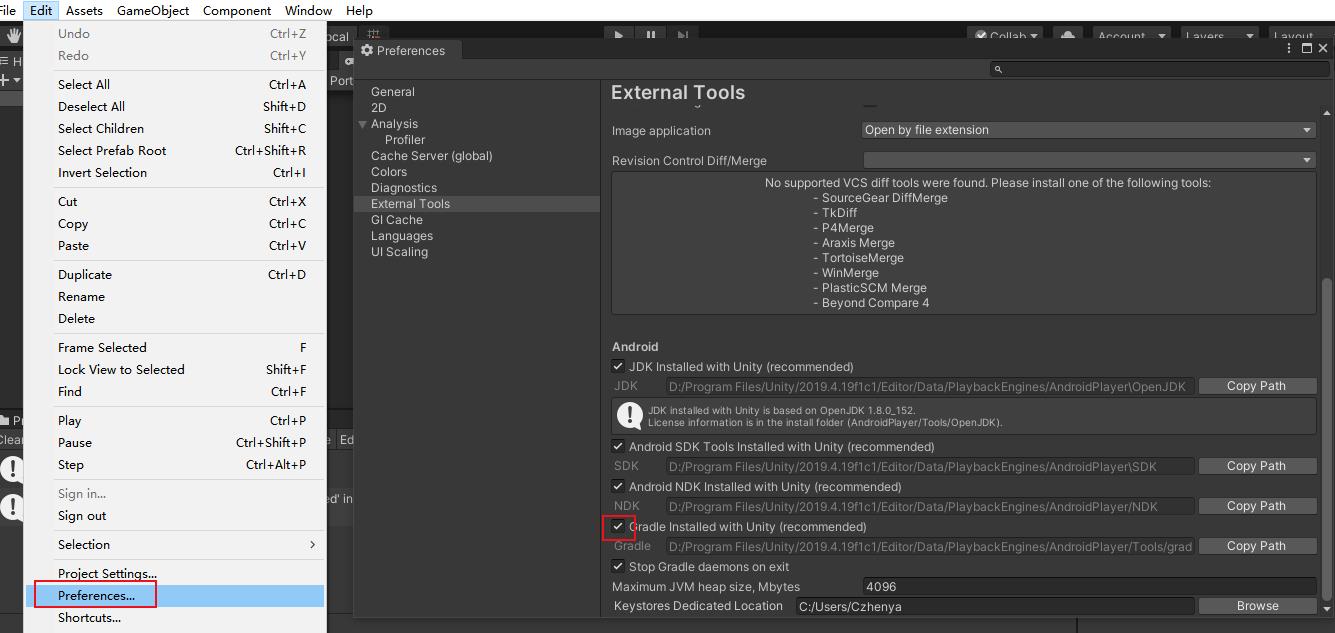
方法二:修改Preferences属性
在官网上提前下载好需要版本gradle:https://gradle.org/releases/
然后在Preferences面板上,将Gradle Installed…选项前面√取消勾选,然后点击“Browse”,找到自己下载好的gradle,然后重新打包就可以了。
以上是关于Unity 之 解决2019之后的版本打apk卡到Building Gradle project问题的主要内容,如果未能解决你的问题,请参考以下文章