若依框架(前后端分离)打war包部署到linux
Posted Away1001
tags:
篇首语:本文由小常识网(cha138.com)小编为大家整理,主要介绍了若依框架(前后端分离)打war包部署到linux相关的知识,希望对你有一定的参考价值。
一、前端部署
1.找到ruoyi-ui目录。
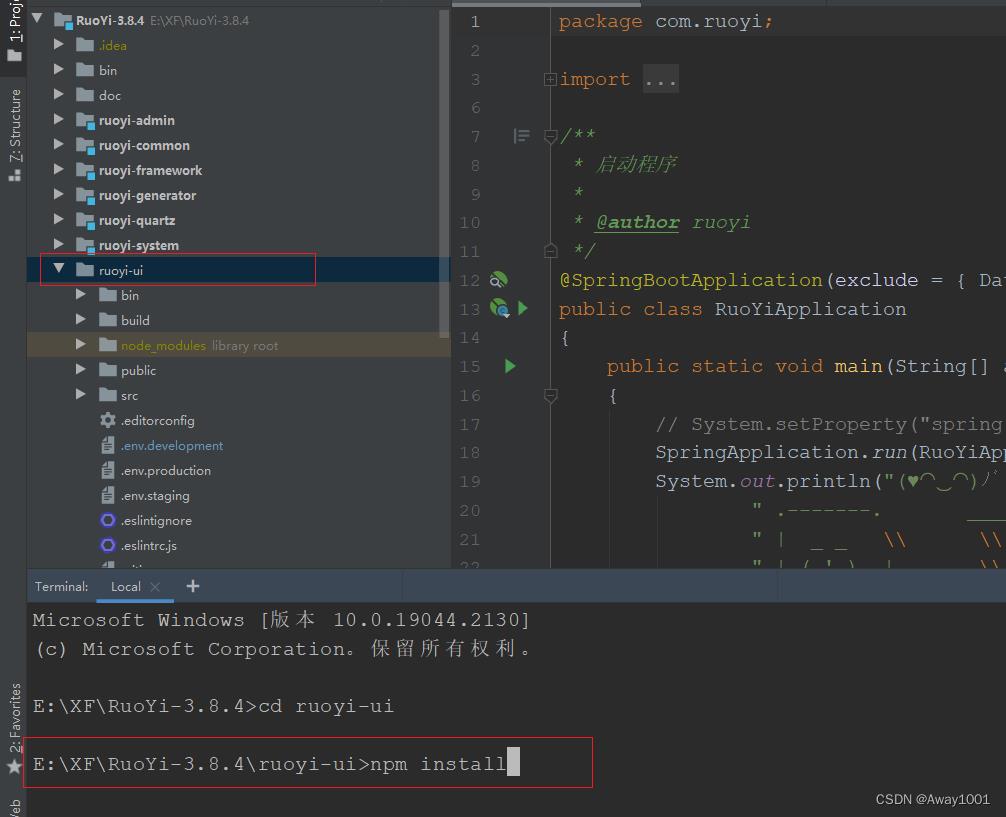
2.安装依赖。
npm install
3.执行以下操作,解决 npm 下载速度慢的问题。
npm install --registry=https://registry.npmmirror.com
4.修改vue.config.js,若后端采用的是默认8080端口,则不用修改,默认就是8080端口。
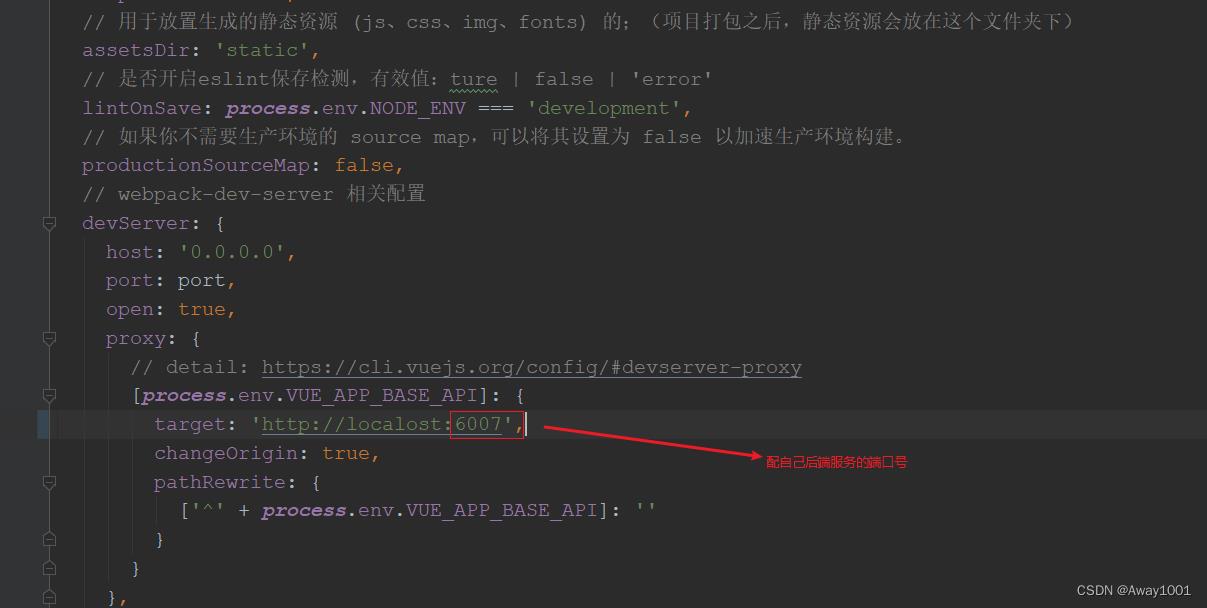
5.打包,执行如下命令。
npm run build:pro
执行完命令,会在ruoyi-ui目录下生成dist文件,将此文件复制到linux某个目录下,如下图:
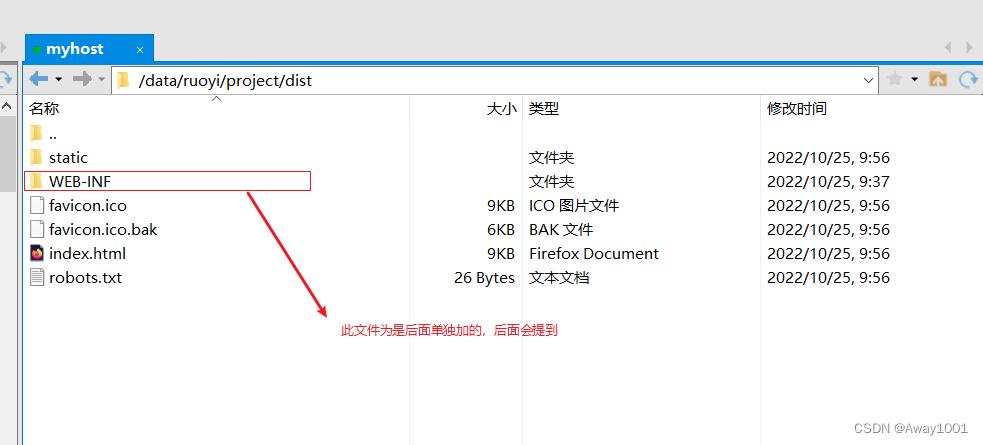
在dist目录下,新建WEB-INF文件夹,进入WEB-INF,新建web.xml文件,添加如下内容:
<?xml version="1.0" encoding="UTF-8"?>
  <web-app xmlns="http://xmlns.jcp.org/xml/ns/javaee"
            xmlns:xsi="http://www.w3.org/2001/XMLSchema-instance"
            xsi:schemaLocation="http://xmlns.jcp.org/xml/ns/javaee
            http://xmlns.jcp.org/xml/ns/javaee/web-app_3_1.xsd"
            version="3.1" metadata-complete="true">
     <display-name>Router for Tomcat</display-name>
     <error-page>
        <error-code>404</error-code>
        <location>/index.html</location>
     </error-page>
</web-app>
二、nginx配置(自行安装)
1.配置nginx.conf文件
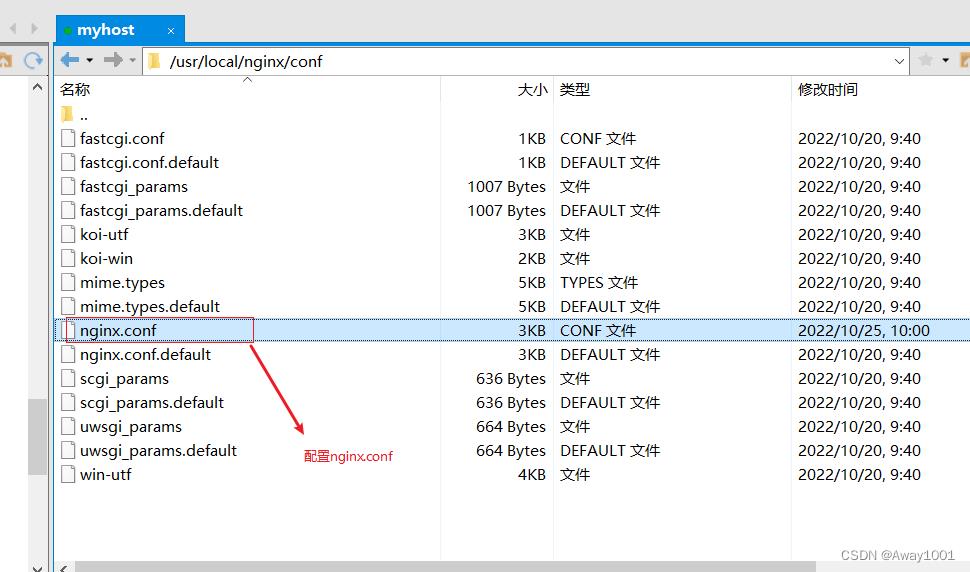
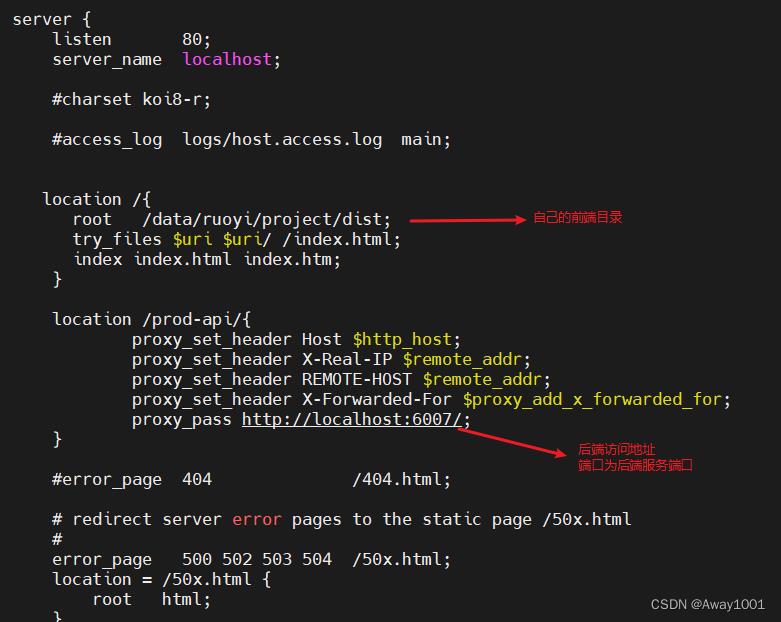
 location /
          root   /data/ruoyi/project/dist;
          try_files $uri $uri/ /index.html;
          index index.html index.htm;


        location /prod-api/
                proxy_set_header Host $http_host;
                proxy_set_header X-Real-IP $remote_addr;
                proxy_set_header REMOTE-HOST $remote_addr;
                proxy_set_header X-Forwarded-For $proxy_add_x_forwarded_for;
                proxy_pass http://localhost:6007/;
2.配置完启动nginx,若已启动,则重新加载
3.此时在浏览器里输入地址 服务器公网ip:前端端口号
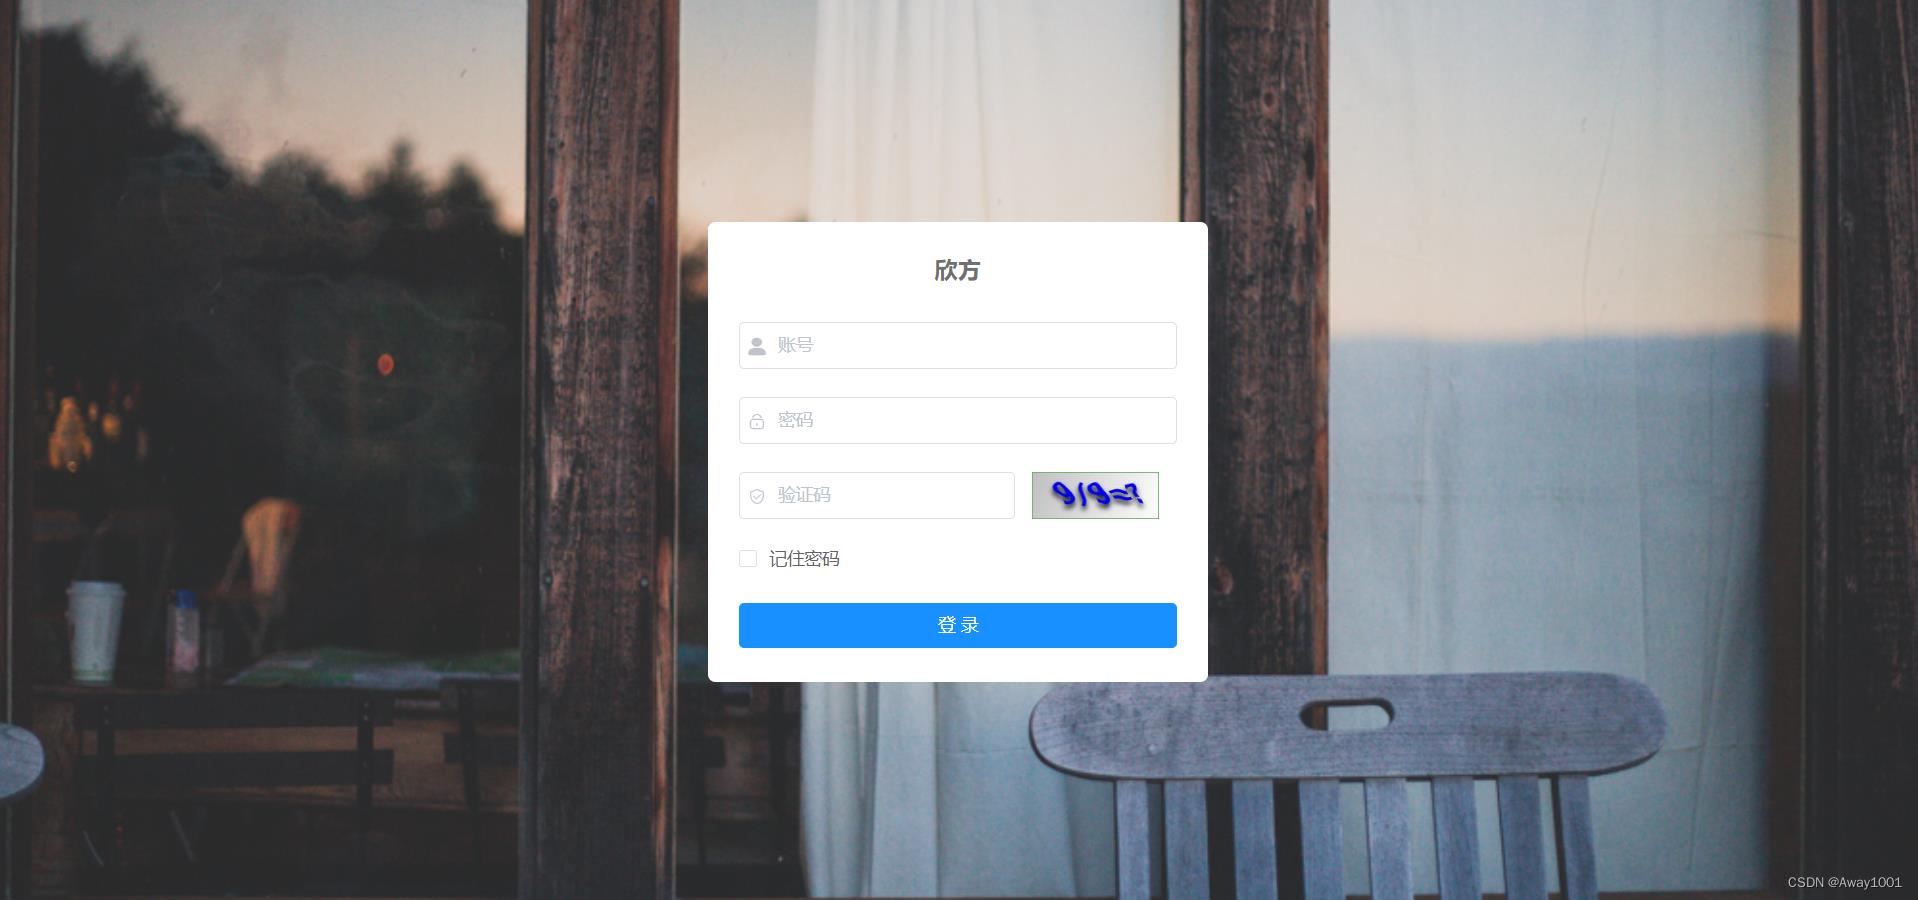
看到如下页面,则说明前端部署成功了,502是因为后端还未启动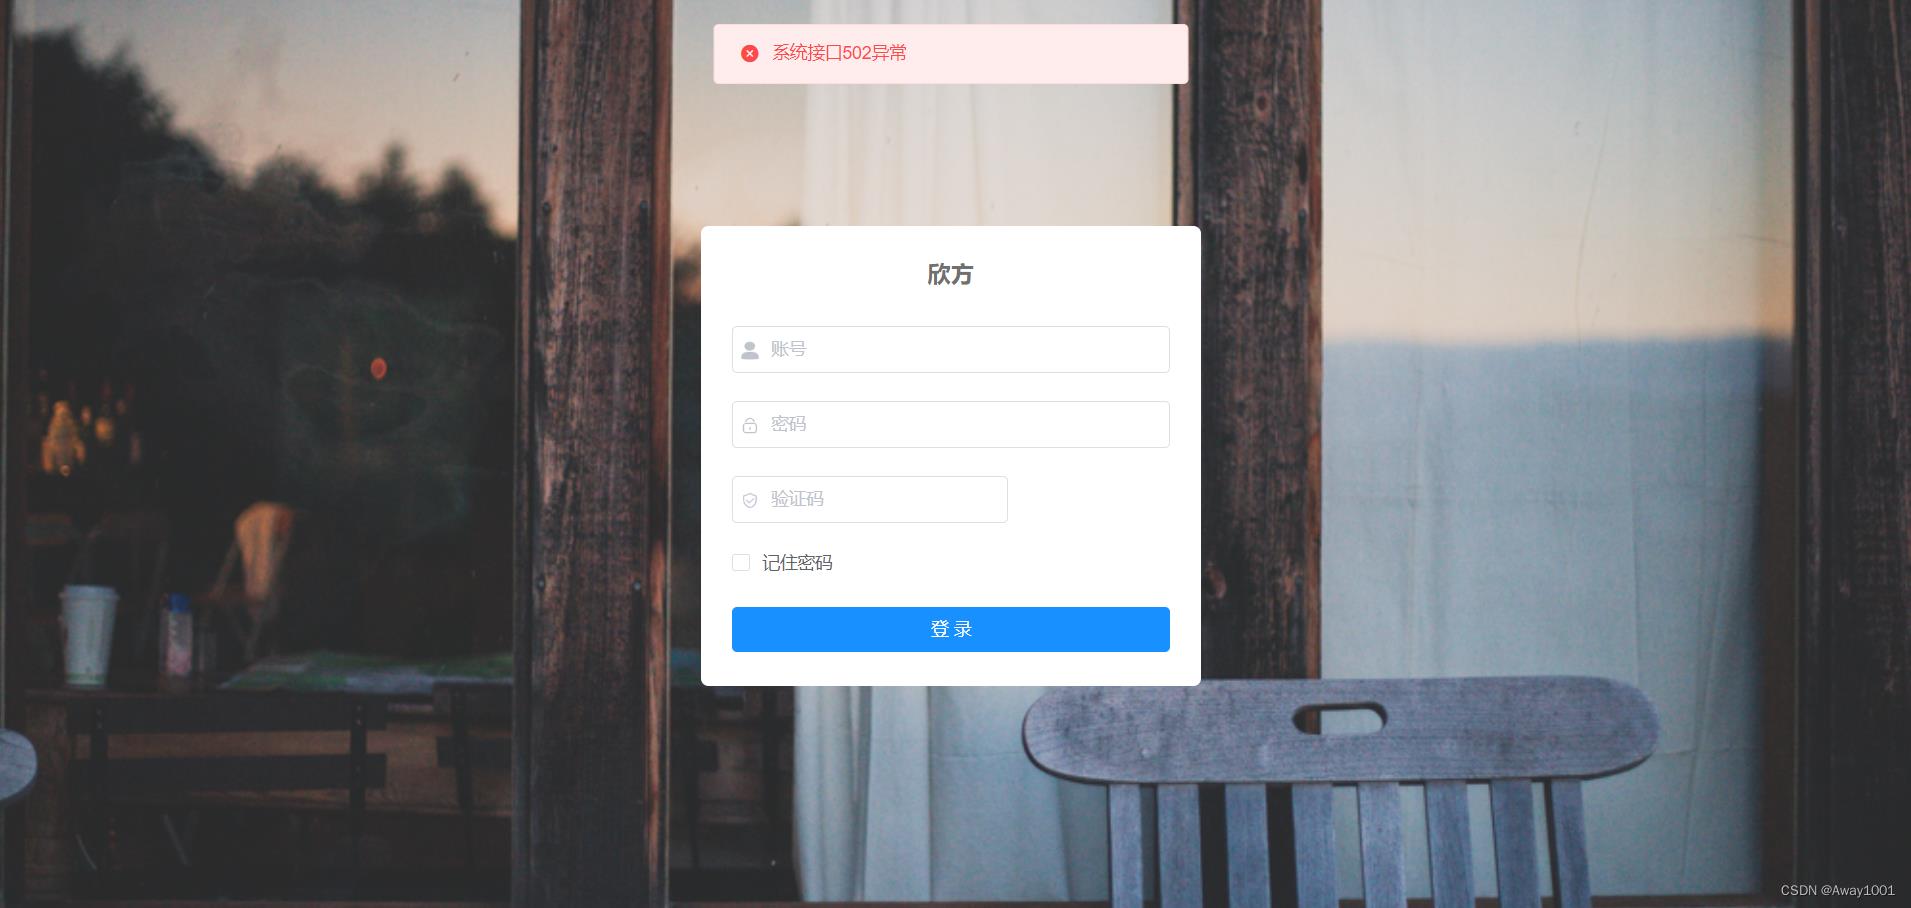
三、后端部署
官网要求:

1.修改ruoyi-admin中pom.xml,打成war包
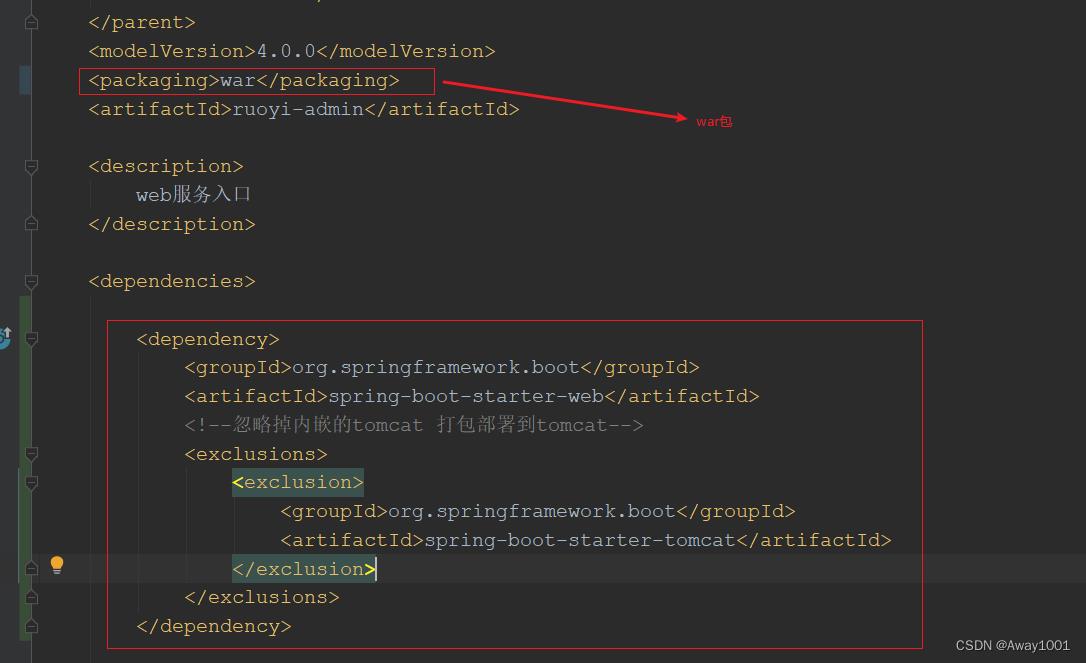
<dependency>
    <groupId>org.springframework.boot</groupId>
    <artifactId>spring-boot-starter-web</artifactId>
    <!--忽略掉内嵌的tomca 打包部署到tomcat -->
    <exclusions>
        <exclusion>
            <groupId>org.springframework.boot</groupId>
            <artifactId>spring-boot-starter-tomcat</artifactId>
        </exclusion>
    </exclusions>
</dependency>
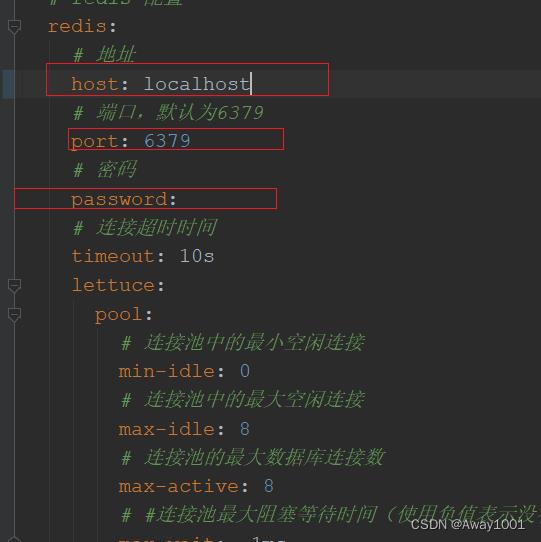
2.配置application.yml,修改文件路径,服务端口,以及Redis

3. 配置application-druid.yml,配置数据源

4.修改logback.xml中的日志路径
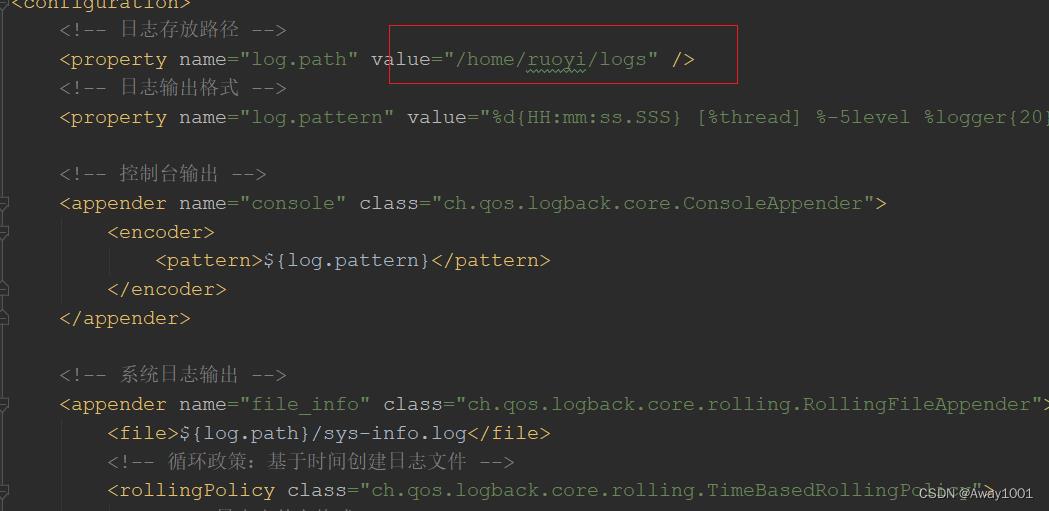
5.推荐先clean,再package进行打包

6.打包成功后,会在ruoyi-admin,target目录下,生成对应的war包
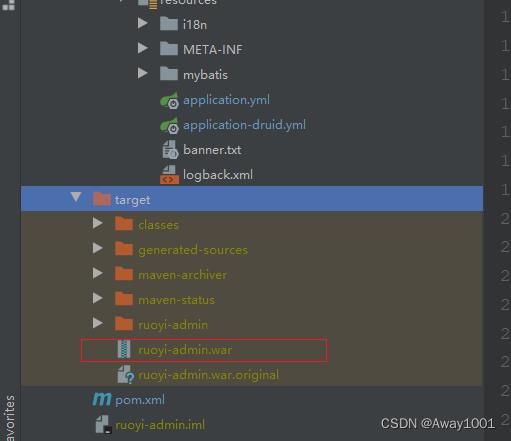
7.将此war包上传至tomcat,webapps目录下

四、 配置tomcat
1.找到tomcat配置文件server.xml

2.修改server.xml端口(根据自己的项目确定是否要修改)
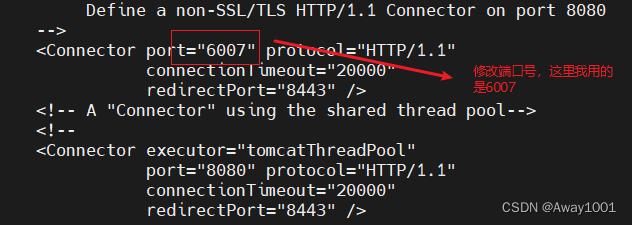
3.修改server.xml中的Host,添加Context

<Context docBase="/usr/local/tomcat9/apache-tomcat-9.0.68/webapps/ruoyi-admin" path="" reloadable="false" crossContext="true"/>4.配置完成以后,重新启动tomcat

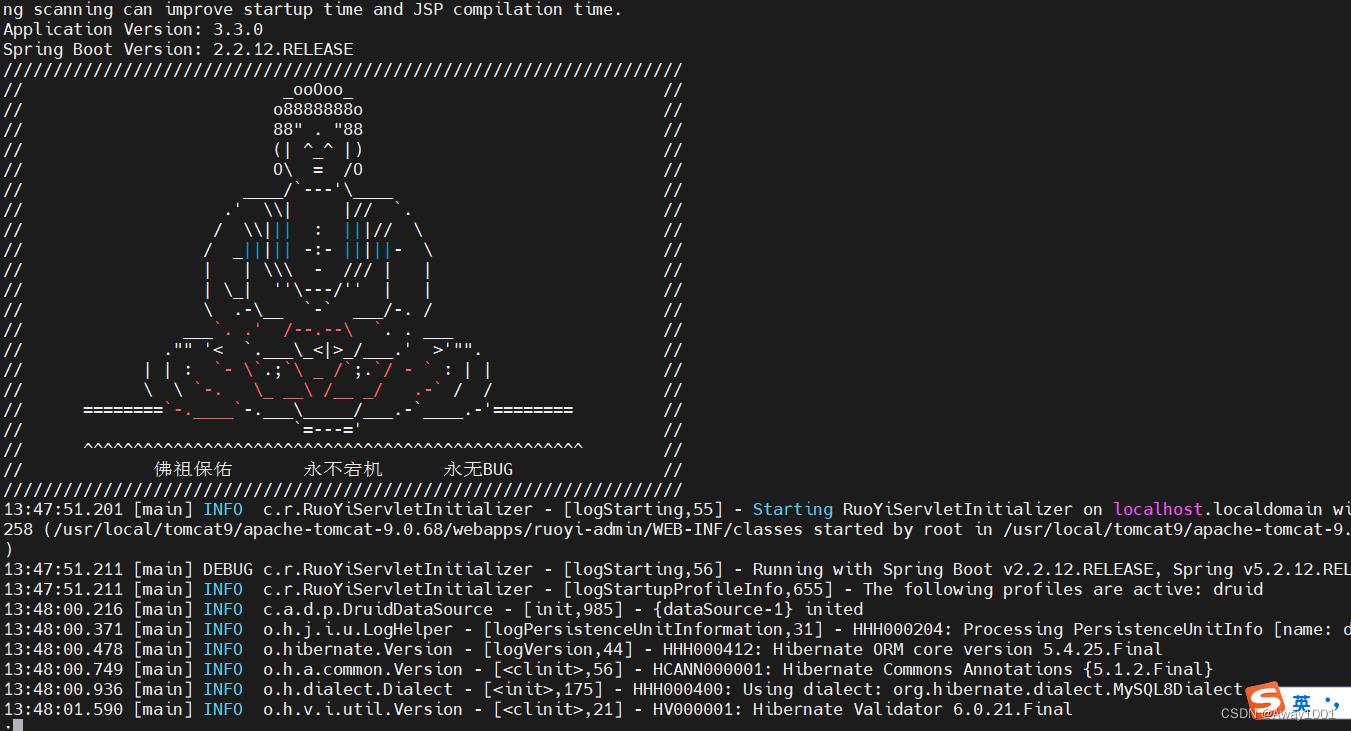
5.查看tomcat启动日志,若未出错,在浏览器重新输入 服务器公网ip:前端端口号,若出现了验证码,则说明前后端均已部署成功。
002tomcat服务器——通过maven将项目打war包
介绍:
springboot的打包方式基本分:war包和jar包,也有直接提交到github,通过jekins进行打包部署的。
jar包是服务化的概念,后续接触springcloud,所有的服务打包都是以jar的形式存在,也就是说适合前后端分离的项目部署。war包是应用程序的概念,也可以向外提供服务和接口,适合前后端不分离的项目部署。这里主要介绍如何打成war包。
流程
1.修改打包方式
这种情况下,需要将pom中的packaging改成war方式。
<!--<packaging>jar</packaging>--><!-- 打包war [1] --><packaging>war</packaging>
2.移除嵌入式tomcat插件
方式一:在pom.xml里找到spring-boot-starter-web依赖节点,在其中添加如下代码
<dependency><groupId>org.springframework.boot</groupId><artifactId>spring-boot-starter-web</artifactId><!-- 打包war [2] 移除自带内置tomcat --><exclusions><exclusion><artifactId>spring-boot-starter-tomcat</artifactId><groupId>org.springframework.boot</groupId></exclusion></exclusions></dependency>
3、添加servlet依赖
<!-- 打包war [3] 添加依赖 --><dependency><groupId>javax.servlet</groupId><artifactId>javax.servlet-api</artifactId><scope>provided</scope></dependency>
4、增加war的启动类,放在与项目Application同级目录
// 打包war [4] 增加war的启动类public class WarStarterApplication extends SpringBootServletInitializer {protected SpringApplicationBuilder configure(SpringApplicationBuilder builder) {// 指向Application这个springboot启动类return builder.sources(Application.class);}}
当然两个类也可以写成一个,在启动类里重写configure方法也可
public class Application extends SpringBootServletInitializer {public static void main(String[] args) {SpringApplication.run(Application .class, args);}//重写configure方法,否则在部署到tomcat时,接口将访问不到protected SpringApplicationBuilder configure(SpringApplicationBuilder application) { return application.sources(Application.class); }}
5、通过maven打包即可
war包的位置如下图,可将包名重命名为项目名,然后进行部署
以上是关于若依框架(前后端分离)打war包部署到linux的主要内容,如果未能解决你的问题,请参考以下文章