Nagios+NSClient+nrpe环境搭建
Posted
tags:
篇首语:本文由小常识网(cha138.com)小编为大家整理,主要介绍了Nagios+NSClient+nrpe环境搭建相关的知识,希望对你有一定的参考价值。
Nagios是一款开源的免费网络监视工具,能有效监控Windows、Linux和Unix的主机状态,交换机路由器等网络设备,打印机等。在系统或服务状态异常时发出邮件或短信报警第一时间通知网站运维人员,在状态恢复后发出正常的邮件或短信通知。
NSClient:Windows 7监控插件
NRPE是监控软件nagios的一个扩展,它被用于被监控的服务器上,向nagios监控平台提供该服务器的一些本地的情况。例如,cpu负载、内存使用、硬盘使用等等。NRPE可以称为nagios的for linux 客户端。
1.安装软件:
yum install -y gcc*
yum install -y httpd mysql mysql-server mysql-devel php php-mysql glibc glibc-common *gd*
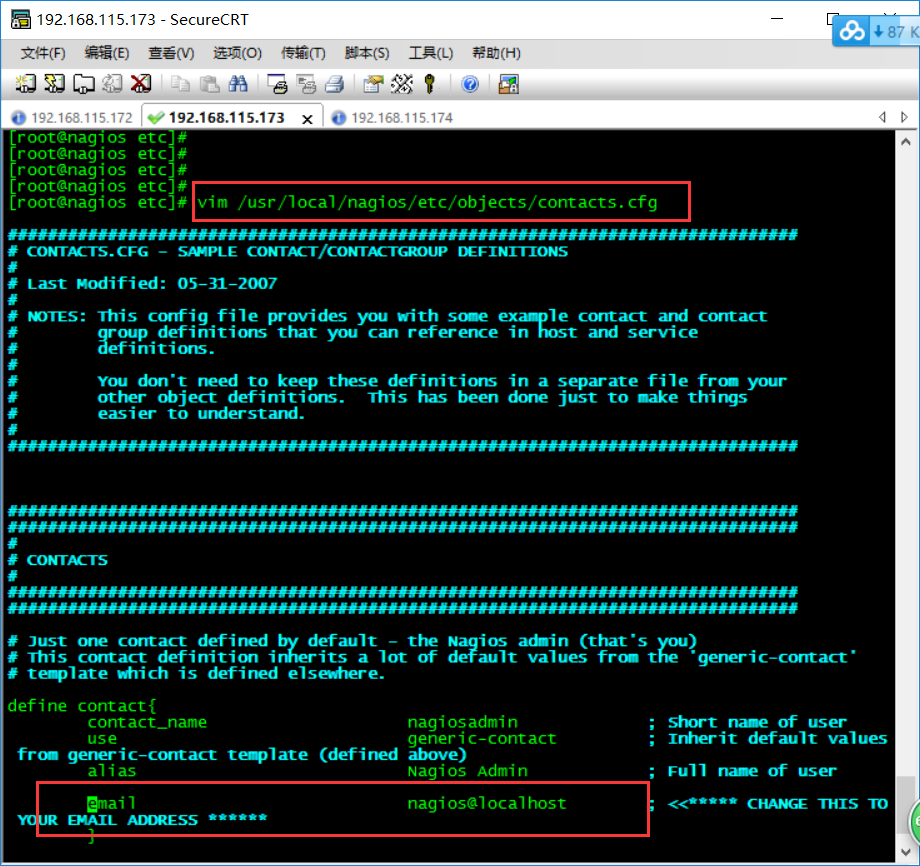
2.添加用户:
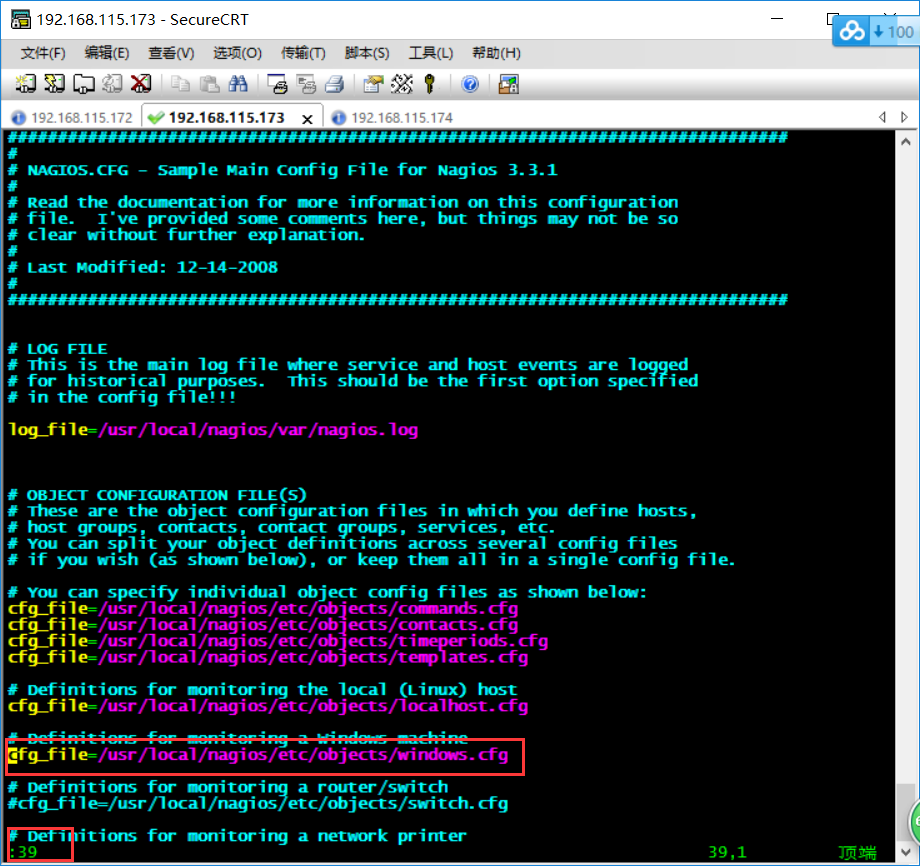
3.编译安装nagios:
此次安装使用的软件包是 nagios.iso
tar -xvf nagios-3.3.1.tar.gz -C /root/
然后进入nagios目录下
./configure --with-command-group=nagcmd --enable-event-broker
make all
make install
make install-init
make install-commandmode
make install-config
make install-webconf
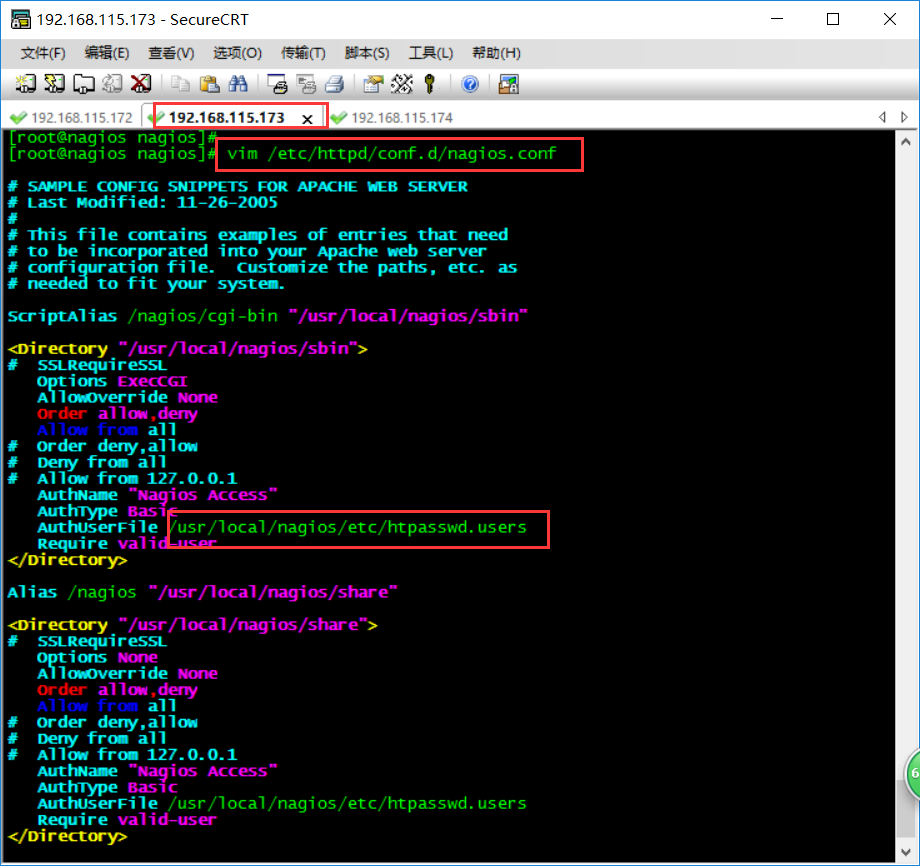
4.生成密码配置文件:
开启Apache服务
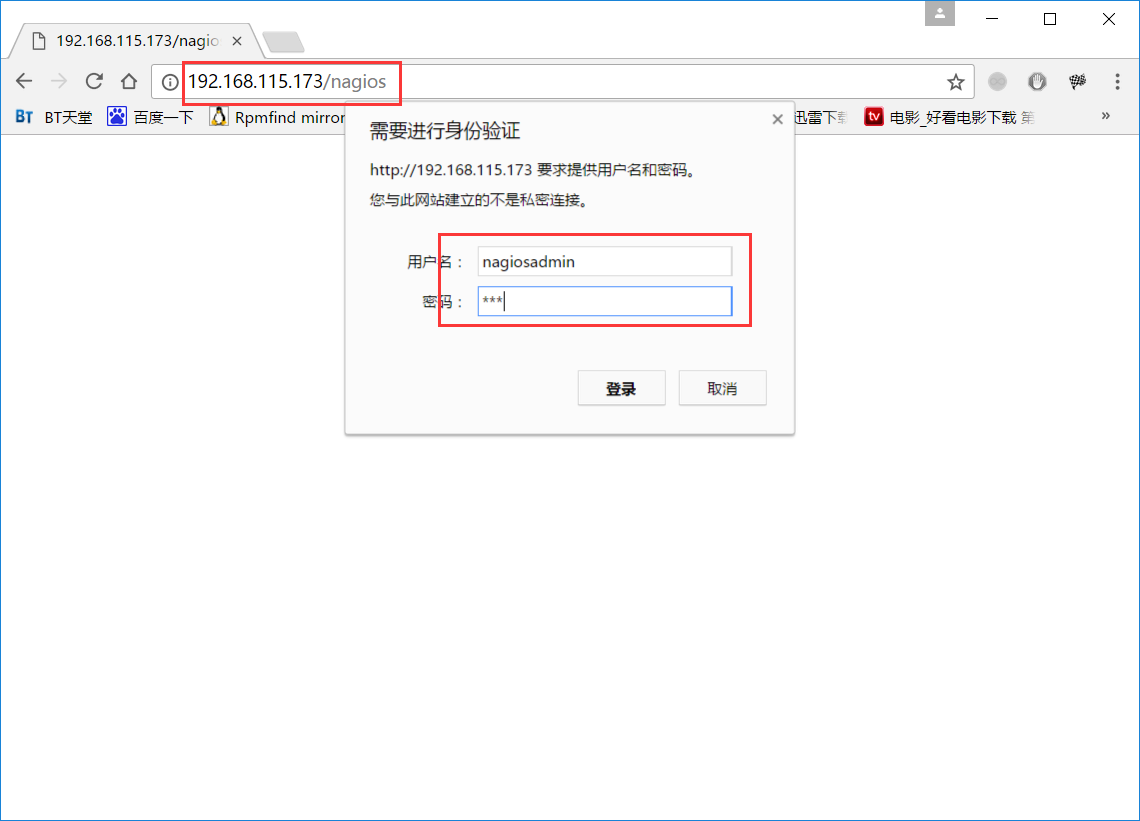
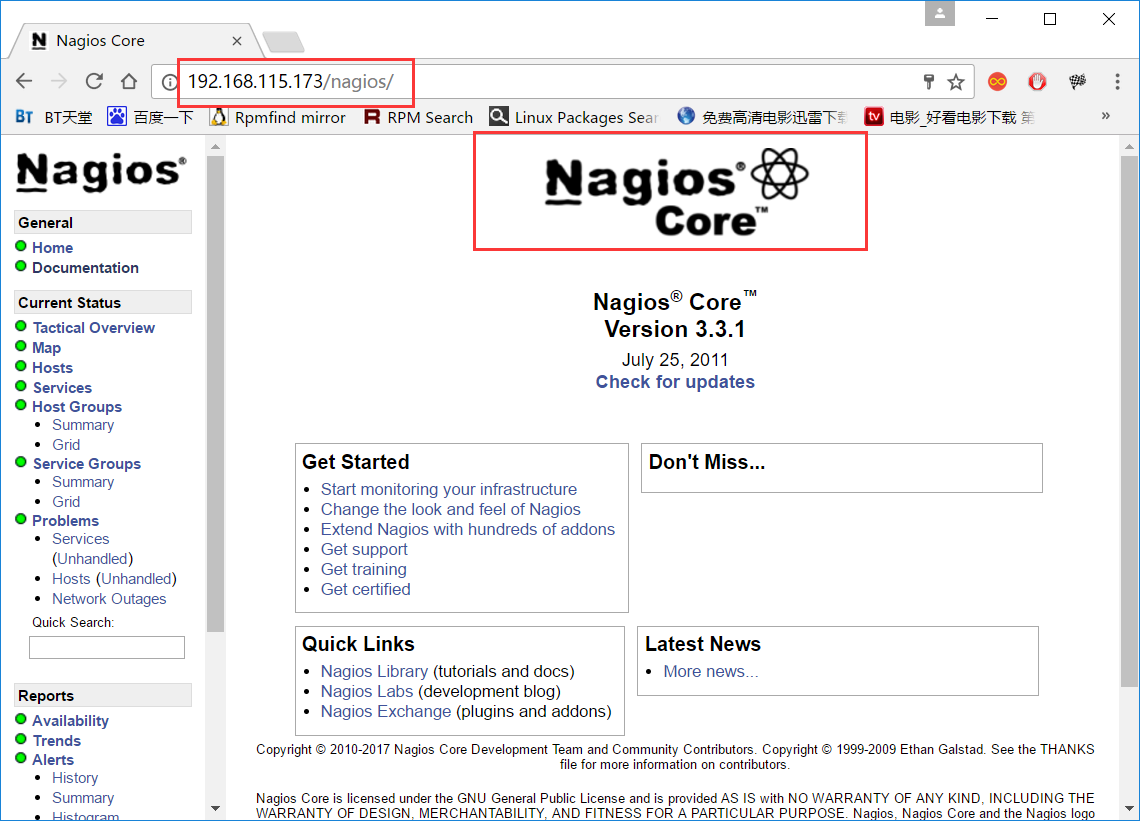
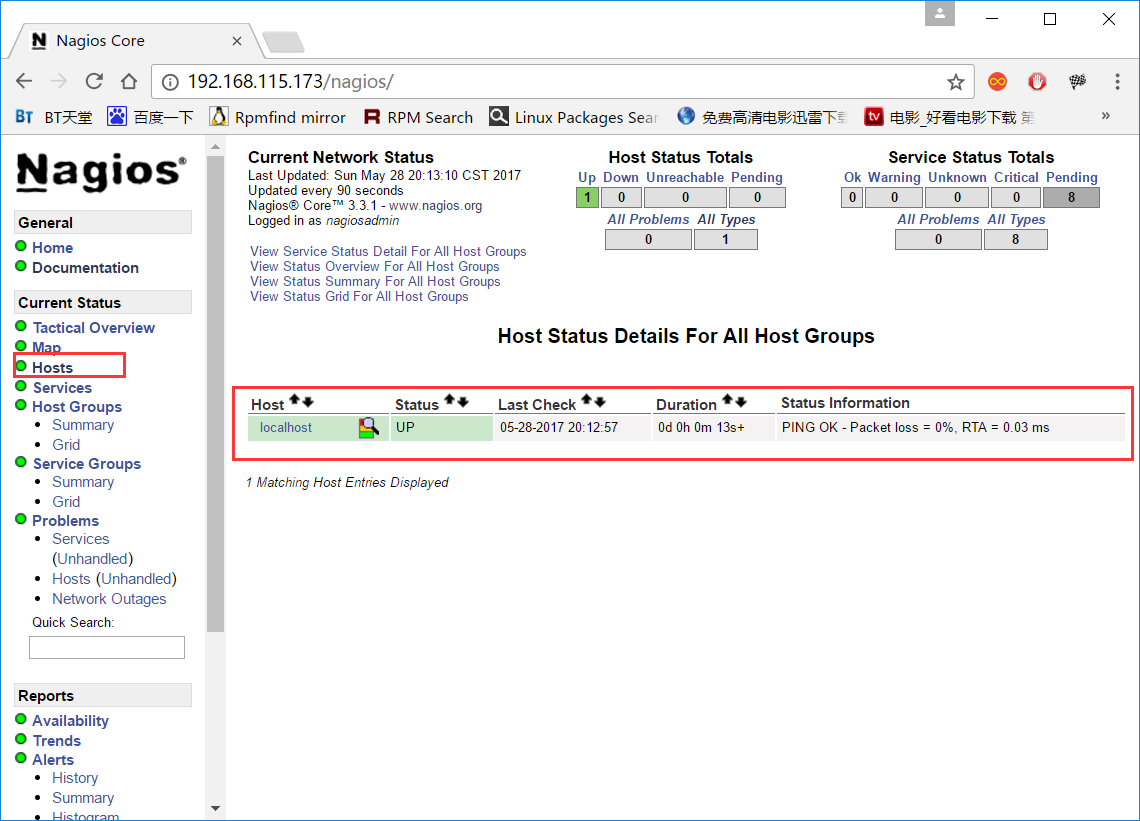
5.浏览器查看:
6.安装插件管理器nagios-plugins:
tar -xvf nagios-plugins-1.4.14.tar.gz -C /root/
进入目录编译安装(nagios-plugins-1.4.14)
./configure --with-nagios-user=nagios --with-nagios-group=nagios --with-mysql --enable-perl-modules
make && make install
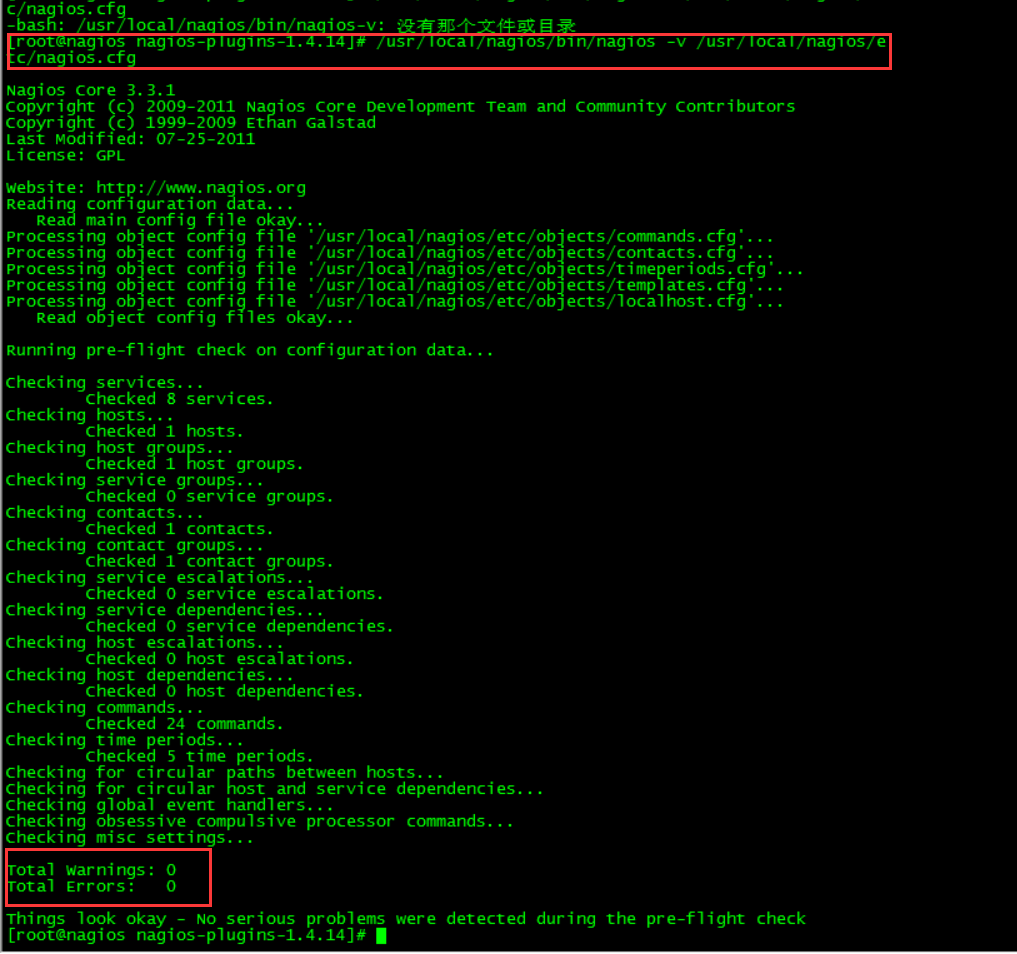
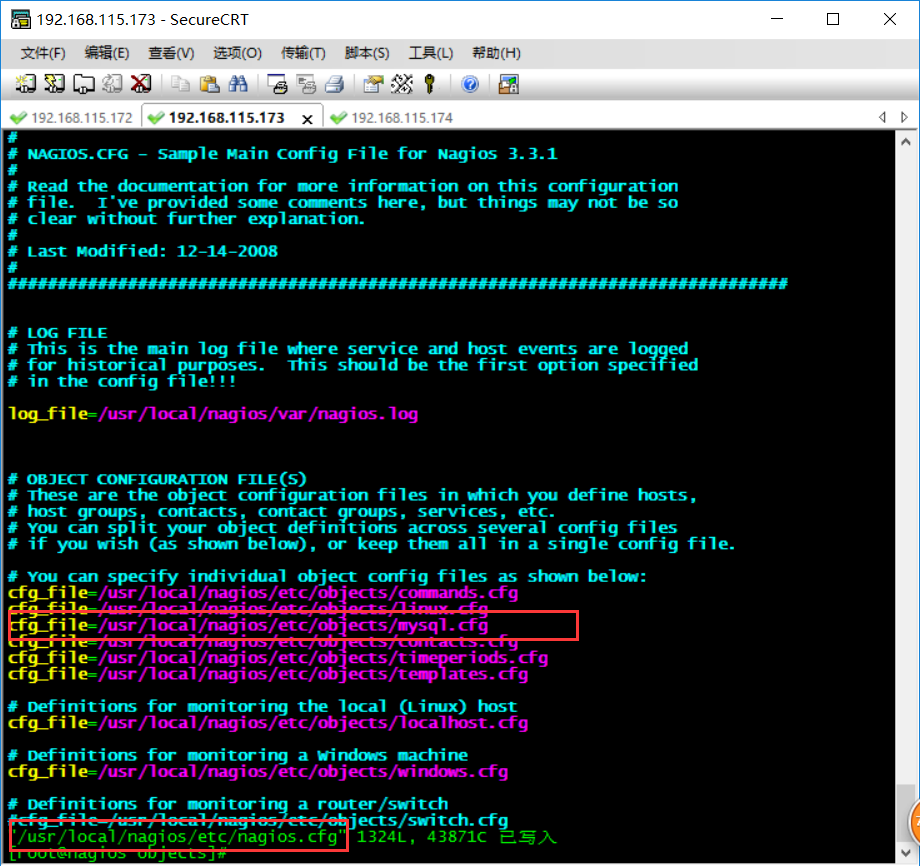
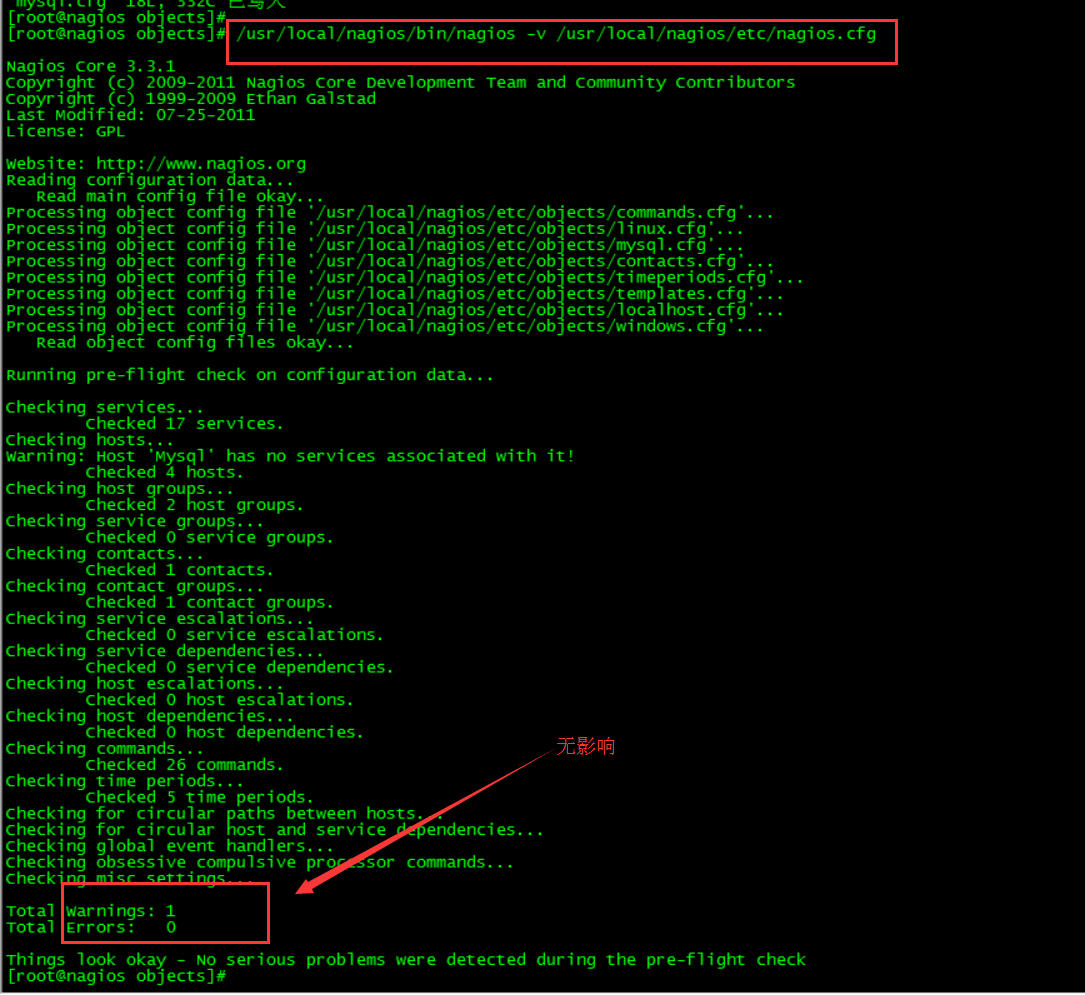
检查配置文件是否有错误:
/usr/local/nagios/bin/nagios -v /usr/local/nagios/etc/nagios.cfg
重启nagios服务
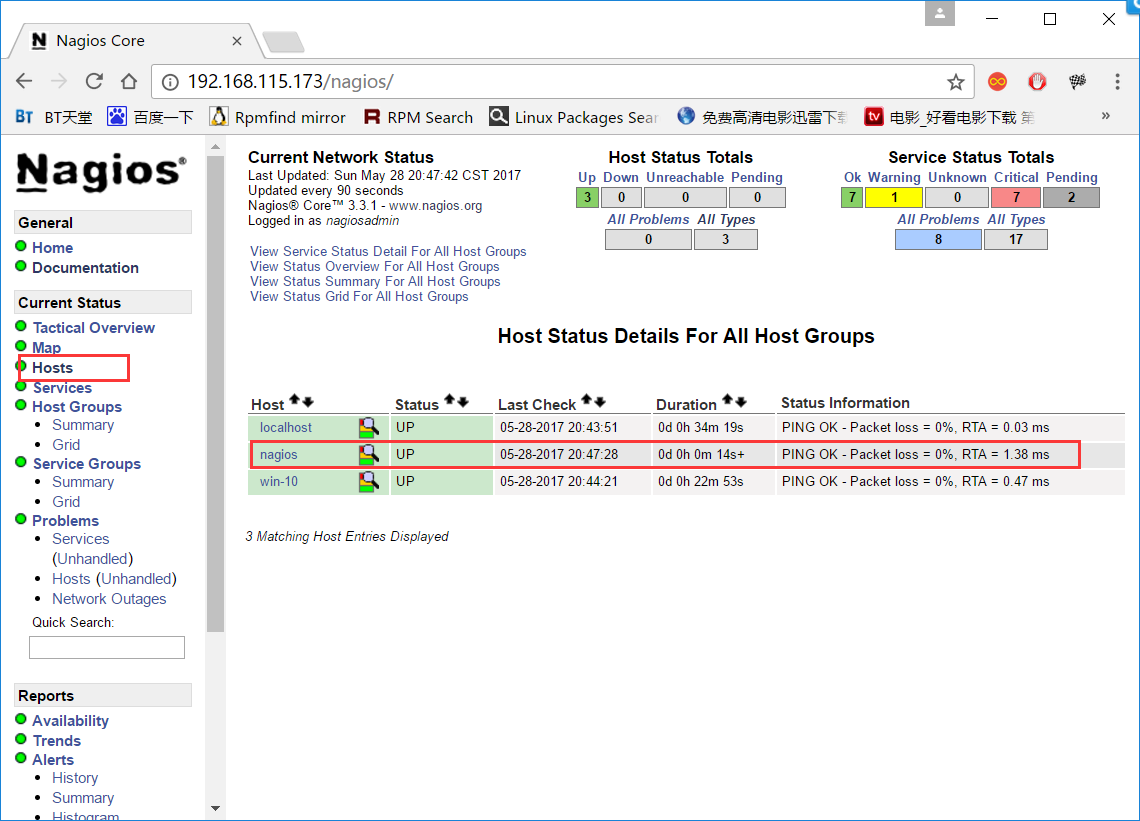
此时再去浏览器检查:
Windows主机的监控:
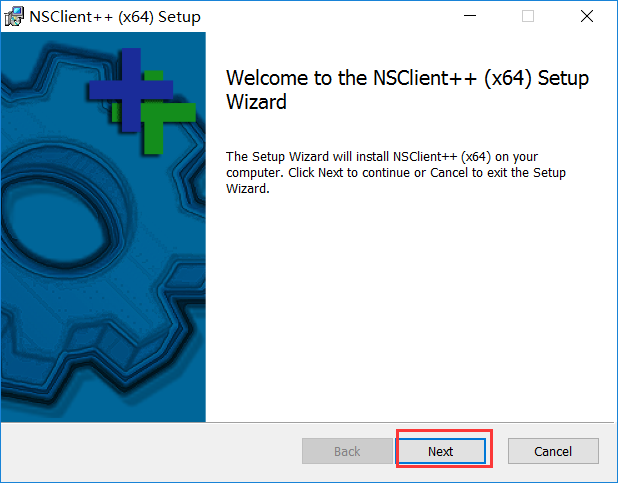
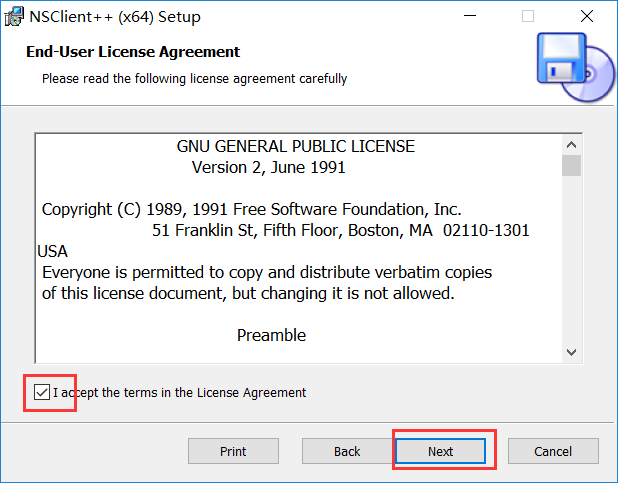
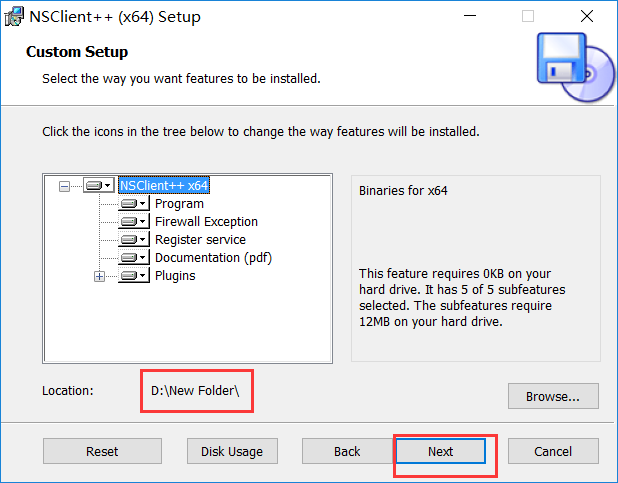
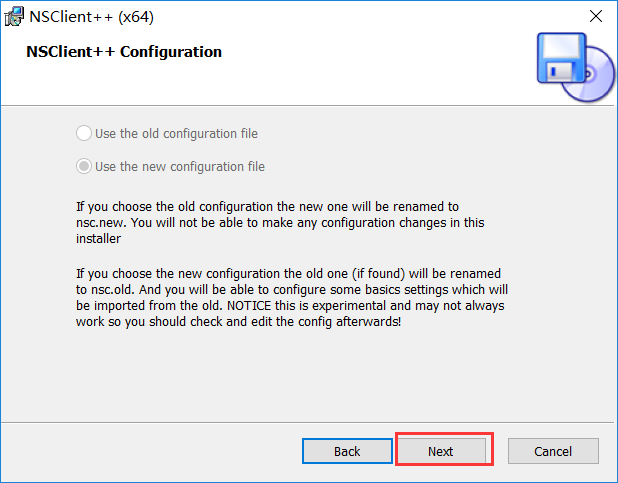
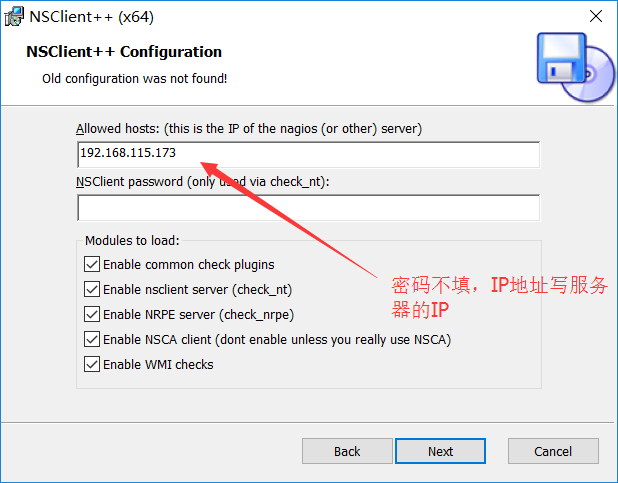
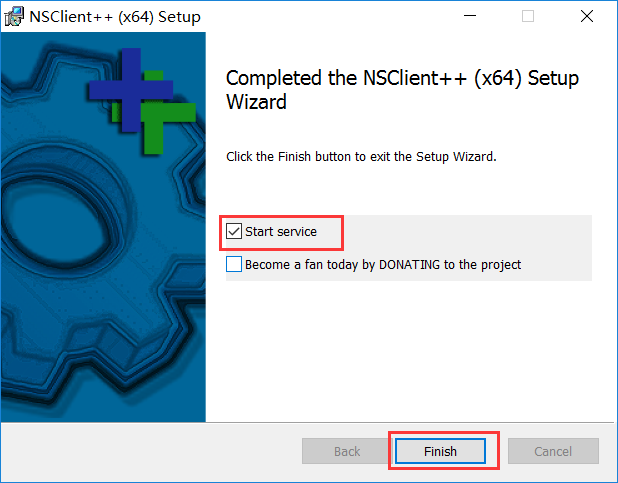
7.Windows安装NSClient:
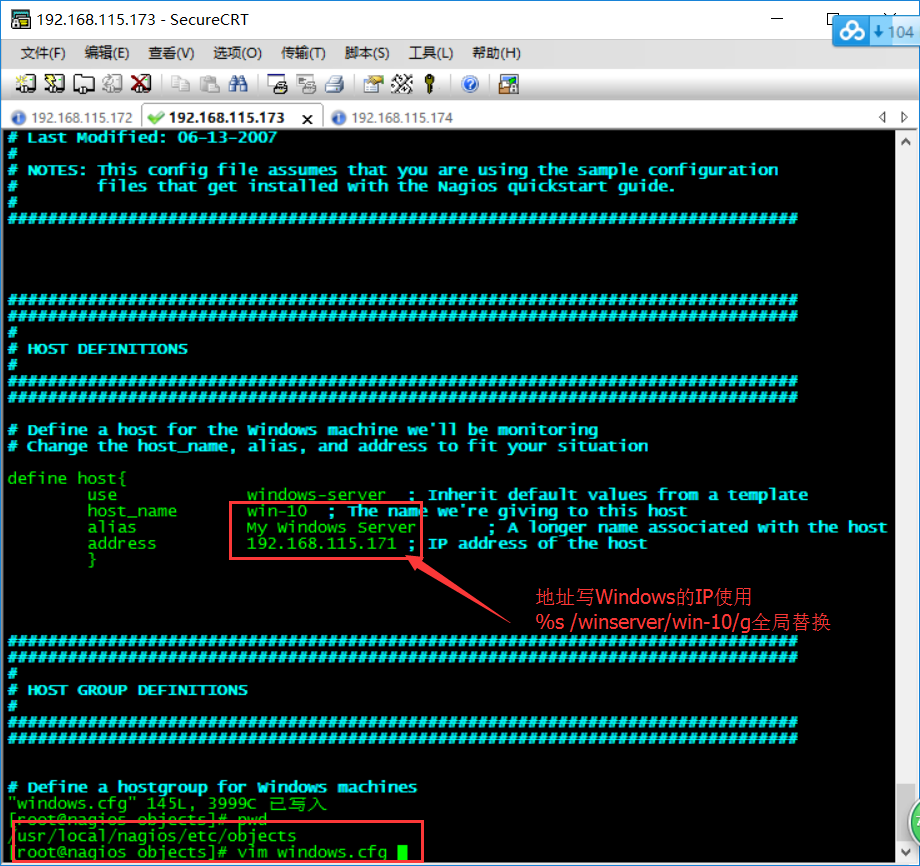
服务器设置监控Windows:
检测并重新启动nagios
/usr/local/nagios/bin/nagios -v /usr/local/nagios/etc/nagios.cfg
service nagios restart
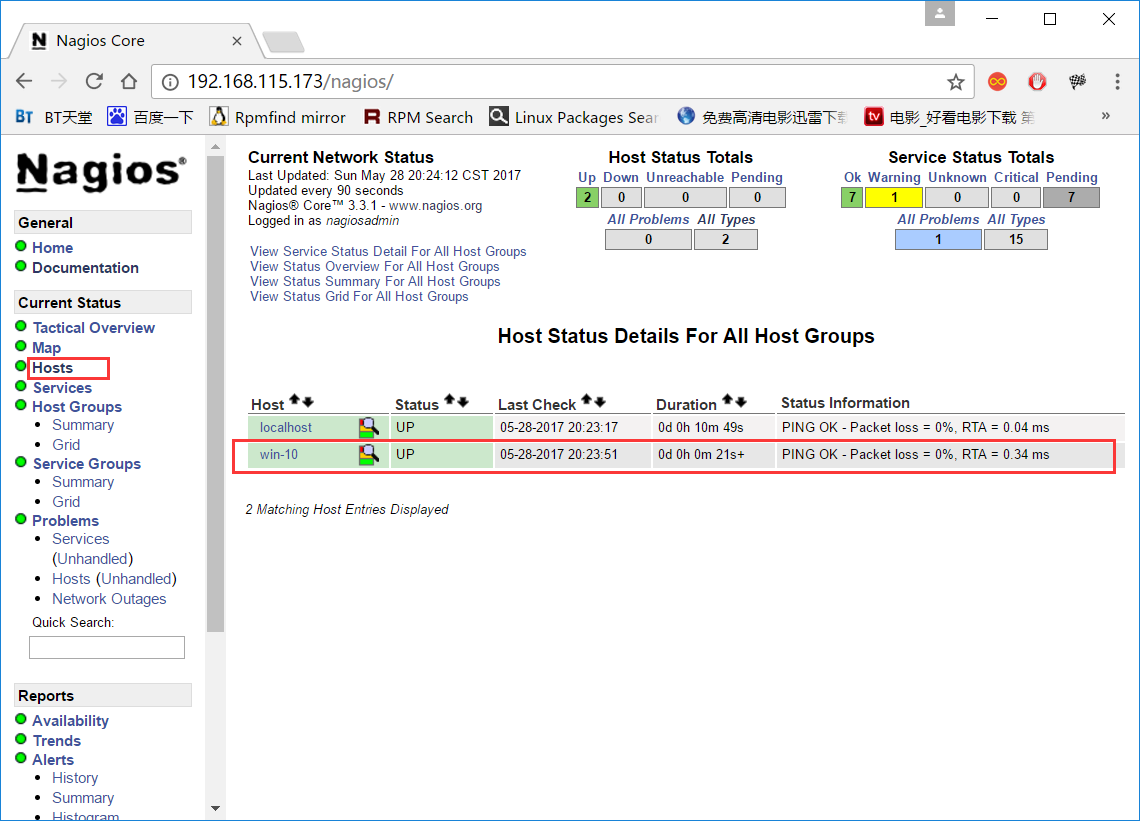
浏览器再查看:
Linux客户机监控:
8.Linux客户端的监控:
在Linux客户的上面:
安装环境支持:
yum install -y gcc* openssl openssl-devel
编译安装nagios-plugins
tar -xvf nagios-plugins-1.4.14.tar.gz
需要创建用户
useradd nagios
./configure --with-nagios-user=nagios --with-nagios-group=nagios
make all
make install
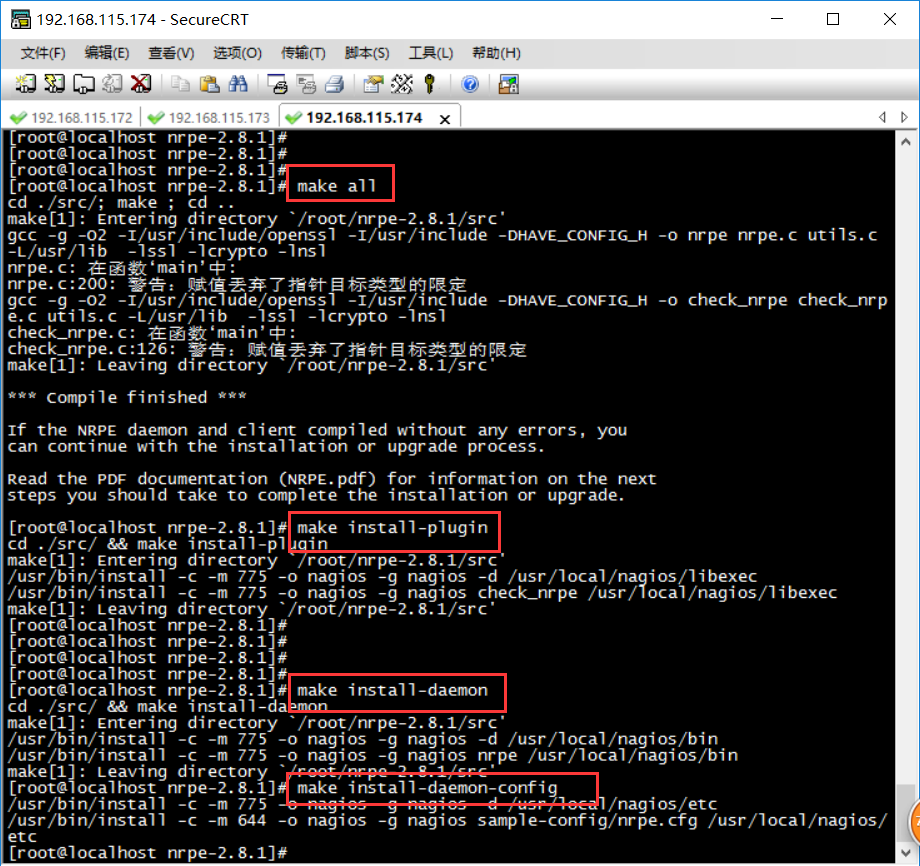
编译安装nrpe-2.8.1.tar.gz
./configure --enable-ssl --with-ssl-lib=/usr/lib
回到服务器端:
安装nagios-plugins(已安装)
安装nrpe
tar -xvf nrpe-2.8.1.tar.gz -C /root/
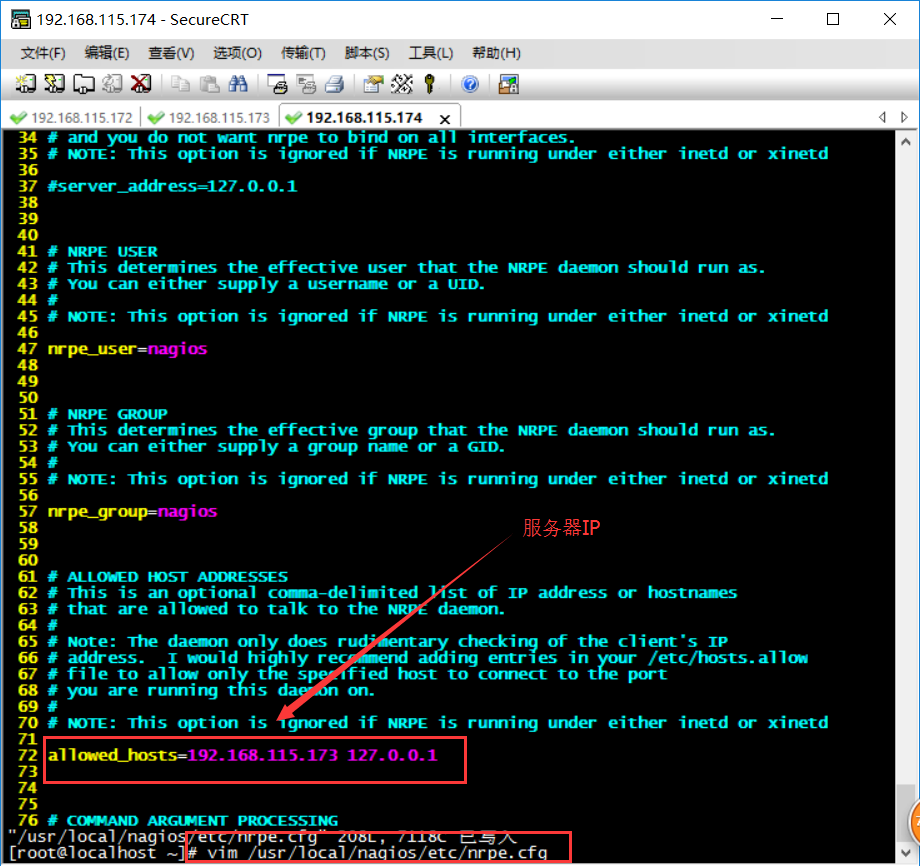
./configure --enable-ssl --with-ssl-lib=/usr/lib
make all
make install-plugin
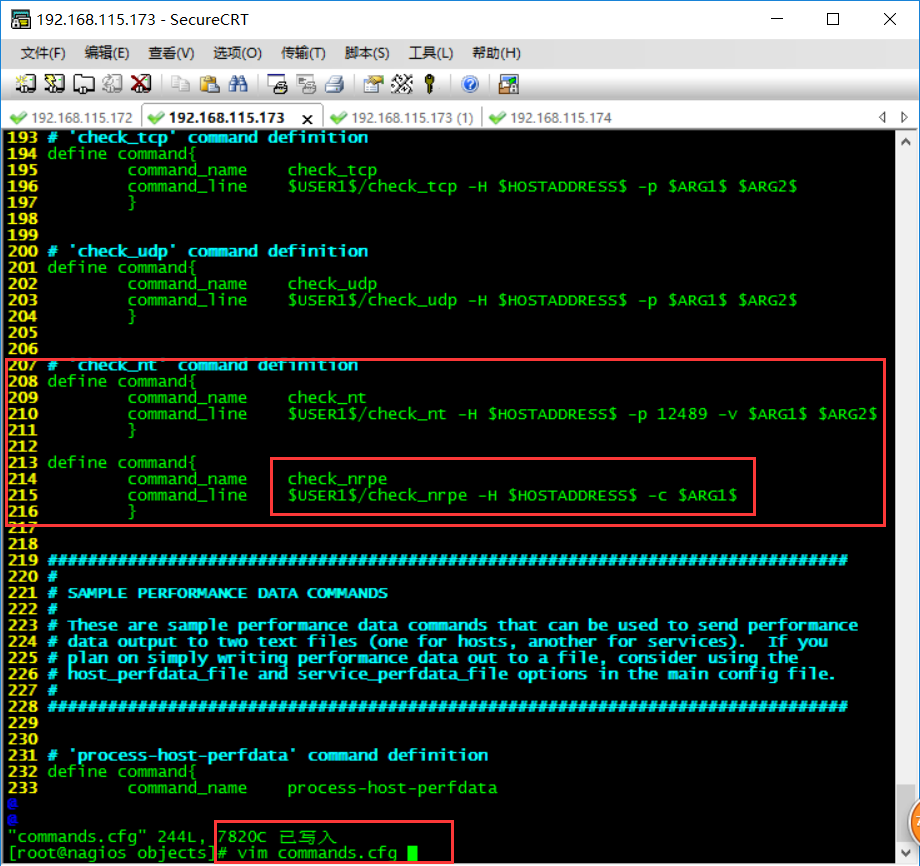
不用启用daemon和daemon-config
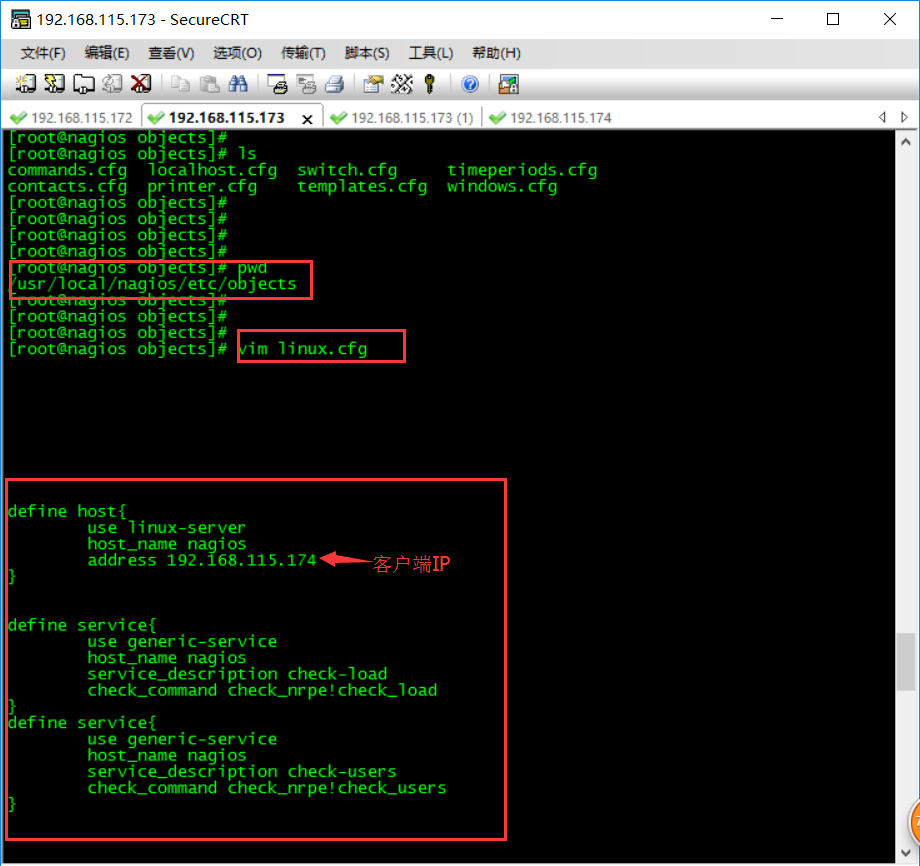
define host{
use linux-server
host_name nagios
address 192.168.115.174
}
define service{
use generic-service
host_name nagios
service_description check-load
check_command check_nrpe!check_load
}
define service{
use generic-service
host_name nagios
service_description check-users
check_command check_nrpe!check_users
}
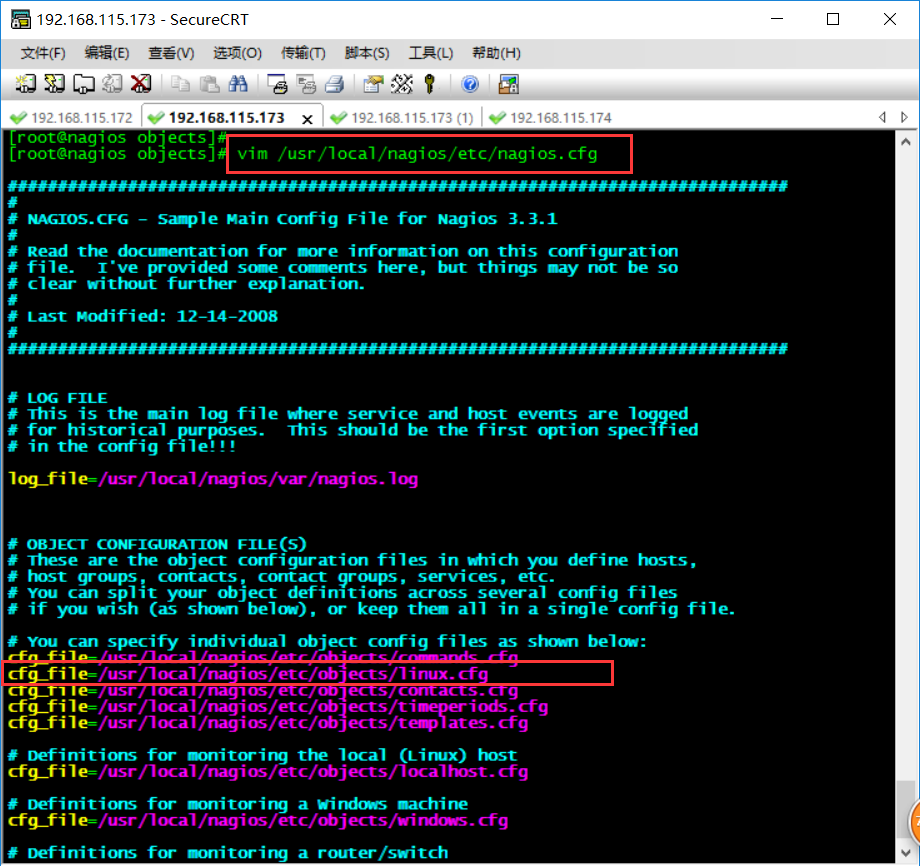
/usr/local/nagios/bin/nagios -v /usr/local/nagios/etc/nagios.cfg
service nagios restart
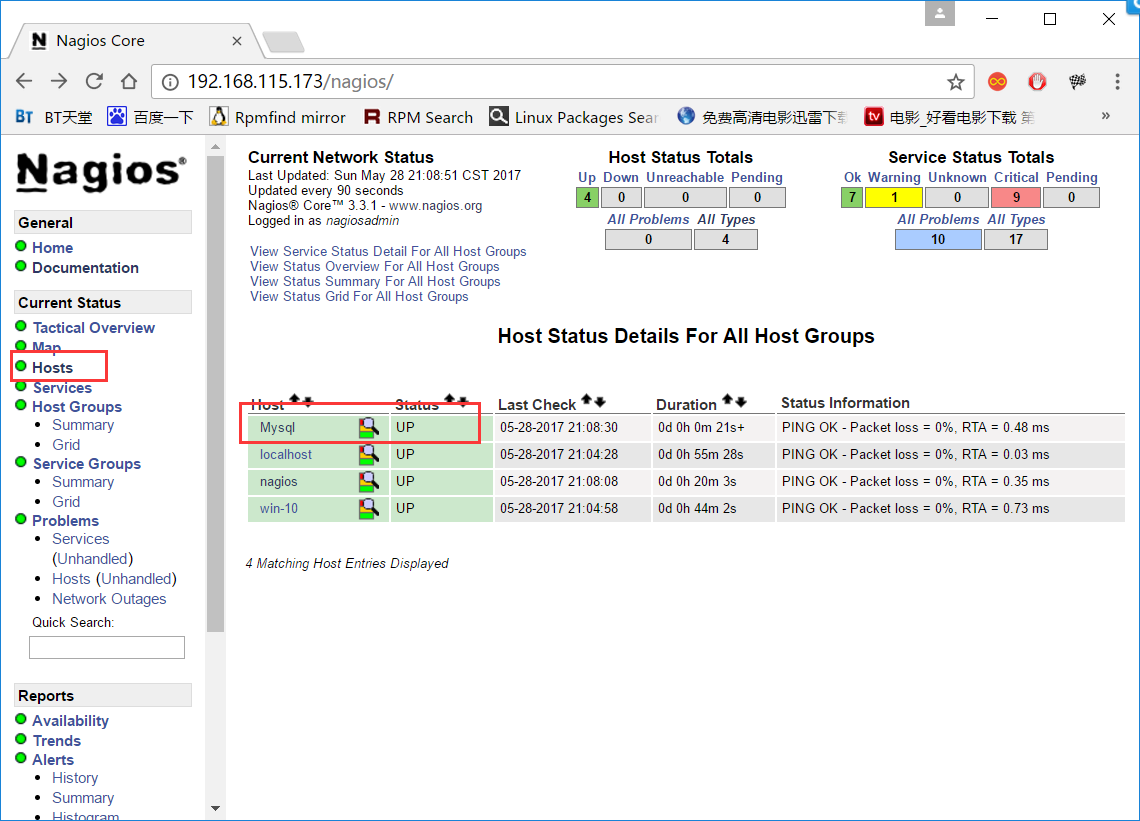
再检查浏览器:
9.服务的监控:
Linux客户端:
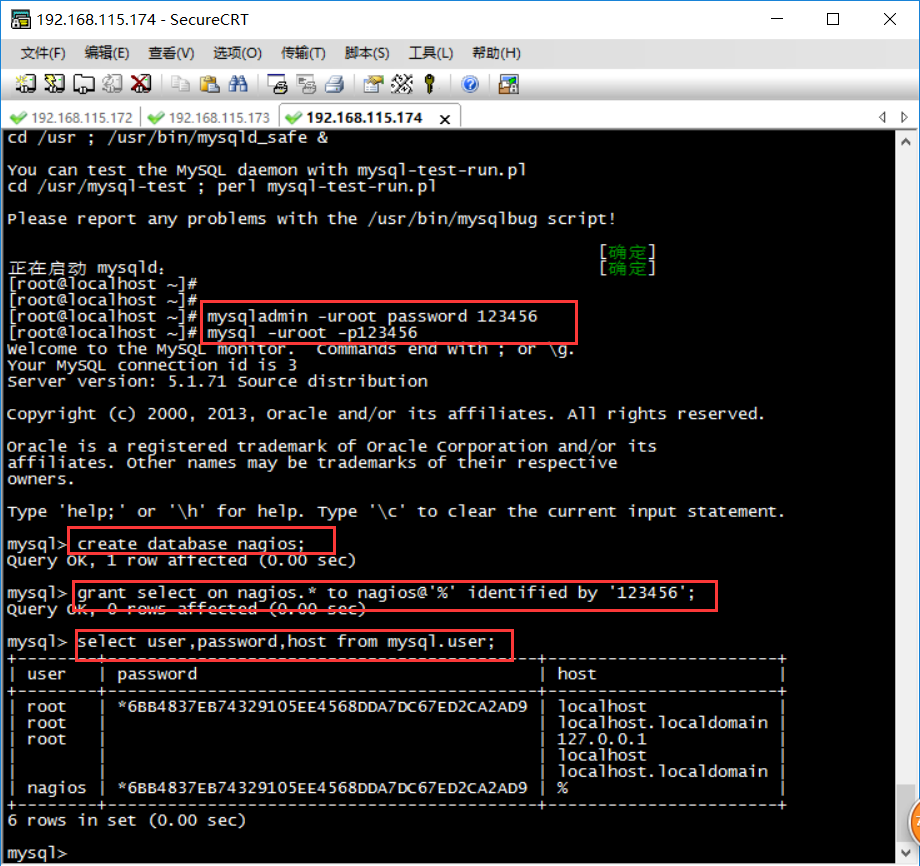
安装软件:
yum install -y mysql mysql-server
service mysqld start
mysqladmin -uroot password ‘123456’
服务器端:
测试连接:
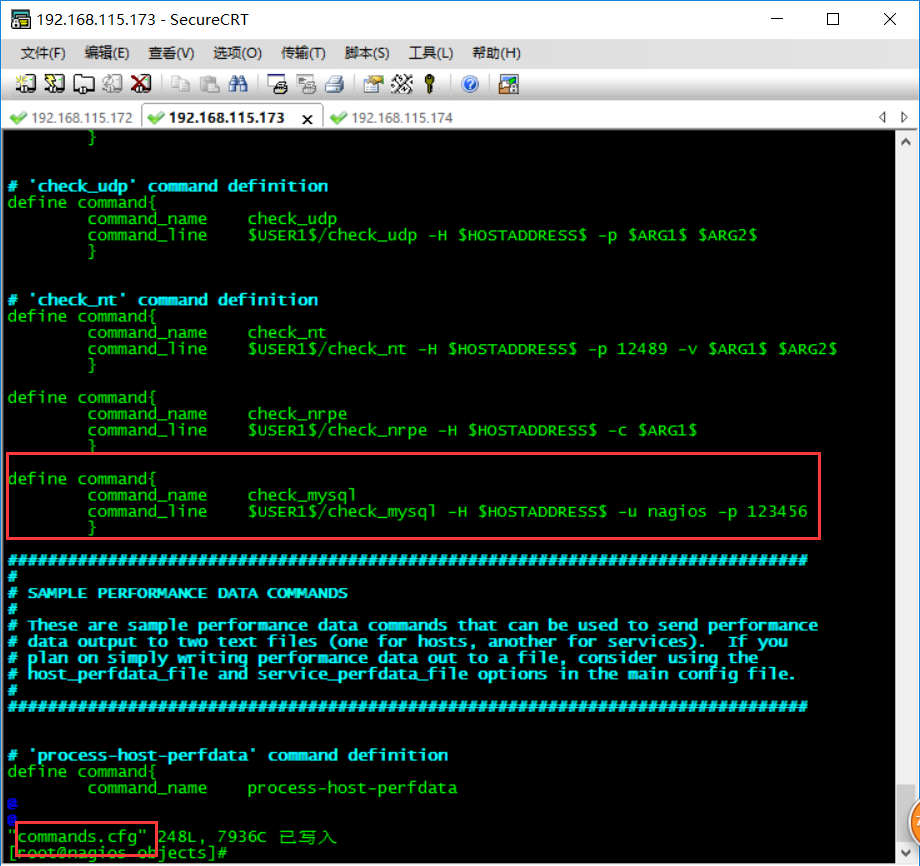
/usr/local/nagios/libexec/check_mysql -H 192.168.115.174 -u nagios -d nagios -p 123456
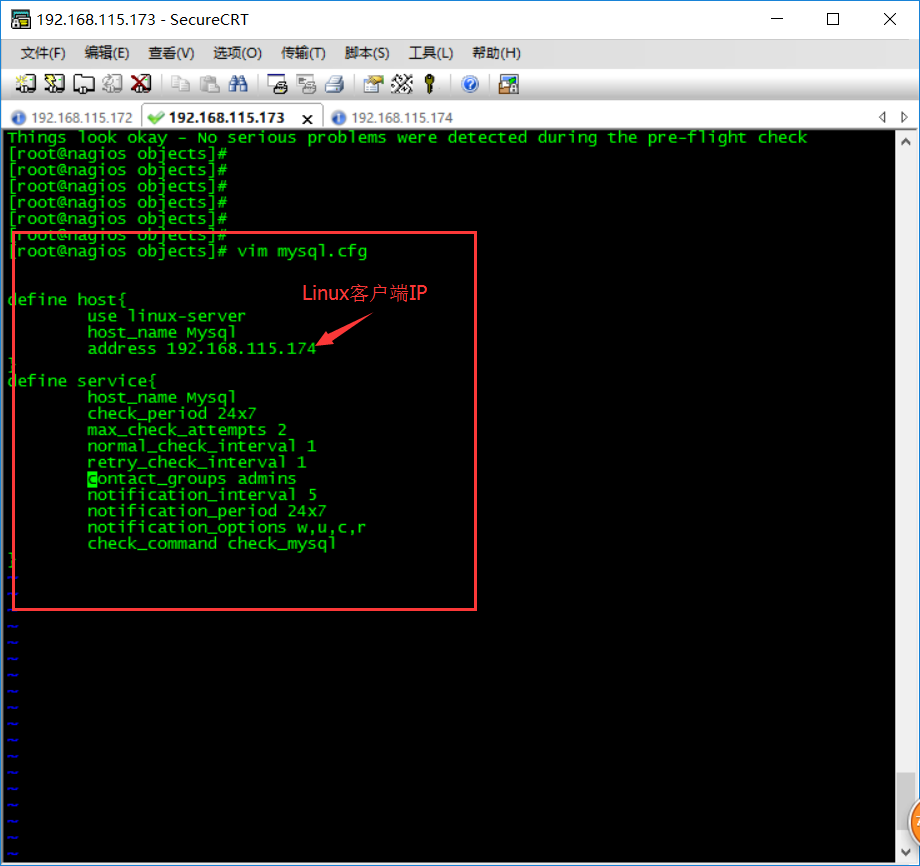
define host{
use linux-server
host_name Mysql
address 192.168.115.174
}
define service{
host_name Mysql
check_period 24x7
max_check_attempts 2
normal_check_interval 1
retry_check_interval 1
contact_groups admins
notification_interval 5
notification_period 24x7
notification_options w,u,c,r
check_command check_mysql
service nagios restart
本文出自 “Change life Start fresh.” 博客,请务必保留此出处http://ahcwy.blog.51cto.com/9853317/1941079
以上是关于Nagios+NSClient+nrpe环境搭建的主要内容,如果未能解决你的问题,请参考以下文章
来自Icinga的带有Windows Server 2012的NRPE的NSClient ++命令
从自身以管理员身份运行 vbscript (Nagios / NSclient)


