Implement a customized pin code input control
Posted 颐和园
tags:
篇首语:本文由小常识网(cha138.com)小编为大家整理,主要介绍了Implement a customized pin code input control相关的知识,希望对你有一定的参考价值。
As a ios engineer, you are asked to collect user’s input for a pin code. How can we make it?
You can simply use a UITextField to do that, but it doesn’t make sense that user can enter any characters and super long text as a pin code input.
We can use a customized UIView to reach this. First of all, we create a new file named PinView:
@IBDesignable class PinView: UIView   		// 1
    public var isIntact = false		// 2
    var pinCode: String? 					// 3
   @IBInspectable var maxDigits: Int = 4	// 4
Let’s break down it into several pieces:
- PinView extends UIView.
var isIntactdenote if the pin code is complete.var pinCoderepresent the pin code which is the user’s current input.- Pin always means a length-limited, only-number-contained string.
var maxDigitsrepresent the maximum allowed length of the pin code. We decorate this vairable with aIBInspectablemeans we can see and modify its value in IB’s attribute inspector.
Apart from that, we also need some IBInspectable variables to customize its appearance:
    @IBInspectable var digitWidth: CGFloat = 44				// 1
    @IBInspectable var digitHeight: CGFloat = 44			// 2
    @IBInspectable var gapBetweenDigits: CGFloat = 10	// 3
    @IBInspectable var digitBorderWidth: CGFloat = 2	// 4
    @IBInspectable var digitBorderColor: UIColor = .black 	// 5
    @IBInspectable var digitCornerRadius: CGFloat = 0	// 6
    @IBInspectable var textColor: UIColor = .black		// 7
    @IBInspectable var font: UIFont = UIFont.boldSystemFont(ofSize: 23) // 8
Let’s break it down step by step:
- Pin code input control should be made up of several seperated 0-9 characters.For each 0-9 number, we can use an UITextField to hold. For each TextField we can customize its size, i.e.
widthand: height.- The
gapbetween a text field and other one. - Border width and:
- border color of each text field.
- Coner Radius of each text field.
- Text color.
- Font.
Then we implement the initialization method:
    override public func awakeFromNib()
        setupDigitFields()

    override public func prepareForInterfaceBuilder()
        setupDigitFields()
awakeFromNib will be called when PinView is loaded into storyboard if you are using storyboard to implement app’s UI.
prepareForInterfaceBuilder will be invoked when IB is ready to update the storyboard’s canvas.
setupDigitFields method is really responsible for class initialization:
fileprivate func setupDigitFields()
        // 1
        backgroundColor = .clear
        let stackView = UIStackView()
        stackView.axis = .horizontal
        stackView.translatesAutoresizingMaskIntoConstraints = false
        stackView.alignment = .leading
        stackView.spacing = gapBetweenDigits
        stackView.distribution = .fillProportionally
        addSubview(stackView)
        // 2
        NSLayoutConstraint.activate([
            stackView.centerXAnchor.constraint(equalTo: centerXAnchor),
            stackView.centerYAnchor.constraint(equalTo: centerYAnchor),
            stackView.widthAnchor.constraint(equalTo: widthAnchor),
            stackView.heightAnchor.constraint(equalTo: heightAnchor)
        ])
        // 3
        for tag in 1...maxDigits
            let textField = UITextField()					// 4
            textField.tag = tag 					// 5
            // 6
            stackView.addArrangedSubview(textField)
            NSLayoutConstraint.activate([
                textField.widthAnchor.constraint(equalToConstant: digitWidth),
                textField.heightAnchor.constraint(equalToConstant: digitHeight)
            ])
            setupDigitFieldStyle(textField) // 7
We will break down this snippet for you:
- Create a UIStackView to contain all text fields.
- Layout this stack view into super view correspondingly.
- Create a specific number of text fields base on
maxDigits. - All text field in a PinCode should be ordered so that we can move on back and forward. We give their
taga certain number by their orders. - Add them into stack view one by one and constrain their size by
digitWidthanddigitHeight. - Call the method to config their style.
Then it’s the setupDigitFieldStyle function:
fileprivate func setupDigitFieldStyle(_ textField: UITextField)
        textField.delegate = self
        textField.backgroundColor = .white
        textField.keyboardType = .numberPad
        textField.textAlignment = .center
        textField.contentHorizontalAlignment = .center
        textField.layer.cornerRadius = digitCornerRadius
        textField.textColor = textColor
        textField.font = font
        textField.layer.borderWidth = digitBorderWidth
It’s no need to discuss the function, it’s all about UI styles. The most important line is :
textField.delegate = self
So PinView need to adapt UITextFieldDelegate protocol:
extension PinView: UITextFieldDelegate
    // 1
    public func textField(_ textField: UITextField, shouldChangeCharactersIn range: NSRange, replacementString string: String) -> Bool
        var next = 0
        if string.isEmpty  //  2
            textField.deleteBackward()
            getPinCode()
            return false
         else if string.count == 1  // 3
            textField.text = string
            next = textField.tag + 1
            getPinCode()
         else if string.count == maxDigits  // 4
            var mString = string
            for tag in 1...maxDigits
                guard let textfield = viewWithTag(tag) as? UITextField else  continue
                textfield.text = String(mString.removeFirst())

            getPinCode()

        if let nextDigitField = viewWithTag(next) as? UITextField  // 5
            nextDigitField.becomeFirstResponder()
         else  // 6
            endEditing(true)

        return false // 7
I’d like to break down these codes into :
- This method will be invoked when user is entering some characters into the text field.
- To check whether user is entering a backspace character, we can examine if the replacement
stringis empty. In swift 5.3, when the user deletes one or more characters, the replacement string is empty.If user is pressing the backspace key(‘del’ key on iOS keyboard), delete backward, figure out what the pin code actually is, and return false. - Normally, the function should be invoked every time user put a character, but there is an exception: what can we do when user is pasting more than one character once for all? We need to identify this scenario. We check if replacement string is one character. If true, we replace text field’s content and add 1 to tag, so we can move forward the focus. In the same time, we figure out pin code.
- If replacement string contains more than one character, we can paste them into each text field in order. Likewise figure out pin code.
- Move to next text field.
- All text field is filled, the pin code is complete, end the editing.
- We always return false because we don’t wan to use UITextField’s default behavior.
It’s necessary to define a delegate protocol to PinView so that we can get notice from outside when its state changes.
public protocol PinViewDelegate
    func didChangePinCode(_ pinView: PinView)
didChangePinCode function has a parameter pinView, through this parameter, we can get all information about specific PinView instance.
PinView also need a variable to refer to a PinViewDelegate:
public var delegate: PinViewDelegate?
Next, it is the getPinCode function:
    public func getPinCode()
        var pin = ""
        for tag in 1...maxDigits
            guard let textfield = viewWithTag(tag) as? UITextField else  continue
            pin += textfield.text!

        pinCode = pin
        self.isIntact = pin.count >= maxDigits
        delegate?.didChangePinCode(self)
As we mentioned before, PinView is made up of more than one text field, so we add up all text field’s text to a string that is where the pinCode comes in. We also compute isIntact correspondingly. At the end of the function, we call the delegate method to notify changes.
Alright, It’s time to use our brand new PinView control.
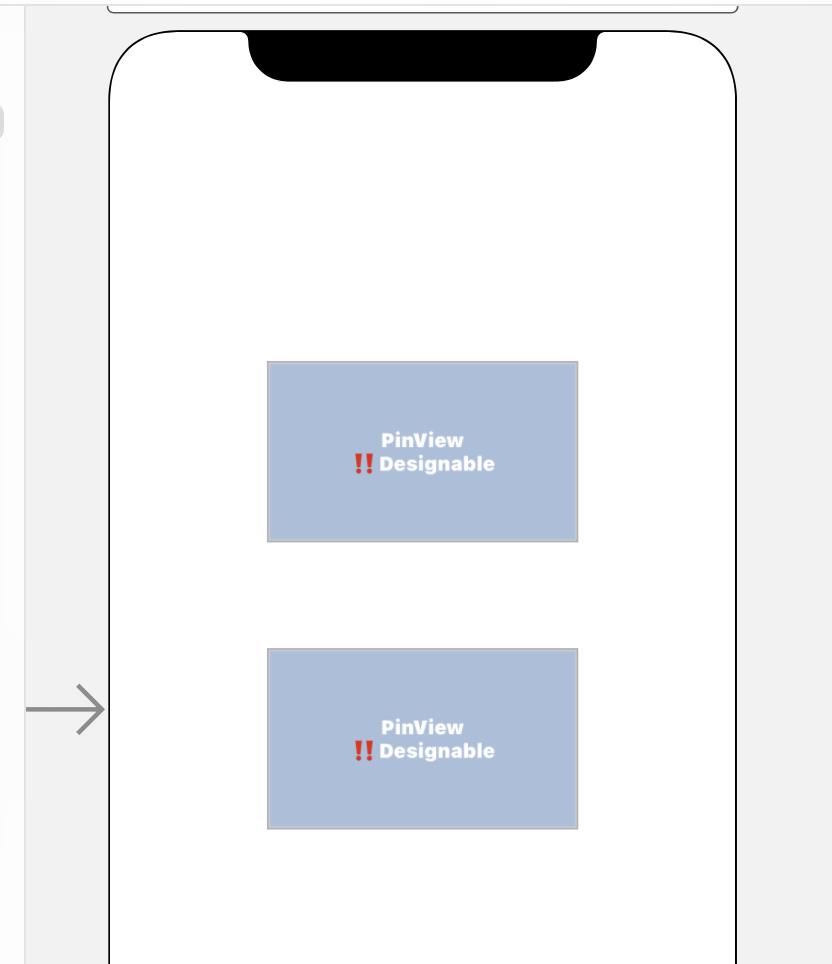
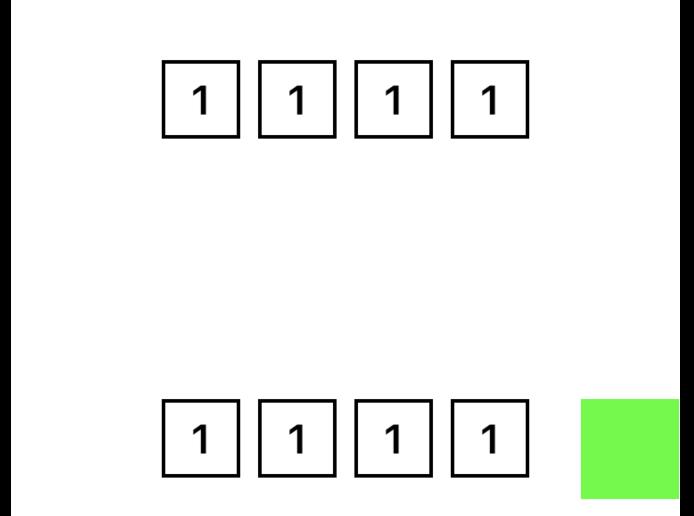
Open main.sotryboard, drag 2 UIViews in canvas, and set their class as PinView:
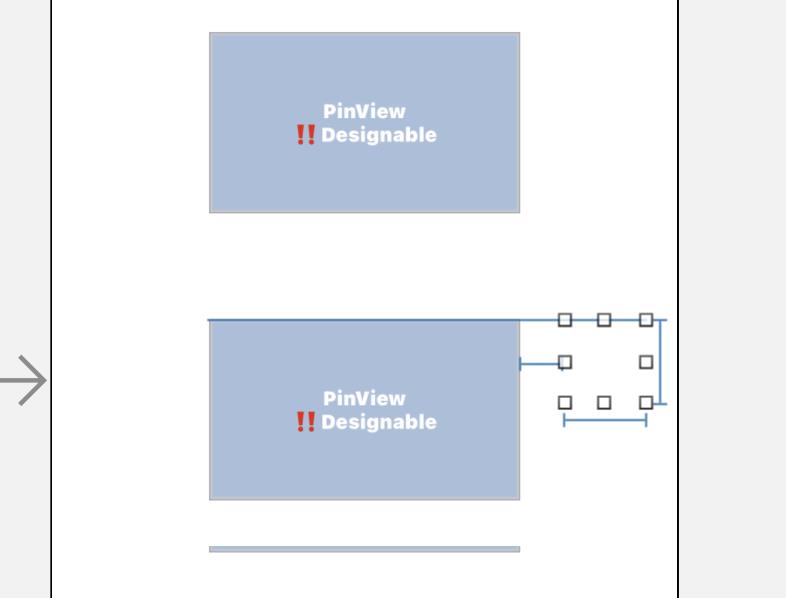
Set their x,y and height constraints, but keep the width constraint empty because we want it self-adapting.
Drag and drop a UIView into storyboard canvas:
Config constraints for it.
Create 3 IBOutlets for them:
class ViewController: UIViewController
    @IBOutlet weak var infoView: UIView!
    @IBOutlet weak var pinView2: PinView!
    @IBOutlet weak var pinView1: PinView!
At the end of viewDidLoad, add lines:
pinView1.delegate = self
pinView2.delegate = self
Extend ViewController to adapt PinViewDelegate:
extension ViewController: PinViewDelegate
    func didChangePinCode(_ pinView: PinView)
        if pinView1.isIntact && pinView2.isIntact  // 1
            infoView.isHidden = false
            if pinView1.pinCode == pinView2.pinCode  // 2
                infoView.backgroundColor = .green
            else
                infoView.backgroundColor = .red

        else
            infoView.isHidden = true
Break down these lines into steps :
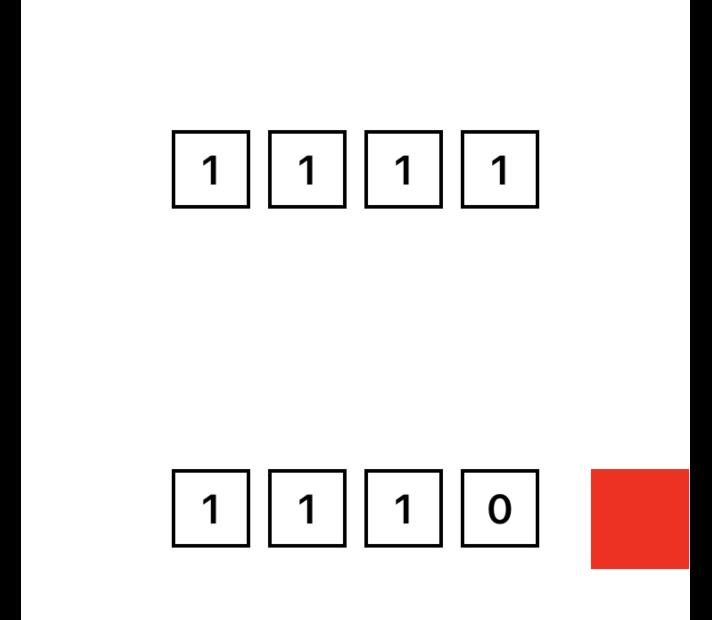
- if pin code and confirm pin code are both complete, we show the
infoView. - if pin code equals confirm pin code, we change the color of
infoViewto green , or else change it to red. - if pin code and confirm pin code don’t complete together, we hide the
infoView.
Build & run, let’s give it a shot!
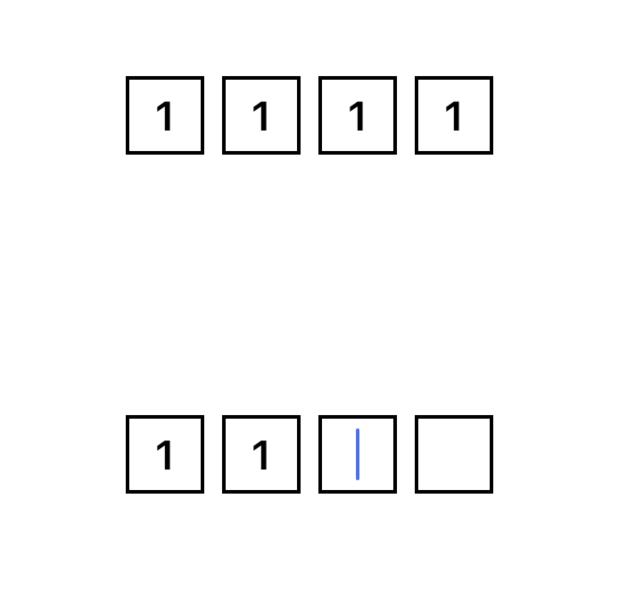
As you see, once you enter a number in PinView, the focus will move on to next text field automatically. But it’s not that case if you enter a backspace! The focus - cursor position didn’t move back.
Let’s fix it finally. Add a new swift file in project:
import UIKit

class PinDigitField: UITextField

    override func deleteBackward()
        if self.text?.count == 0
            moveToPrev()
        else
            self.text = nil
            moveToPrev()


    func moveToPrev()
        if let prev = self.superview?.viewWithTag(self.tag - 1) as? UITextField
            prev.becomeFirstResponder()
deleteBackward function comes from UITextInput protocol. We override this function to rephrase the behavior when backspace is presssed.
moveToPrev function look up previous text field by tag index in PinView and move cursor position back to it.
Back to PinView.swift, find setupDigitFields function, replace UITextField with PinDigitField:
for tag in 1...maxDigits
  let textField = PinDigitField() // UITextField()
Build & run, give it a go!
以上是关于Implement a customized pin code input control的主要内容,如果未能解决你的问题,请参考以下文章