微搭低代码封装地图组件
Posted 低代码布道师
tags:
篇首语:本文由小常识网(cha138.com)小编为大家整理,主要介绍了微搭低代码封装地图组件相关的知识,希望对你有一定的参考价值。
近期官网更新了地图组件,用法是在表单提交时候由用户自主选择位置,将位置信息存入数据源中。光有表单提交组件还是不够的,一般我们的小程序中需要在地图上显示点位信息,为此我们需要自己创建一个地图自定义组件。我们创建的方法还是直接封装小程序官方的例子。
步骤1:在components下创建map.json
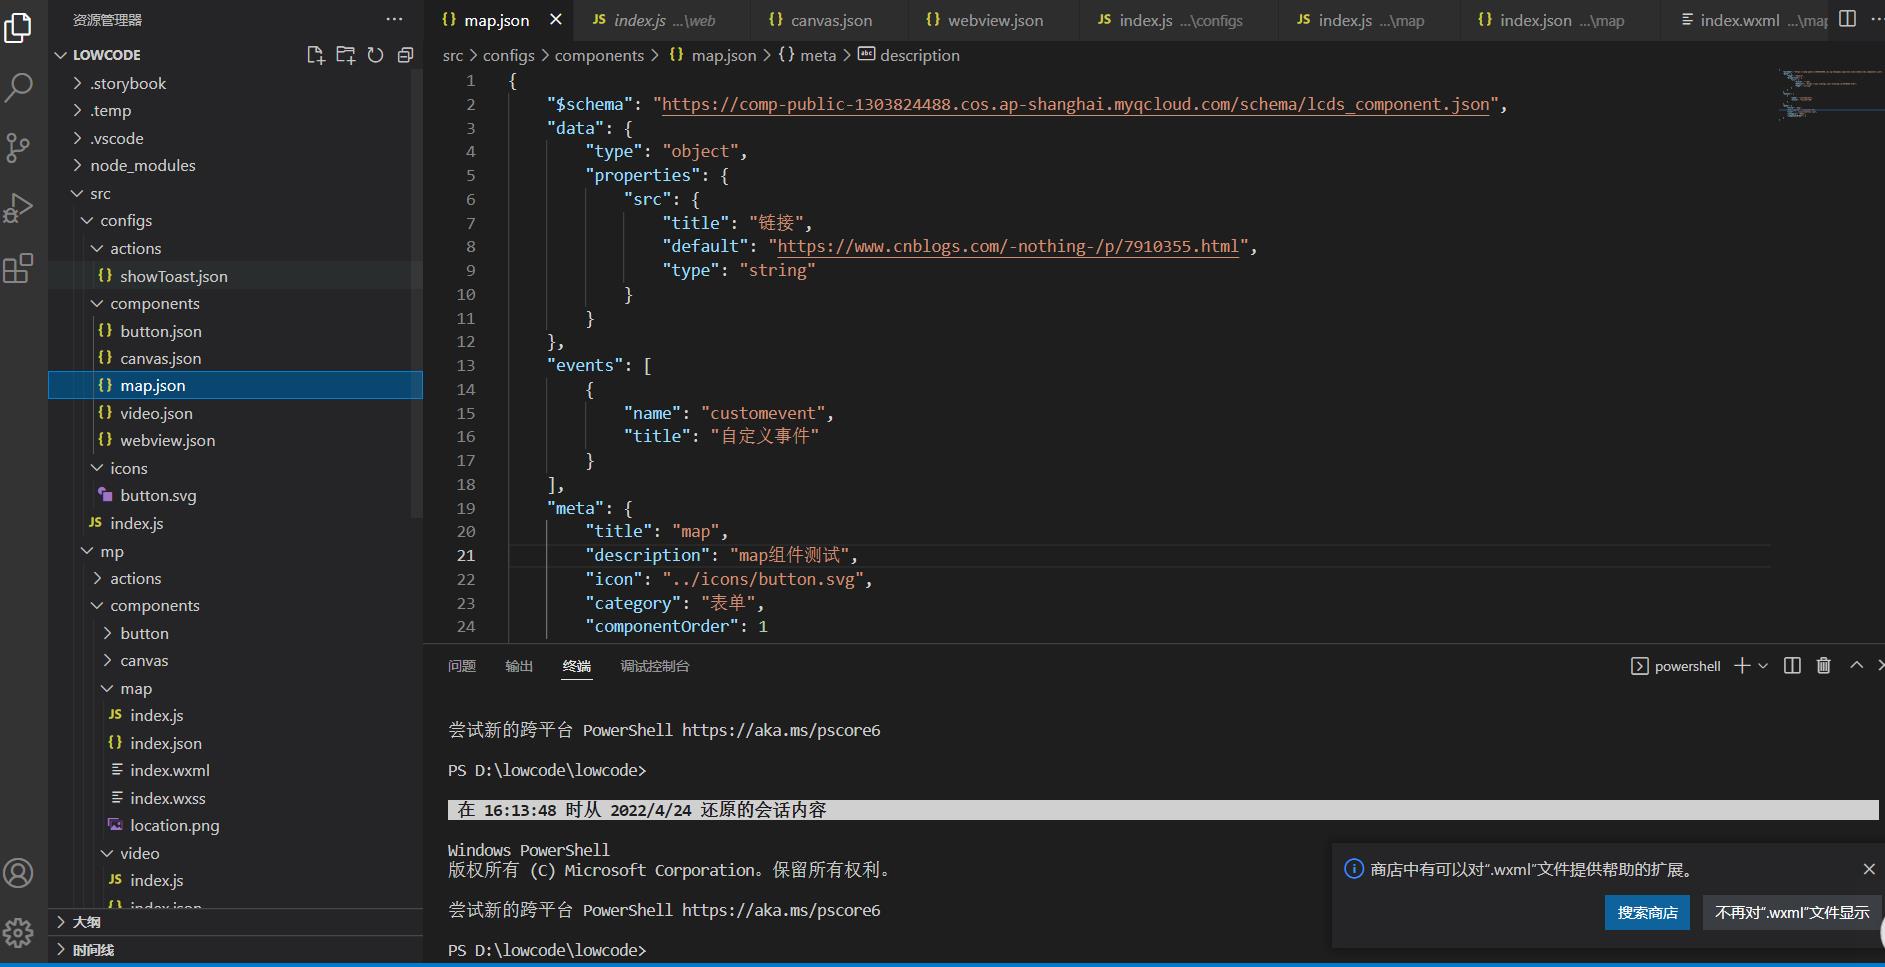
    "$schema": "https://comp-public-1303824488.cos.ap-shanghai.myqcloud.com/schema/lcds_component.json",
    "data":
        "type": "object",
        "properties":
            "src":
                "title": "链接",
                "default": "https://www.cnblogs.com/-nothing-/p/7910355.html",
                "type": "string"


    ,
    "events": [

            "name": "customevent",
            "title": "自定义事件"

    ],
    "meta":
        "title": "map",
        "description": "map组件测试",
        "icon": "../icons/button.svg",
        "category": "表单",
        "componentOrder": 1
步骤2:index.js中引入map
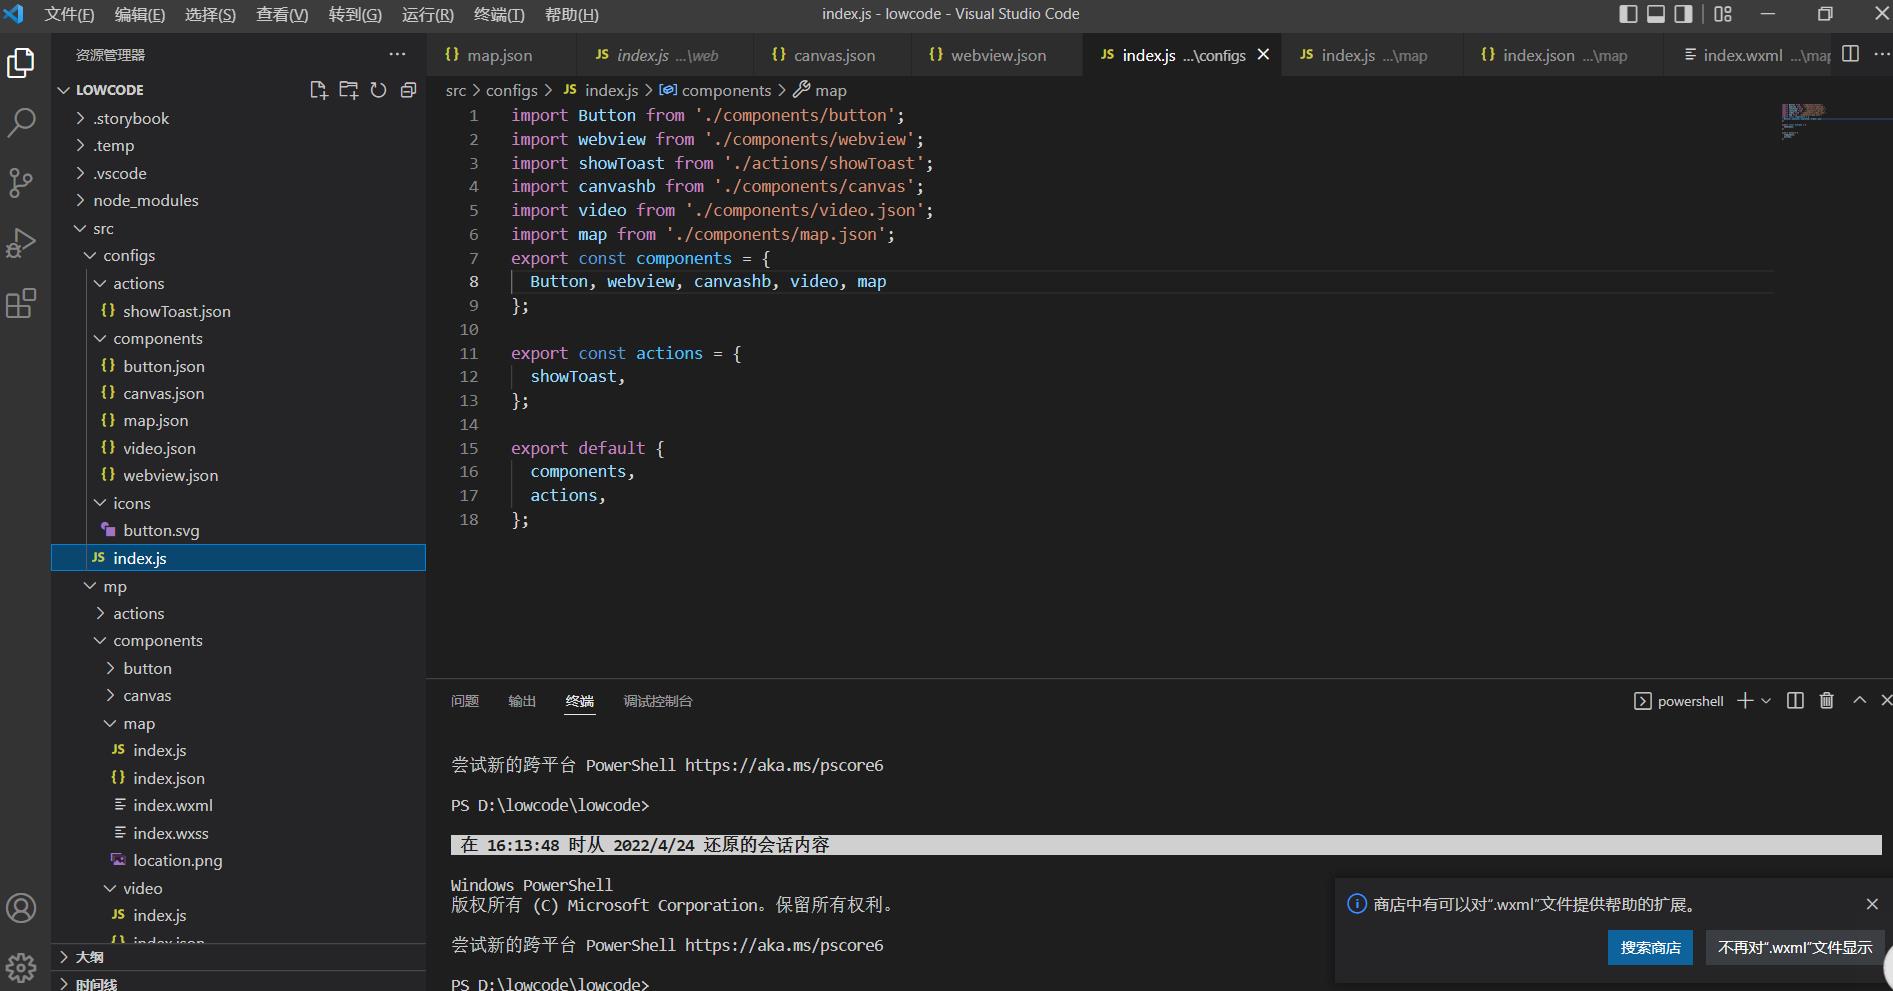
import Button from './components/button';
import webview from './components/webview';
import showToast from './actions/showToast';
import canvashb from './components/canvas';
import video from './components/video.json';
import map from './components/map.json';
export const components =
  Button, webview, canvashb, video, map
;

export const actions =
  showToast,
;

export default
  components,
  actions,
;
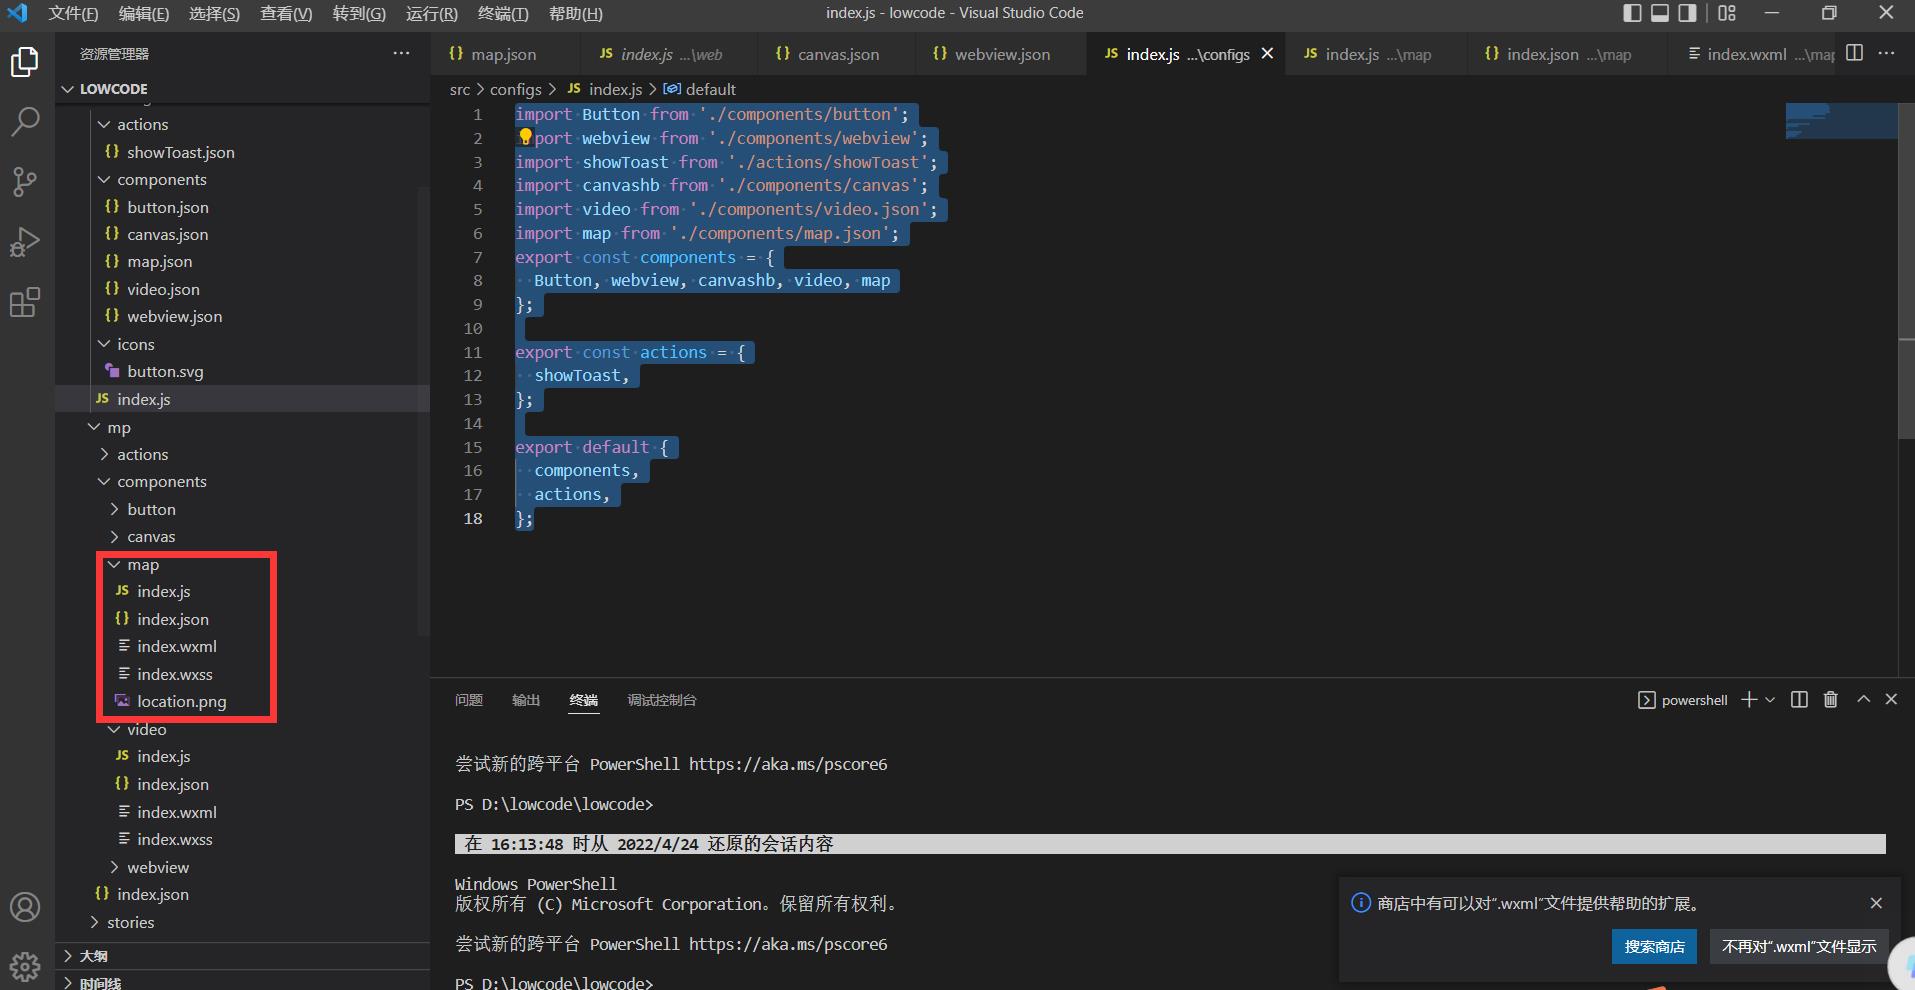
步骤3:mp下创建map文件夹,并创建四个文件
index.wxml
<view class="page-body">
  <view class="page-section page-section-gap">
    <map
      id="myMap"
      style="width: 100%; height: 300px;"
      latitude="latitude"
      longitude="longitude"
      bindmarkertap="markertap"
      bindcallouttap="callouttap"
      bindlabeltap="labeltap"
      markers="markers"
      scale="16"
    >
      <cover-view slot="callout">
        <block wx:for="customCalloutMarkerIds" wx:key="*this">
          <cover-view  class="customCallout" marker-id="item" >
            <cover-image class="icon" src="/image/voice.png"></cover-image>
            <cover-view class="content">
              num-item-index
            </cover-view>
          </cover-view>
        </block>
      </cover-view>
    </map>
  </view>

  <view class="btn-area">
    <button bindtap="addMarker" class="page-body-button" type="primary">添加marker</button>
    <button bindtap="removeMarker" class="page-body-button" type="primary">移除所有marker</button>
    <button bindtap="translateMarker" class="page-body-button" type="primary">随机移动一个marker</button>
    <button bindtap="changeMarkerId" class="page-body-button" type="primary">轮换自定义callout的位置</button>
    <button bindtap="changeContent" class="page-body-button" type="primary">改变自定义callout内容</button>
  </view>
</view>
index.js
const normalCallout =
    id: 1,
    latitude: 23.098994,
    longitude: 113.322520,
    iconPath: 'location.png',
    callout:
        content: '文本内容',
        color: '#ff0000',
        fontSize: 14,
        borderWidth: 2,
        borderRadius: 10,
        borderColor: '#000000',
        bgColor: '#fff',
        padding: 5,
        display: 'ALWAYS',
        textAlign: 'center'
    ,
    // label:
    //   content: 'label 文本',
    //   fontSize: 24,
    //   textAlign: 'center',
    //   borderWidth: 1,
    //   borderRadius: 5,
    //   bgColor: '#fff',
    //   padding: 5
    //


const customCallout1 =
    id: 2,
    latitude: 23.097994,
    longitude: 113.323520,
    iconPath: 'location.png',
    customCallout:
        anchorY: 0,
        anchorX: 0,
        display: 'ALWAYS'
    ,


const customCallout2 =
    id: 3,
    latitude: 23.096994,
    longitude: 113.324520,
    iconPath: 'location.png',
    customCallout:
        anchorY: 10,
        anchorX: 0,
        display: 'ALWAYS',
    ,


const customCallout3 =
    id: 4,
    latitude: 23.095994,
    longitude: 113.325520,
    iconPath: 'location.png',
    customCallout:
        anchorY: 0,
        anchorX: 20,
        display: 'ALWAYS',
    ,


const allMarkers = [normalCallout, customCallout1, customCallout2, customCallout3]

Page(
    data:
        latitude: 23.096994,
        longitude: 113.324520,
        markers: [],
        customCalloutMarkerIds: [],
        num: 1
    ,
    onReady: function (e)
        this.mapCtx = wx.createMapContext('myMap')
    ,

    addMarker()
        const markers = allMarkers
        this.setData(
            markers,
            customCalloutMarkerIds: [2, 3, 4],
        )
    ,

    removeMarker()
        this.setData(
            markers: [],
            customCalloutMarkerIds: []
        )
    ,

    changeMarkerId()
        const customCalloutMarkerIds = this.data.customCalloutMarkerIds.slice()
        const top = customCalloutMarkerIds.shift()
        customCalloutMarkerIds.push(top)

        this.setData(
            customCalloutMarkerIds
        )
    ,
    markertap(e)
        console.log('@@@ markertap', e)
    ,
    callouttap(e)
        console.log('@@@ callouttap', e)
    ,
    labeltap(e)
        console.log('@@@ labeltap', e)
    ,
    translateMarker: function ()
        const length = this.data.markers.length
        if (length === 0) return

        const index = Math.floor(Math.random() * length)
        const markers = this.data.markers
        const marker = markers[index]
        marker.latitude = marker.latitude + 0.002
        marker.longitude = marker.longitude + 0.002
        const that = this
        this.mapCtx.translateMarker(
            markerId: marker.id,
            duration: 1000,
            destination:
                latitude: marker.latitude,
                longitude: marker.longitude
            ,
            animationEnd()
                that.setData( markers )
                console.log('animation end')
            ,
            complete(res)
                console.log('translateMarker', res)

        )
    ,
    changeContent()
        const num = Math.floor(Math.random() * 10)
        this.setData( num )

)
index.json
"component": true
index.wxss
.page-section-gap
  box-sizing: border-box;
  padding: 0 30rpx;


.page-body-button
  margin-bottom: 30rpx;


.customCallout
  box-sizing: border-box;
  background-color: #fff;
  border: 1px solid #ccc;
  border-radius: 30px;
  width: 150px;
  height: 40px;
  display: inline-flex;
  padding: 5px 20px;
  justify-content: center;
  align-items: center;


.circle
  width: 20px;
  height: 20px;
  border: 1px solid #ccc;
  border-radius: 50%;


.icon
  width: 16px;
  height: 16px;


.content
  flex: 0 1 auto;
  margin: 0 10px;
  font-size: 14px;
步骤4:index.json中引入
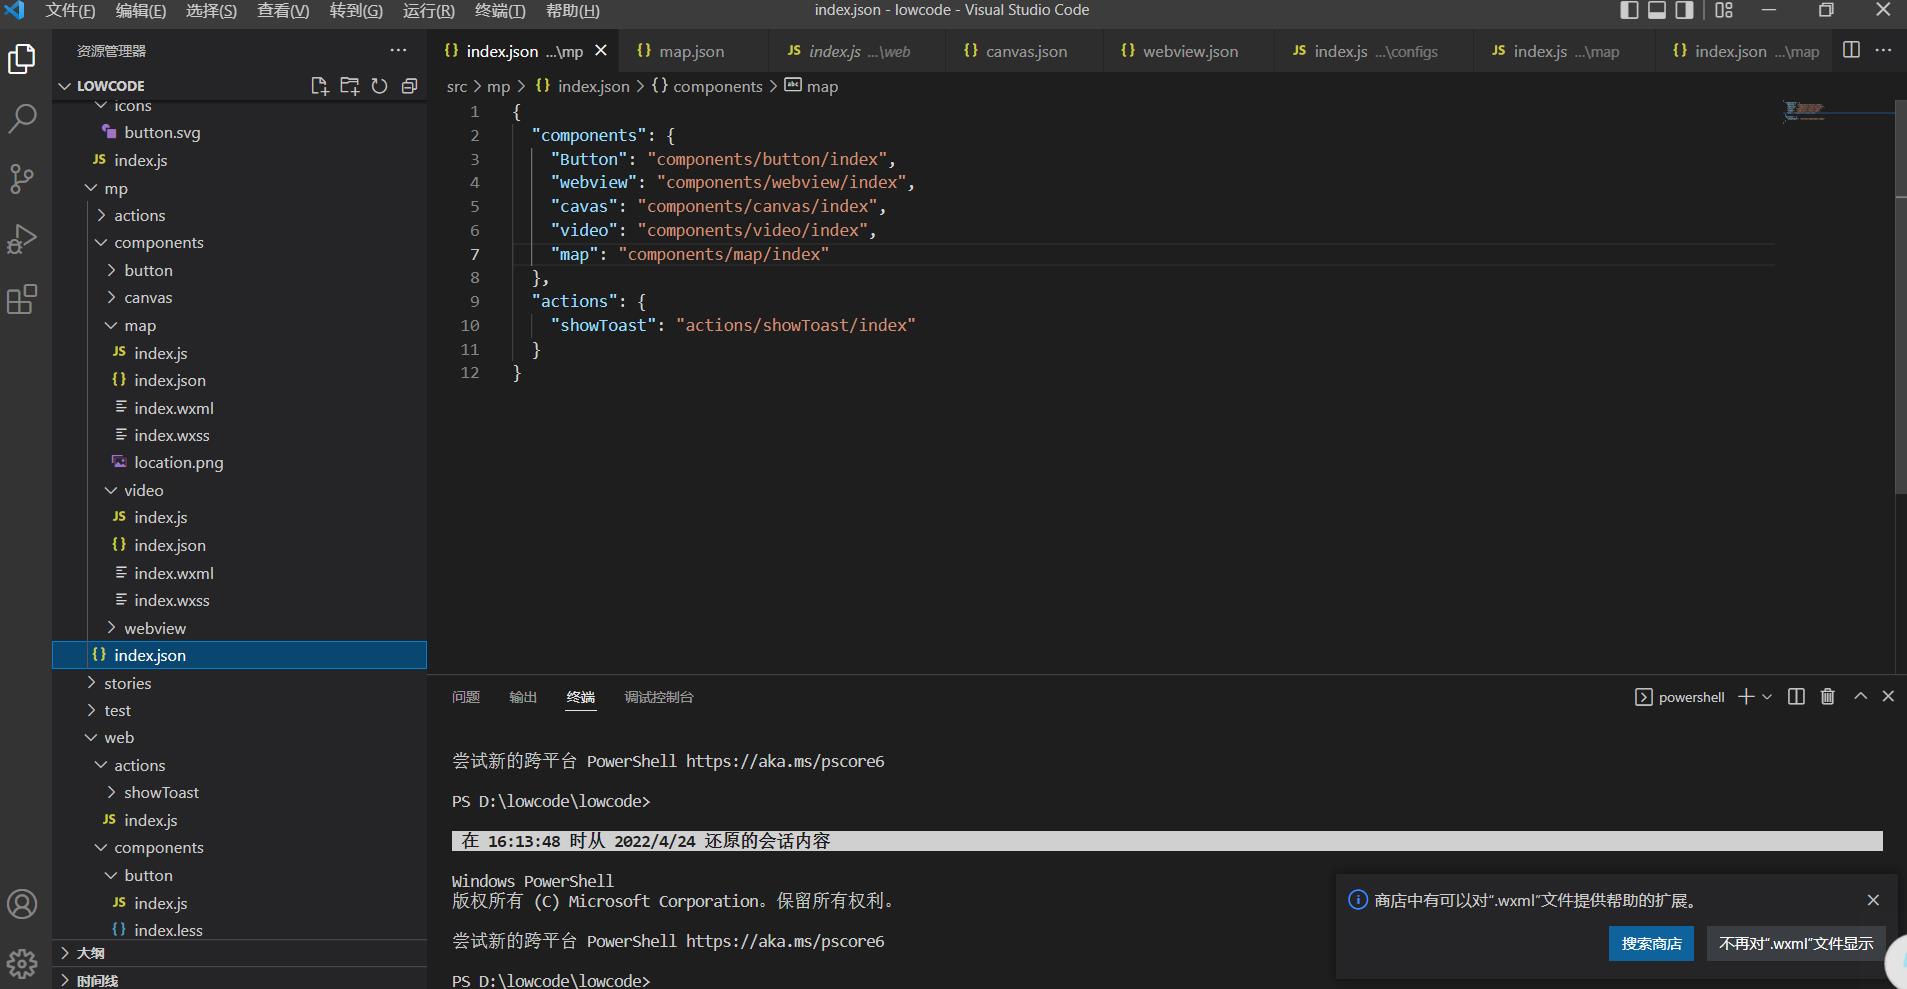
  "components":
    "Button": "components/button/index",
    "webview": "components/webview/index",
    "cavas": "components/canvas/index",
    "video": "components/video/index",
    "map": "components/map/index"
  ,
  "actions":
    "showToast": "actions/showToast/index"
步骤5:发布
tcb lowcode publilsh
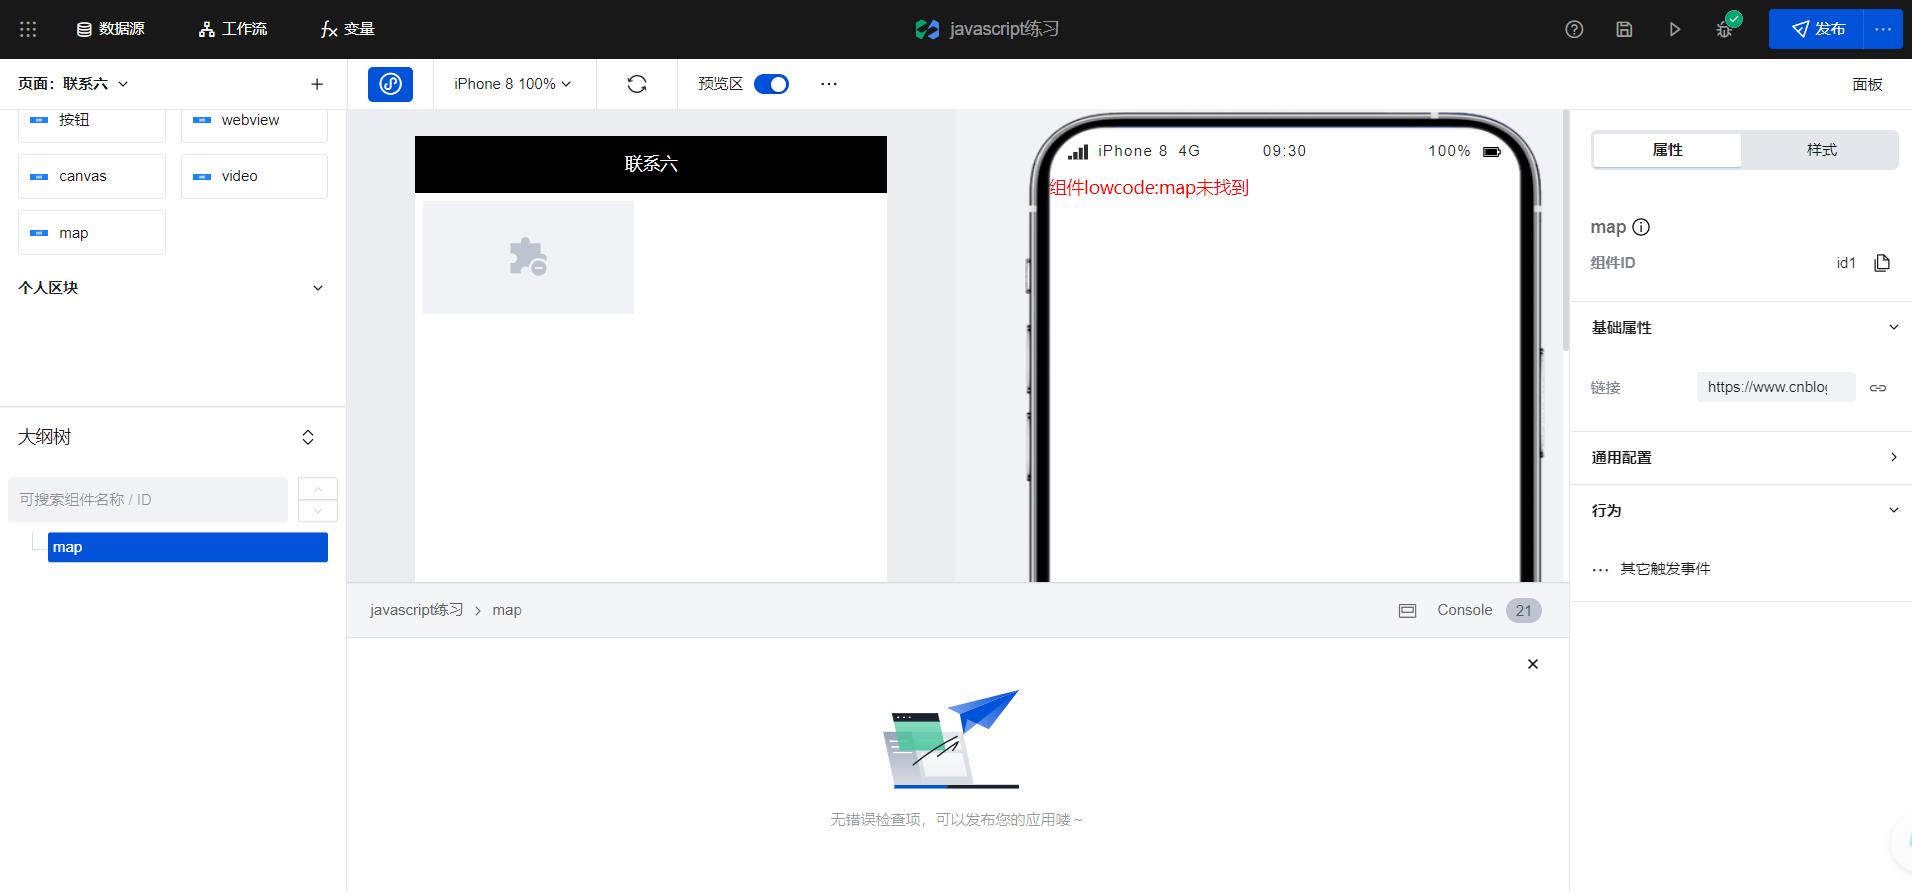
步骤6:应用中引入组件
以上是关于微搭低代码封装地图组件的主要内容,如果未能解决你的问题,请参考以下文章