HTML5 MUI 手机预览图片,裁剪上传base64,保存数据库
Posted 云上人间钦自赏
tags:
篇首语:本文由小常识网(cha138.com)小编为大家整理,主要介绍了HTML5 MUI 手机预览图片,裁剪上传base64,保存数据库相关的知识,希望对你有一定的参考价值。
app和网站页面都可以使用
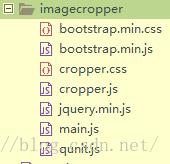
需要的文件:
 这些都需要,这些文件在下文的参考网址可以下载
页面头部引用:
<link rel="stylesheet" href="js/imagecropper/bootstrap.min.css" />
<link rel="stylesheet" href="js/imagecropper/cropper.css" />
页面底部引用(但是在body里):
<script type="text/javascript" src="js/jquery-1.7.js"></script>
<script src="js/mui.min.js"></script>
<script type="text/javascript" src="js/pet.js"></script>
<script type="text/javascript" src="js/imagecropper/jquery.min.js"></script>
<script type="text/javascript" src="js/imagecropper/bootstrap.min.js"></script>
<script type="text/javascript" src="js/imagecropper/cropper.js"></script>
布局:
<div id="changeAvatar" class="touxiang" οnclick="showActionSheet()">//触发选择图片事件
	<img src="images/dogimg.png">//默认图片以及选择裁剪后展示的效果
</div>
<div style="width:90%;margin: 0 auto;margin-top:30px;">
	<button type="button" class="mui-btn mui-btn-primary mui-btn-block" style="height: 40px;" οnclick="postAvatar()">确认提交</button>//保存数据事件
</div>
<div style="text-align: center;z-index: 99;width: 100%;height: 2000px;background-color: #f2f2f2 ;position: absolute;top:40px;left: 0px;display: none;" id="spinner">
	<div style="width:90px;padding-top:200px;margin:0 auto;height: 100%;">
		<div style="width:30px;float: left;">
			<span class="mui-spinner" style="height: 20px;"></span>//等待动画
		</div>
		<div style="width:60px;float: left;">请稍等...</div>
		<div class="clear"></div>
	</div>
</div>
<div id="showEdit" style="width:100%;height: 100%;background-color: #fff;position: absolute;top:60;left: 0;display: none;z-index: 9;">
	<div id="report" style="width:100%;height: 100%;z-index: 10;">
		<img id="readyimg" style="width:100%;">
	</div>
	<div class="mui-content-padded" style="width:100%;height: 100px;z-index: 110;position: absolute;top:60px;left:0px;">
		<div class="flex-container" style="">
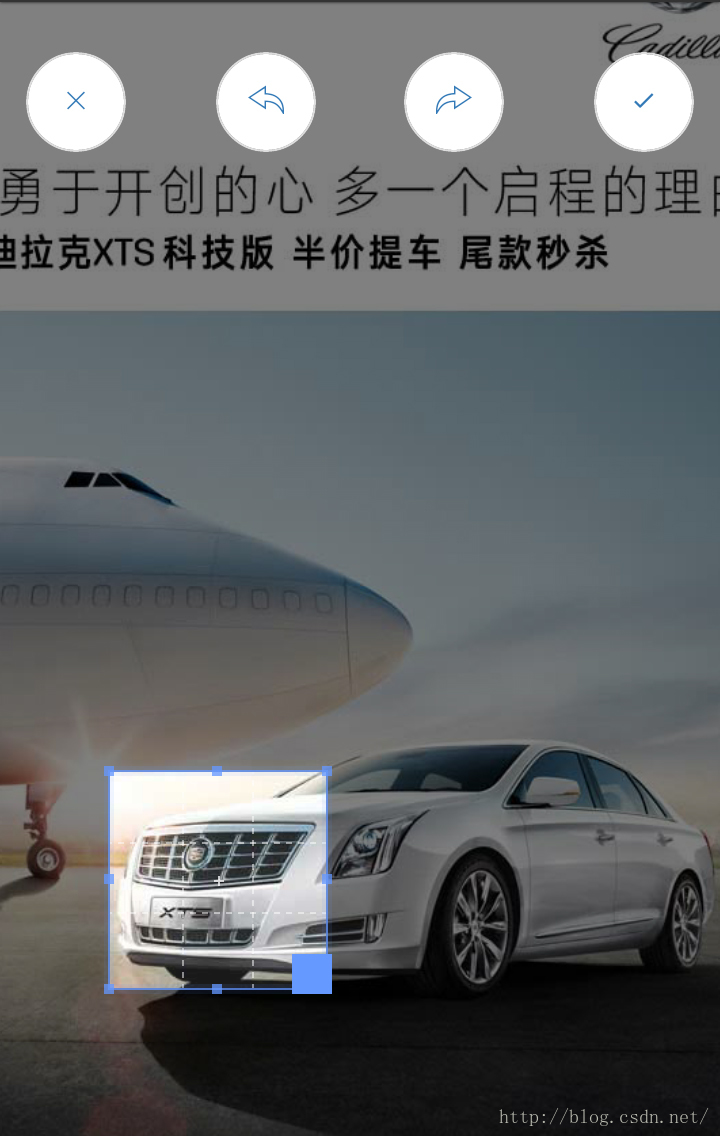
			<a><span class="mui-icon mui-icon-closeempty" οnclick="closepop()"></span></a>//关闭裁剪窗口
			<a><span class="mui-icon mui-icon-undo" οnclick="rotateimgleft()"></span></a>//左旋转90度
			<a><span class="mui-icon mui-icon-redo" οnclick="rotateimg()"></span></a>//右旋转90度
			<a><span class="mui-icon mui-icon-checkmarkempty" οnclick="confirm()"></span></a>//确定
		</div>
	</div>
</div>
JS部分:
//post内容
function postAvatar()
	var petimage = $("#changeAvatar > img").attr("src");//此时取到的图片已经是base64形式
        //你的处理代码,改post到服务器了,服务器接收同接收普通post参数一样,只是,存图片的字段改成ntext,这是sql的数据类型,其他数据库同类型,jq的getJSON可能会不执行,因为getJSON是get模式,图片转成base64后,很容易超出最大长度,其实,经过压缩后,一般不会超出的,具体压缩方法下文有
//拍照
function getImage()
	var cmr = plus.camera.getCamera();
	cmr.captureImage(function(p)
		plus.io.resolveLocalFileSystemURL(p, function(entry)
			var localurl = entry.toLocalURL(); //
			$("#report").html('<img src="/static/css/default/img/default.jpg" data-original="' + localurl + '">');
			cutImg();
			mui('#picture').popover('toggle');
		);
	);

//相册选取
function galleryImgs()
	plus.gallery.pick(function(e)
		//alert(e);
		$("#readyimg").attr("src", e);
		cutImg();
		mui('#picture').popover('toggle');
	, function(e)
		//outSet( "取消选择图片" );
	,
		filter: "image"
	);

//照片裁剪类
function cutImg()
	$(".mui-content").hide();
	$("#showEdit").fadeIn();
	var $image = $('#report > img');
	$image.cropper(
		checkImageOrigin: true,
		aspectRatio: 1 / 1,
		autoCropArea: 0.3,
		zoom: -0.2
	);
	//					$image.cropper('zoom',-0.5);

//确认照片,展示效果
function confirm()
	$("#showEdit").fadeOut();
	var $image = $('#report > img');
	var dataURL = $image.cropper("getCroppedCanvas");
//				var imgurl = dataURL.toDataURL("image/png", 0.5);
	//换成下边的方法,转成jpeg,但是把质量降低,
	//经测试51k的png,转成0.3质量,大小为3k多,0.5质量大小为4k多,
	//这回应该不会出现卡的情况了,
	//既然差别1k多,还是用0.5的质量,还是要兼顾下显示效果的。
	var imgurl = dataURL.toDataURL("image/jpeg", 0.5);
	$("#changeAvatar > img").attr("src", imgurl);
	//				$("#divbtn").show();
	$(".mui-content").show();

//旋转照片
function rotateimg()
	$("#readyimg").cropper('rotate', 90);


function rotateimgleft()
	$("#readyimg").cropper('rotate', -90);


function closepop()
	$("#showEdit").fadeOut();
	var $image = $('#report > img');
	$image.cropper('destroy');
	$(".mui-content").show();


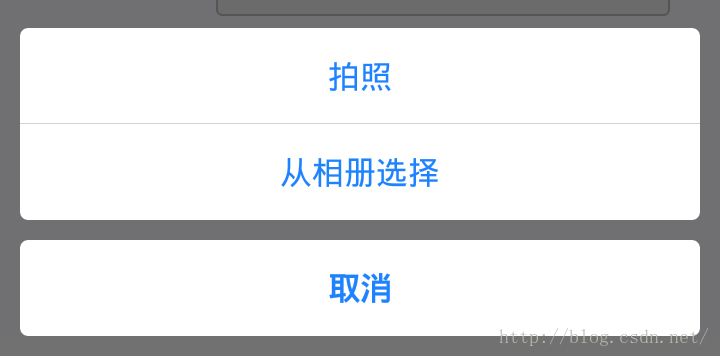
function showActionSheet()
	var bts = [
		title: "拍照"
	,
		title: "从相册选择"
	];
	plus.nativeUI.actionSheet(
			cancel: "取消",
			buttons: bts
		,
		function(e)
			if (e.index == 1)
				getImage();
			 else if (e.index == 2)
				galleryImgs();

			//outLine( "选择了\\""+((e.index>0)?bts[e.index-1].title:"取消")+"\\"");

	);
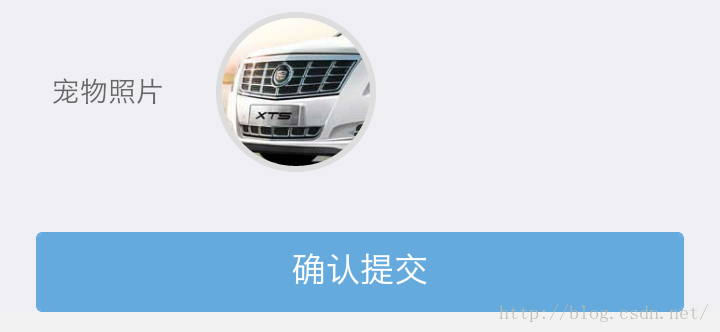
效果图如下:


服务器端Asp.net
string[] arrimg = img.Split(';');//img是request['img']取到的完整的base64
img = arrimg[1].Substring(7);//截取字符串
byte[] arr = Convert.FromBase64String(img);
string newPath = "Images/" + DateTime.Now.ToString("yyyyMMdd") + "/";
if (!Directory.Exists(HttpContext.Current.Server.MapPath(newPath)))

    System.IO.Directory.CreateDirectory(HttpContext.Current.Server.MapPath(newPath));

string filename = Common.GetGuid() + ".jpg";
File.WriteAllBytes(HttpContext.Current.Server.MapPath(newPath) + filename, arr);//简单方便,直接另存为
Content = Common.GetRootURI() + "System/Controls/" + newPath + filename;//这里是图片在服务器上的路径,GetRootURI方法在下边
public static string GetRootURI()
string AppPath = "";
HttpContext HttpCurrent = HttpContext.Current;
HttpRequest Req;
if (HttpCurrent != null)
Req = HttpCurrent.Request;
string UrlAuthority = Req.Url.GetLeftPart(UriPartial.Authority);
if (Req.ApplicationPath == null || Req.ApplicationPath == "/")
//直接安装在 Web 站点
AppPath = UrlAuthority + "/";
else
//安装在虚拟子目录下
AppPath = UrlAuthority + Req.ApplicationPath + "/";
return AppPath;
参考网址:
https://github.com/fengyuanchen/cropper/blob/master/README.md
https://github.com/fengyuanchen/cropper
https://developer.mozilla.org/en-US/docs/Web/API/HTMLCanvasElement/toDataURL
还有一个对api的详细介绍,网址找不到了,是火狐哪个网页,比较详尽的api实用说明,等找到放上来。
其实就是仔细看api,耐心看英文说明,还有就是不停的实践、多想,终于功夫不负有心人。
以上是关于HTML5 MUI 手机预览图片,裁剪上传base64,保存数据库的主要内容,如果未能解决你的问题,请参考以下文章