使用Docker-compose搭建consul集群环境
Posted 还行少年
tags:
篇首语:本文由小常识网(cha138.com)小编为大家整理,主要介绍了使用Docker-compose搭建consul集群环境相关的知识,希望对你有一定的参考价值。
Doscker Compose
1.概述
Compose 是用于定义和运行多容器 Docker 应用程序的工具。通过 Compose,您可以使用 YML 文件来配置应用程序需要的所有服务。然后,使用一个命令,就可以从 YML 文件配置中创建并启动所有服务
2.docker-compose常用字段
| 字段 | 描述 |
|---|---|
| build dockerfile context | 指定Dockerfile文件名构建镜像上下文路径 |
| image | 指定镜像 |
| command | 执行命令,覆盖默认命令 |
| container name | 指定容器名称,由于容器名称是唯一的,如果指定自定义名称,则无法scale |
| deploy | 指定部署和运行服务相关配置,只能在Swarm模式使用 |
| environment | 添加环境变量 |
| networks | 加入网络 |
| ports | 暴露容器端口,与-p相同,但端口不能低于60 |
| volumes | 挂载宿主机路径或命令卷 |
| restart | 重启策略,默认no,always,no-failure,unless-stoped |
| hostname | 容器主机名 |
3.docker compose常用命令
| 字段 | 描述 |
|---|---|
| build | 重新构建服务 |
| ps | 列出容器 |
| up | 创建和启动容器 |
| exec | 在容器里面执行命令 |
| scale | 指定一个服务容器启动数量 |
| top | 显示容器进程 |
| logs | 查看容器输出 |
| down | 删除容器、网络、数据卷和镜像 |
| stop/start/restart | 停止/启动/重启服务 |
Compose部署
1.环境部署
[root@localhost ~]#  yum -y install docker-ce  //安装社区版
已加载插件:fastestmirror, langpacks
Loading mirror speeds from cached hostfile
 * base: mirrors.aliyun.com
 * extras: mirrors.aliyun.com
 * updates: mirrors.aliyun.com
软件包 3:docker-ce-20.10.8-3.el7.x86_64 已安装并且是最新版本
无须任何处理
[root@localhost ~]# systemctl enable docker   //开机自启
Created symlink from /etc/systemd/system/multi-user.target.wants/docker.service to /usr/lib/systemd/system/docker.service.
[root@localhost ~]# systemctl start docker    //启动服务
[root@localhost ~]#
2.给compose赋权
[root@localhost ~]# cp -p docker-compose /usr/local/bin/
[root@localhost ~]# chmod +x /usr/local/bin/docker-compose
3.创建容器脚本
[root@localhost compose_nginx]# ll nginx/
总用量 964
-rw-r--r-- 1 root root    464 9月   8 14:52 Dockerfile
-rw-r--r-- 1 root root 981687 8月  18 2018 nginx-1.12.2.tar.gz
[root@localhost compose_nginx]# cat nginx/Dockerfile
FROM centos:7
RUN yum install -y gcc pcre pcre-devel devel zlib-devel make &> /dev/null && yum clean all
ADD nginx-1.12.2.tar.gz /mnt
WORKDIR /mnt/nginx-1.12.2
RUN sed -i 's/CFLAGS="$CFLAGS -g"/#CFLAGS="$CFLAGS -g"/g' auto/cc/gcc
RUN ./configure --prefix=/usr/local/nginx &> /dev/null
RUN make &> /dev/null
RUN make install &> /dev/null
RUN rm -rf /mnt/nginx-1.12.2
EXPOSE 80
VOLUME ["/usr/local/nginx/html"]
CMD ["/usr/local/nginx/sbin/nginx","-g","daemon off;"]
4.创建模板脚本
[root@localhost compose_nginx]# cat docker-compose.yml
version: '3'    //与docker版本相关
services:
  nginx:
    hostname: nginx   //容器主机名
    build:
      context: ./nginx    //指定构建镜像的路径
      dockerfile: Dockerfile    //Dockerfile文件
    ports:                      //暴露容器端口
      - 1216:80
      - 1217:443
    networks:                    //加入网络
      - cluster
    volumes:                     //挂载点
      - ./wwwroot:/usr/local/nginx/html
networks:
  cluster:
5.路径
[root@localhost compose_nginx]# tree
.
├── docker-compose.yml
├── nginx
│?? ├── Dockerfile
│?? └── nginx-1.12.2.tar.gz
└── wwwroot
    └── index.html
6.创建和启动容器
[root@localhost compose_nginx]# docker-compose -f docker-compose.yml up -d
Successfully built 7a1101bf4316
Successfully tagged compose_nginx_nginx:latest
WARNING: Image for service nginx was built because it did not already exist. To rebuild this image you must use `docker-compose build` or `docker-compose up --build`.
Creating compose_nginx_nginx_1 ... done
[root@localhost compose_nginx]# docker ps
CONTAINER ID   IMAGE                 COMMAND                  CREATED          STATUS          PORTS                                                                            NAMES
7674f10bdc78   compose_nginx_nginx   "/usr/local/nginx/sb…"   33 seconds ago   Up 32 seconds   0.0.0.0:1216->80/tcp, :::1216->80/tcp, 0.0.0.0:1217->443/tcp, :::1217->443/tcp   compose_nginx_nginx_1
[root@localhost compose_nginx]# docker-compose ps
        Name                       Command               State                            Ports
-------------------------------------------------------------------------------------------------------------------------
compose_nginx_nginx_1   /usr/local/nginx/sbin/ngin ...   Up      0.0.0.0:1217->443/tcp,:::1217->443/tcp,
                                                                 0.0.0.0:1216->80/tcp,:::1216->80/tcp
[root@localhost compose_nginx]#
7.测试
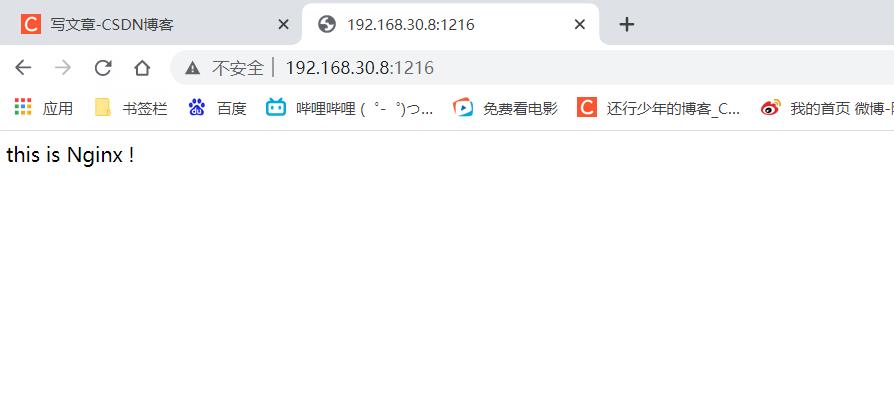
Consul 部署
192.168.30.8  Docker-ce、compose、consul、consul-template、nginx
192.168.30.9  Docker-ce、registrator
template 模板(更新)
registrator(自动发现)
后端每构建出一个容器,会向registrator进行注册,控制consul 完成更新操作,consul会触发consul template模板进行热更新
核心机制:consul :自动发现、自动更新,为容器提供服务(添加、删除、生命周期)
1.部署consul服务器
[root@localhost consul]# consul agent -server -bootstrap -ui -data-dir=/var/lib/consul-data -bind=192.168.30.8 -client=0.0.0.0 -node=consul-server01 &> /var/log/consul.log &
[1] 80288
[root@localhost consul]# jobs
[1]+  运行中               consul agent -server -bootstrap -ui -data-dir=/var/lib/consul-data -bind=192.168.30.8 -client=0.0.0.0 -node=consul-server01 &>/var/log/consul.log &
2.查看集群信息
[root@localhost consul]#  consul members
Node             Address            Status  Type    Build  Protocol  DC
consul-server01  192.168.30.8:8301  alive   server  0.9.2  2         dc1
[root@localhost consul]# consul info | grep leader
	leader = true
	leader_addr = 192.168.30.8:8300
3.安装Gliderlabs/Registrator
[root@localhost ~]# docker run -d --name=registrator --net=host -v /var/run/docker.sock:/tmp/docker.sock --restart=always gliderlabs/registrator:latest -ip=192.168.30.9 consul://192.168.30.8:8500   // Gliderlabs/Registrator 可检查容器运行状态自动注册,还可注册docker容器的服务到服务配置中心
[root@localhost ~]# docker ps
CONTAINER ID   IMAGE                           COMMAND                  CREATED         STATUS         PORTS     NAMES
cbca419d2d4b   gliderlabs/registrator:latest   "/bin/registrator -i…"   8 minutes ago   Up 8 minutes             registrator
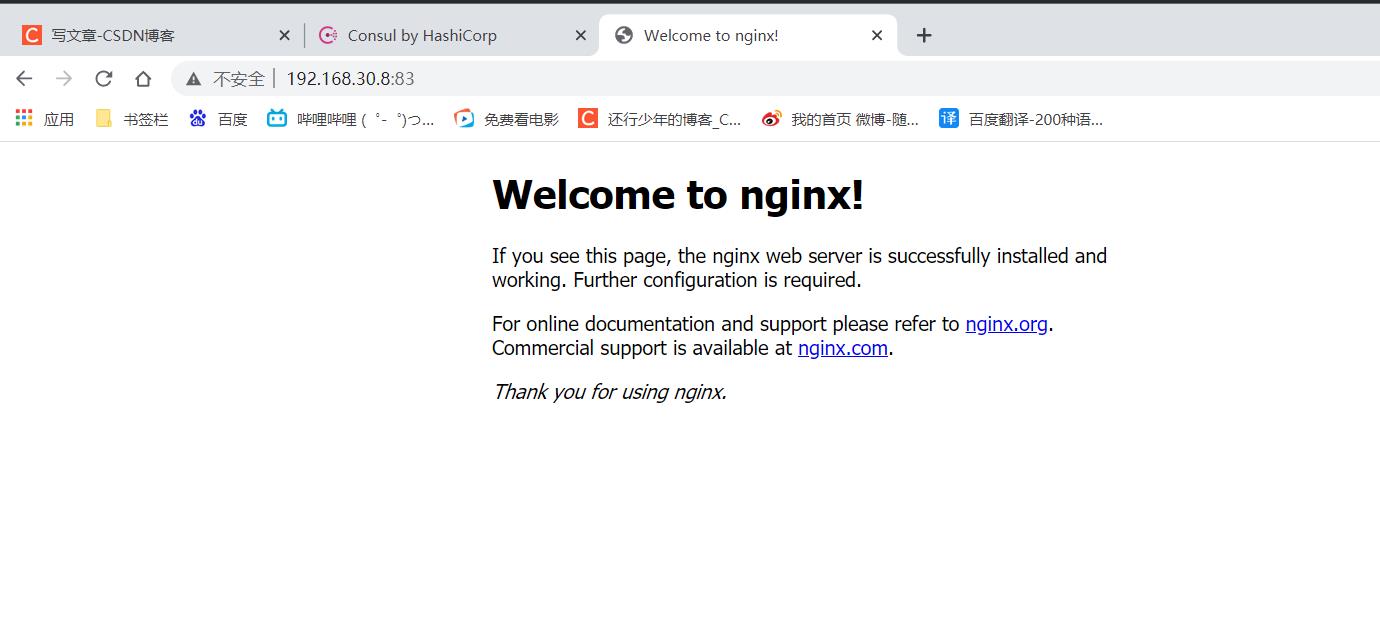
4.测试服务发现功能是否正常
[root@localhost ~]# docker run -itd -p:83:80 --name test-01 -h test01 nginx
Unable to find image 'nginx:latest' locally
latest: Pulling from library/nginx
a330b6cecb98: Pull complete
5ef80e6f29b5: Pull complete
f699b0db74e3: Pull complete
0f701a34c55e: Pull complete
3229dce7b89c: Pull complete
ddb78cb2d047: Pull complete
Digest: sha256:a05b0cdd4fc1be3b224ba9662ebdf98fe44c09c0c9215b45f84344c12867002e
Status: Downloaded newer image for nginx:latest
3bc856898e0d14c1ff547bdd34a3d157ac44062935727e2f57d6a4beeaeb21b3
[root@localhost ~]# docker run -itd -p:84:80 --name test-02 -h test02 nginx
1c8e9f620c5be04ec3ddecdd89db222b497f538a0423f18ad2106084ae9bbc44
[root@localhost ~]# docker run -itd -p:88:80 --name test-03 -h test03 httpd
Unable to find image 'httpd:latest' locally
latest: Pulling from library/httpd
a330b6cecb98: Already exists
14e3dd65f04d: Pull complete
fe59ad2e7efe: Pull complete
2cb26220caa8: Pull complete
3138742bd847: Pull complete
Digest: sha256:af1199cd77b018781e2610923f15e8a58ce22941b42ce63a6ae8b6e282af79f5
Status: Downloaded newer image for httpd:latest
be4d97f560813250557a13fa846172fda96fdba0fa5d7f6a0fbd33ebcd96bbf7
[root@localhost ~]# docker run -itd -p:89:80 --name test-04 -h test04 httpd
d6b09bf6bed78c605282bd220ba56b12fae166016c1f32daae6af121e2148f5c
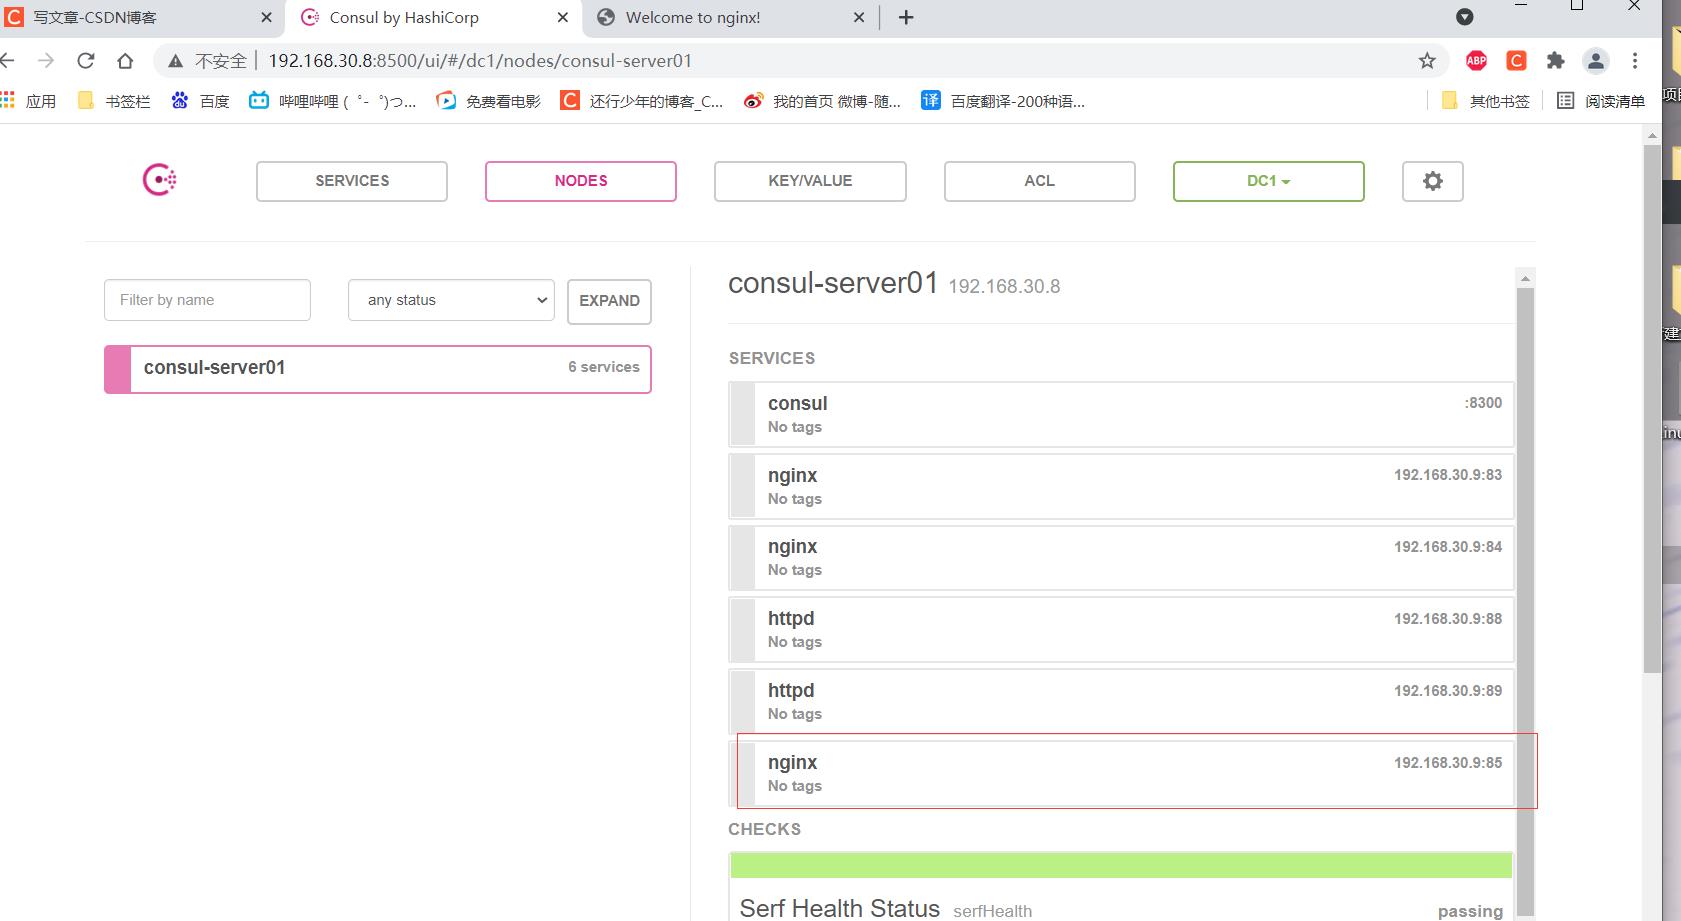
[root@localhost ~]#
[root@localhost consul]# curl 127.0.0.1:8500/v1/catalog/services  在consul服务器上查看服务
"consul":[],"httpd":[],"nginx":[]

5.准备 template nginx 模板文件
[root@localhost consul]# cat nginx.ctmpl
upstream http_backend
  range service "nginx"     //过滤nginx服务器
   server .Address:.Port;  //此处引用的变量会指向后端的地址和端口(动态变化)
   end


server
  listen 83;
  server_name localhost 192.168.30.8;
  access_log /var/log/nginx/test.cn-access.log;
  index index.html index.php;
  location /
    proxy_set_header HOST $host;
    proxy_set_header X-Real-IP $remote_addr;
    proxy_set_header Client-IP $remote_addr;
    proxy_set_header X-Forwarded-For $proxy_add_x_forwarded_for;
    proxy_pass http://http_backend;
6.配置nginx
[root@localhost nginx-1.12.2]# ./configure --prefix=/usr/local/nginx  && make && make install  //手工编译安装nginx
[root@localhost nginx-1.12.2]# vim /usr/local/nginx/conf/nginx.conf

http
    include       mime.types;
    include       vhost/*.conf    //添加虚拟主机目录
    default_type  application/octet-stream;
[root@localhost nginx-1.12.2]# mkdir /usr/local/nginx/conf/vhost   //创建虚拟主机目录
[root@localhost nginx-1.12.2]# mkdir /var/log/nginx  //创建日志文件目录
[root@localhost nginx-1.12.2]# /usr/local/nginx/sbin/nginx  //启动nginx
7.关联nginx 虚拟目录中的子配置文件操作
[root@localhost ~]# consul-template -consul-addr 192.168.30.8:8500 \\
> -template "/root/consul/nginx.ctmpl:/usr/local/nginx/conf/vhost/test.conf:/usr/local/nginx/sbin/nginx -s reload" \\
> --log-level=info


[root@localhost ~]# cat /usr/local/nginx/conf/vhost/test.conf
upstream http_backend

   server 192.168.30.9:83;

   server 192.168.30.9:84;


server
  listen 83;
  server_name localhost 192.168.30.8;
  access_log /var/log/nginx/test.cn-access.log;
  index index.html index.php;
  location /
    proxy_set_header HOST $host;
    proxy_set_header X-Real-IP $remote_addr;
    proxy_set_header Client-IP $remote_addr;
    proxy_set_header X-Forwarded-For $proxy_add_x_forwarded_for;
    proxy_pass http://http_backend;


[root@localhost ~]#
8.测试:删除和增加nginx容器节点
- 增加
[root@localhost ~]# docker run -itd -p:85:80 --name test-05 -h test05 nginx   //增加节点
e8571c4ed2a1b154892c9b8035d40a45302b9299976c11e5a835c672c721b0f6
[root@localhost ~]# cat /usr/local/nginx/conf/vhost/kgc.conf
upstream http_backend

   server 192.168.30.9:83;

   server 192.168.30.9:84;

   server 192.168.30.9:85;
- 减少
[root@localhost ~]# docker rm -f test-01
test-01

[root@localhost ~]# cat /usr/local/nginx/conf/vhost/kgc.conf
upstream http_backend

   server 192.168.30.9:84;

   server 192.168.30.9:85;

以上是关于使用Docker-compose搭建consul集群环境的主要内容,如果未能解决你的问题,请参考以下文章