ESP8266--SDK开发(驱动WS2812B)
Posted
tags:
篇首语:本文由小常识网(cha138.com)小编为大家整理,主要介绍了ESP8266--SDK开发(驱动WS2812B)相关的知识,希望对你有一定的参考价值。
文章目录
- 一、WS2812彩灯介绍
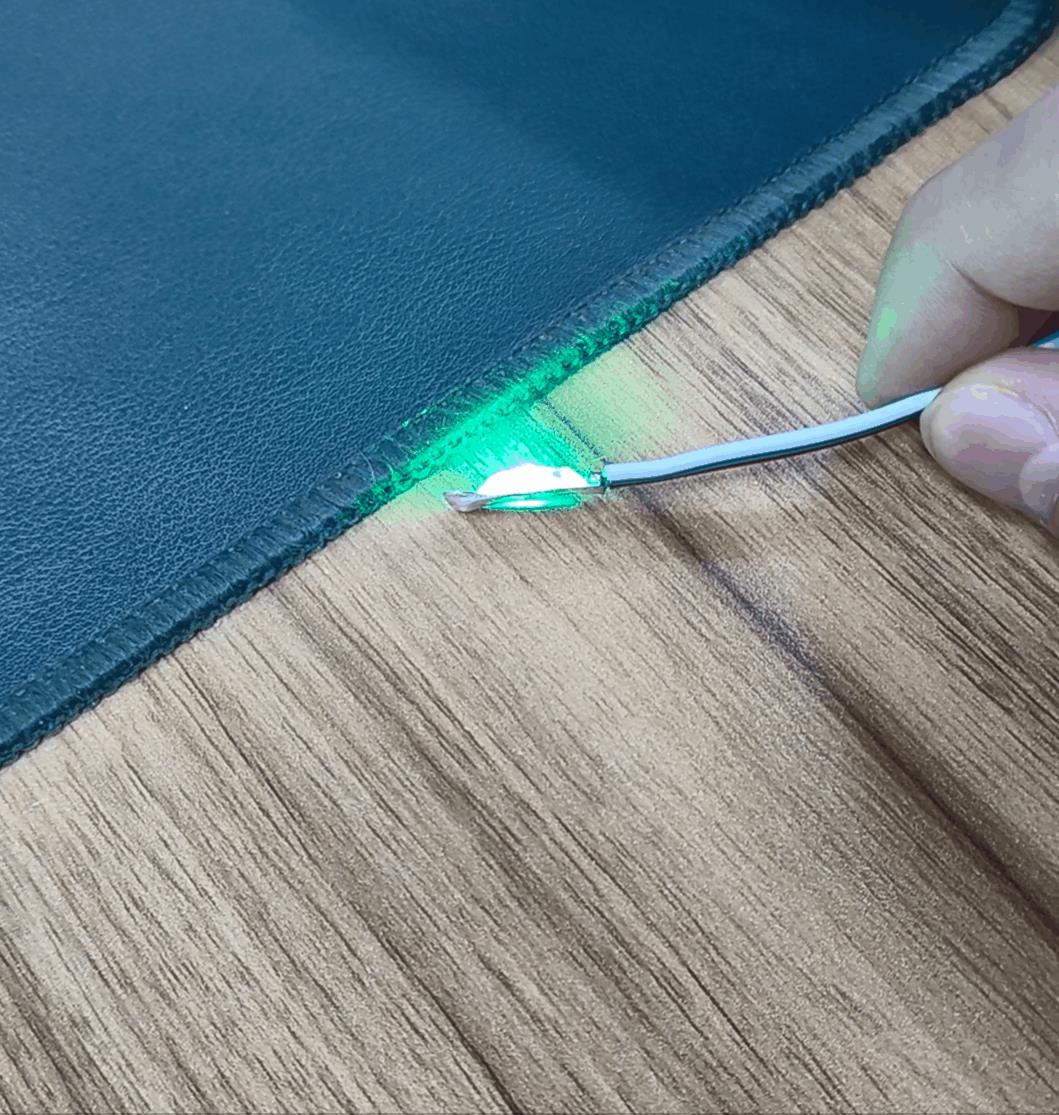
- 二、效果展示
- 三、七色灯代码
- 附:彩虹七色码值
一、WS2812彩灯介绍
WS2812是一个集控制电路与发光电路于一体的智能外控LED光源,外型与5050LED灯珠相同,每个灯珠都是一个像素点。像素点内包含数字接口、数据锁存、信号整形放大驱动电路,还包含高精度的内部振荡器和12V高压可编程定电流控制部分。

数据协议采用单线归零码的通讯方式,像素点在上电复位以后,DIN端接受从控制器传输过来的数据,首先送过来的24bit数据被第一个像素点提取后,送到像素点内部的数据锁存器,剩余的数据经过内部整形处理电路整形放大后通过DO端口开始转发输出给下一个级联的像素点,每经过一个像素点的传输,信号减少24bit。像素点采用自动整形转发技术,使得该像素点的级联个数不受信号传送的限制,仅仅受限信号传输速度要求。

按照数据传输协议即可对WS2812进行驱动,当然对于WS2812有许多开源的驱动库,例如:Adafruit_NeoPixel驱动库
#ifndef _Adafruit_NeoPixel_H
#define _Adafruit_NeoPixel_H

#include "c_types.h"
#include "user_interface.h"
#include "ets_sys.h"
#include "gpio.h"

//thanks for https://github.com/cnlohr/ws2812esp8266
//thanks for https://github.com/adafruit/Adafruit_NeoPixel

#define WSGPIO 0 //must use the ESP8266 GPIO0 as the pin to drive WS2812B RGB LED!!!
//user can change
#define PIXEL_MAX 1//the total numbers of LEDs you are used in your project

//You will have to  os_intr_lock();   os_intr_unlock();

void setAllColor(uint8_t r, uint8_t g, uint8_t b);
void setOneColor(uint16_t n, uint32_t c);
//void setAllColor(uint32_t c);
void cleanOneColor(uint16_t n, uint32_t c);
void cleanAllColor(void);

void setAllPixel(void);

uint32_t Color(uint8_t r, uint8_t g, uint8_t b);
uint32_t Wheel(uint8_t WheelPos);
void rainbowCycle(uint8_t wait) ;
void theaterChase(uint32_t c, uint8_t wait);
void theaterChaseRainbow(uint8_t wait);
void colorWipe(uint32_t c, uint8_t wait);
void WS2812B_Test(void);
void ICACHE_FLASH_ATTR WS2812B_Init(void);

uint32_t changeL(uint32_t rgb, float k);

#endif
#include "driver/Adafruit_NeoPixel.h"
#include "ets_sys.h"
#include "osapi.h"
/*
 #define GPIO_OUTPUT_SET(gpio_no, bit_value) \\
  gpio_output_set(bit_value<<gpio_no, ((~bit_value)&0x01)<<gpio_no, 1<<gpio_no,0)
 */

//I just used a scope to figure out the right time periods.
void SEND_WS_0()
  uint8_t time;
  time = 3;
  while (time--)
    WRITE_PERI_REG(PERIPHS_GPIO_BASEADDR + GPIO_ID_PIN(WSGPIO), 1);
  time = 7;
  while (time--)
    WRITE_PERI_REG(PERIPHS_GPIO_BASEADDR + GPIO_ID_PIN(WSGPIO), 0);


void SEND_WS_1()
  uint8_t time;
  time = 7;
  while (time--)
    WRITE_PERI_REG(PERIPHS_GPIO_BASEADDR + GPIO_ID_PIN(WSGPIO), 1);
  time = 3;
  while (time--)
    WRITE_PERI_REG(PERIPHS_GPIO_BASEADDR + GPIO_ID_PIN(WSGPIO), 0);


void // ICACHE_FLASH_ATTR
WS2812Send_8bit(uint8_t dat)
  uint16_t i;
  GPIO_OUTPUT_SET(GPIO_ID_PIN(WSGPIO), 0);
  ets_intr_lock();
  uint8_t mask = 0x80;
  uint8_t byte = dat;
  while (mask)
    if (byte & mask)
      SEND_WS_1();
    else
      SEND_WS_0();
    mask >>= 1;


  ets_intr_unlock();


//GRB format,MSB firsr.
void //ICACHE_FLASH_ATTR
WS2812BSend_24bit(uint8_t R, uint8_t G, uint8_t B)
  WS2812Send_8bit(G);
  WS2812Send_8bit(R);
  WS2812Send_8bit(B);

//delay for millisecond
void HAL_Delay(int time)
  os_delay_us(time * 1000);


static uint8_t rBuffer[PIXEL_MAX] =  0 ;
static uint8_t gBuffer[PIXEL_MAX] =  0 ;
static uint8_t bBuffer[PIXEL_MAX] =  0 ;

void setAllColor(uint8_t r, uint8_t g, uint8_t b)

  uint8_t i;
  for (i = 0; i < PIXEL_MAX; i++)
    rBuffer[i] = r;
    gBuffer[i] = g;
    bBuffer[i] = b;


void setOneColor(uint16_t n, uint32_t c)
  rBuffer[n] = (uint8_t) (c >> 16);
  gBuffer[n] = (uint8_t) (c >> 8);
  bBuffer[n] = (uint8_t) c;


//void setAllColor(uint32_t c)
//  uint8_t r, g, b;
//  r = (uint8_t) (c >> 16);
//  g = (uint8_t) (c >> 8);
//  b = (uint8_t) c;
//  uint8_t i;
//  for (i = 0; i < PIXEL_MAX; i++)
//    rBuffer[i] = r;
//    gBuffer[i] = g;
//    bBuffer[i] = b;
//
//

void cleanOneColor(uint16_t n, uint32_t c)
  rBuffer[n] = 0;
  gBuffer[n] = 0;
  bBuffer[n] = 0;


void cleanAllColor()
  uint8_t i;
  for (i = 0; i < PIXEL_MAX; i++)
    rBuffer[i] = 0;
    gBuffer[i] = 0;
    bBuffer[i] = 0;


void setAllPixel(void)
  uint8_t i;
  for (i = 0; i < PIXEL_MAX; i++)
    WS2812BSend_24bit(rBuffer[i], gBuffer[i], bBuffer[i]);


uint32_t Color(uint8_t r, uint8_t g, uint8_t b)
  return ((uint32_t) r << 16) | ((uint32_t) g << 8) | b;

uint32_t Wheel(uint8_t WheelPos)
  WheelPos = 255 - WheelPos;
  if (WheelPos < 85)
    return Color(255 - WheelPos * 3, 0, WheelPos * 3);

  if (WheelPos < 170)
    WheelPos -= 85;
    return Color(0, WheelPos * 3, 255 - WheelPos * 3);

  WheelPos -= 170;
  return Color(WheelPos * 3, 255 - WheelPos * 3, 0);


void rainbow(uint8_t wait)
  uint16_t i, j;
  for (j = 0; j < 256; j++)
    for (i = 0; i < PIXEL_MAX; i++)
      setOneColor(i, Wheel((i + j) & 255));

    HAL_Delay(wait);

  setAllPixel();

// Slightly different, this makes the rainbow equally distributed throughout
void rainbowCycle(uint8_t wait)
  uint16_t i, j;

  for (j = 0; j < 256 * 5; j++)  // 5 cycles of all colors on wheel
    for (i = 0; i < PIXEL_MAX; i++)
      setOneColor(i, Wheel(((i * 256 / PIXEL_MAX) + j) & 255));

    HAL_Delay(wait);

  setAllPixel();

//Theatre-style crawling lights.o??¨¹¦Ì?
void theaterChase(uint32_t c, uint8_t wait)
  int i, j, q;
  for (j = 0; j < 10; j++)   //do 10 cycles of chasing
    for (q = 0; q < 3; q++)
      for (i = 0; i < PIXEL_MAX; i = i + 1)  //turn every one pixel on

        setOneColor(i + q, c);

      HAL_Delay(wait);

      for (i = 0; i < PIXEL_MAX; i = i + 1) //turn every one pixel off

        setOneColor(i + q, 0);


  setAllPixel();


//Theatre-style crawling lights with rainbow effect
void theaterChaseRainbow(uint8_t wait)
  int i, j, q;
  for (j = 0; j < 256; j++)      // cycle all 256 colors in the wheel
    for (q = 0; q < 3; q++)
      for (i = 0; i < PIXEL_MAX; i = i + 1) //turn every one pixel on

        setOneColor(i + q, Wheel((i + j) % 255));


      HAL_Delay(wait);

      for (i = 0; i < PIXEL_MAX; i = i + 1) //turn every one pixel off

        setOneColor(i + q, 0);


  setAllPixel();

// Fill the dots one after the other with a color
void colorWipe(uint32_t c, uint8_t wait)
  uint16_t i = 0;
  for (i = 0; i < PIXEL_MAX; i++)
    setOneColor(i, c);
    HAL_Delay(wait);


void //ICACHE_FLASH_ATTR
WS2812B_Init(void)
  setAllColor(0,0,0);
  setAllPixel();


void WS2812B_Test(void)
  HAL_Delay(500);
  rainbowCycle(20);
  theaterChaseRainbow(50);
使用注意事项
1、将文件复制到自己的SDK工程
复制文件到文件夹,Clean Project一下就会自动加载到IDE中


2、WS2812B的数据线一定要使用GPIO0

3、设置WS2812B的小灯个数

4、导入头文件并初始化
#include "driver/Adafruit_NeoPixel.h"

//初始化GPIO0
PIN_FUNC_SELECT(PERIPHS_IO_MUX_GPIO0_U, FUNC_GPIO0);
GPIO_OUTPUT_SET(0, 0);
os_delay_us(200);

//初始化WS2812B
WS2812B_Init();
5、设置/清除RGB的值
设置了RGB的值,只是将颜色值写入颜色缓存数组而已,必须发送到WS2812B才能改变颜色

5、发送RGB的值

二、效果展示

三、七色灯代码
#include "driver/Adafruit_NeoPixel.h"

/******************************************************************************
 * FunctionName : user_init
 * Description  : entry of user application, init user function here
 * Parameters   : none
 * Returns      : none
*******************************************************************************/
void ICACHE_FLASH_ATTR
user_init(void)

  uart_init(115200,115200);
  os_delay_us(1000);
  os_printf("\\r\\n=================================================\\r\\n");
  os_printf("\\t Project:\\t%s\\r\\n", ProjectName);
  os_printf("\\t SDK version:\\t%s", system_get_sdk_version());
  os_printf("\\r\\n=================================================\\r\\n");

  PIN_FUNC_SELECT(PERIPHS_IO_MUX_GPIO0_U, FUNC_GPIO0);
  GPIO_OUTPUT_SET(0, 0);
  os_delay_us(200);

  WS2812B_Init();

  while(1)
    //红
    setAllColor(255,0,0);
    setAllPixel();
    os_delay_us(300000);

    //橙
    setAllColor(255,165,0);
    setAllPixel();
    os_delay_us(300000);

    //黄
    setAllColor(255,255,0);
    setAllPixel();
    os_delay_us(300000);

    //绿
    setAllColor(0,255,0);
    setAllPixel();
    os_delay_us(300000);

    //蓝
    setAllColor(0,0,255);
    setAllPixel();
    os_delay_us(300000);

    //靛
    setAllColor(0,255,255);
    setAllPixel();
    os_delay_us(300000);

    //紫
    setAllColor(139,0,255);
    setAllPixel();
    os_delay_us(300000);
附:彩虹七色码值
彩虹七色16进制码:
红色 #FF0000
橙色 #FF7F00
黄色 #FFFF00
绿色 #00FF00
青色 #00FFFF
蓝色 #0000FF
紫色 #8B00FF
彩虹七色RGB值:
赤色 【RGB】255, 0, 0
橙色 【RGB】 255, 165, 0
黄色 【RGB】255, 255, 0
绿色 【RGB】0, 255, 0
青色 【RGB】0, 255, 255
蓝色 【RGB】0, 0, 255
紫色 【RGB】139, 0, 255
以上是关于ESP8266--SDK开发(驱动WS2812B)的主要内容,如果未能解决你的问题,请参考以下文章