编译etcd-cpp-apiv3
Posted 絮雨清风
tags:
篇首语:本文由小常识网(cha138.com)小编为大家整理,主要介绍了编译etcd-cpp-apiv3相关的知识,希望对你有一定的参考价值。
最近分布式项目开发中用到订阅/通知机制,经过选型决定采用etcd,在调研etcd使用方式、订阅/通知方案过程中遇到很多问题,这里做下简单记录。
本系列总共3篇:
- 《搭建etcd集群》:介绍搭建etcd集群方式、遇到的问题及处理方式;
- 《编译安装etcd-cpp-apiv3》:介绍etcd-cpp-apiv3编译安装方式、常见问题及处理方式;
- 《etcd-cpp-apiv3使用实例介绍》:介绍如何通过etcd-cpp-apiv3建立与etcd集群的连接,订阅etcd消息。
本文是第2篇 《编译安装etcd-cpp-apiv3》。
参考1:https://github.com/etcd-cpp-apiv3/etcd-cpp-apiv3
参考2:https://www.cnblogs.com/king-howe/p/14133876.html
1. 配置编译环境&安装依赖
1.1 安装gcc-c++
[root@cbfs1 ~]# yum install -y gcc-c++
1.2 配置编译环境
配置编译环境,需要安装cmake3、protobuf、grpc等rpm以及递归依赖的rpm包,发现在常规的yum源一般都缺少这些包。花了好一会时间才找到需要的rpm包,详见:etcd-cpp-apiv3.rar。
2. 编译安装boost
2.1 安装boost
建议直接采用源码方式安装1.66版本的boost,不要用现有rpm包安装1.53或1.59版本的boost,否则还会出现5.5和5.6问题。
 [root@cbfs1 ~]# wget https://nchc.dl.sourceforge.net/project/boost/boost/1.66.0/boost_1_66_0.tar.gz
 [root@cbfs1 ~]# tar zxvf boost_1_66_0.tar.gz
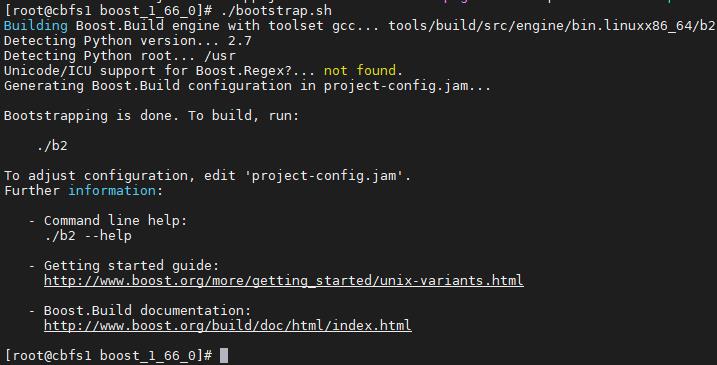
 [root@cbfs1 boost_1_66_0]# ./bootstrap.sh

[root@cbfs1 boost_1_66_0]# ./b2 install --prefix=/usr/local/

进入boost_1_61_0目录下的tools/build目录:
[root@cbfs1 boost_1_66_0]# cd tools/build/
[root@cbfs1 build]# ./bootstrap.sh

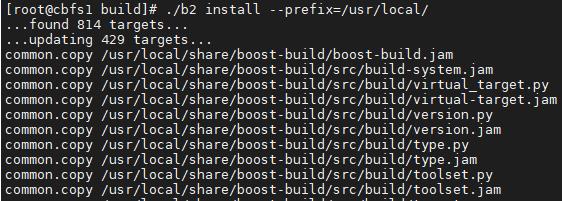
[root@cbfs1 build]# ./b2 install --prefix=/usr/local/

至此,boost安装完成。
2.2 验证boost是否安装成功:
创建test.cpp文件:
#include <boost/thread/thread.hpp>
#include <iostream>
using namespace boost;

void test()
    std::cout<<"hello world!"<<std::endl;


int main(int argc, char const *argv[])
    boost::thread  t1(&test);
    t1.join();
    return 0;
编译&执行:
[root@cbfs1 test]# g++ test.cpp -lboost_system -lboost_thread -lboost_filesystem -lpthread -o test
[root@cbfs1 test]# ./test

成功打印“hello world!”,证明boost库安装成功!
3. 编译安装cpprestsdk
[root@cbfs1 ~]#  git clone https://github.com/microsoft/cpprestsdk.git
[root@cbfs1 ~]#  cd cpprestsdk
[root@cbfs1 cpprestsdk]# git submodule update --init
[root@cbfs1 cpprestsdk]# mkdir build;cd build
[root@cbfs1 build]# cmake3 .. -DBUILD_TESTS=ON -DBUILD_SAMPLES=ON -DCPPREST_EXCLUDE_WEBSOCKETS=ON -DCMAKE_C_COMPILER_LAUNCHER=ccache -DCMAKE_CXX_COMPILER_LAUNCHER=ccache
[root@cbfs1 build]# make
[root@cbfs1 build]# make install
4. 编译安装etcd-cpp-apiv3
[root@cbfs1 ~]#  git clone https://github.com/etcd-cpp-apiv3/etcd-cpp-apiv3.git
[root@cbfs1 ~]#  cd etcd-cpp-apiv3
[root@cbfs1 etcd-cpp-apiv3]#  mkdir build;cd build
[root@cbfs1 build]#  cmake3 ../
[root@cbfs1 build]#  make
[root@cbfs1 build]#  make install
5. 常见问题处理
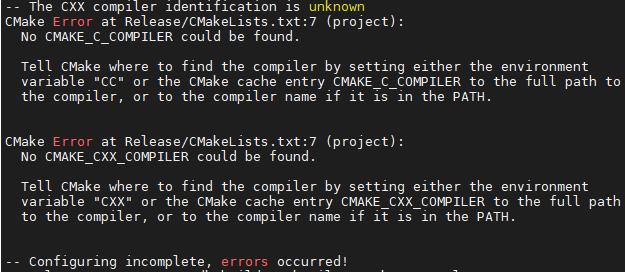
5.1 No CMAKE_C_COMPILER could be found.
解决方式:yum install -y gcc-c++
5.2 missing: ZLIB_LIBRARY ZLIB_INCLUDE_DIR
解决方式:yum install -y zlib zlib-devel
5.3 Could NOT find OpenSSL
解决方式:yum install -y openssl openssl-devel
5.4 c++: internal compiler error: Killed (program cc1plus)
解决方式:增加一个交换分区(参考:https://zhuanlan.zhihu.com/p/50995345)
(1)创建分区文件, 大小8G:dd if=/dev/zero of=/swapfile bs=1k count=8192000
(2)生成swap 文件系统:mkswap /swapfile
(3)激活swap 文件:swapon /swapfile
注:删除交换分区:
swapoff /swapfile
rm /swapfile
5.5 error: ‘class boost::asio::ssl::context’ has no member named ‘use_private_key’
解决方式:boost版本大于1.54。详见:
5.6 fatal error: boost/asio/io_context.hpp: No such file or directory
解决方式:boost升级至1.66版本。
5.7 No rule to make target GRPC_CPP_PLUGIN-NOTFOUND’, needed byproto/gen/proto/rpc.grpc.pb.cc’. Stop.
解决方式:安装grpc-plugins:yum localinstall -y grpc-plugins-1.20.1-1.el7.x86_64.rpm
以上是关于编译etcd-cpp-apiv3的主要内容,如果未能解决你的问题,请参考以下文章