ELFK部署
Posted 还行少年
tags:
篇首语:本文由小常识网(cha138.com)小编为大家整理,主要介绍了ELFK部署相关的知识,希望对你有一定的参考价值。
这里写自定义目录标题
官方下载地址
https://www.elastic.co/cn/downloads/past-releases#elasticsearch
https://www.elastic.co/cn/downloads/past-releases#kibana
https://www.elastic.co/cn/downloads/past-releases#logstash
https://www.elastic.co/cn/downloads/past-releases#filebeat
1、Elasticsearch部署
# a.创建用户
groupadd es
useradd es -g es

# b.下载安装包 (LINUX下 elasticsearch 无法使用 root 用户运行,需要创建新的用户,并且把elasticsearch 下所有的文件更改所属用户)
wget https://artifacts.elastic.co/downloads/elasticsearch/elasticsearch-8.4.3-linux-x86_64.tar.gz
tar xf elasticsearch-8.4.3-linux-x86_64.tar.gz -C /data
chown -R es:es /data/elasticsearch-8.4.3/

# c.修改配置文件
cat  <<EOF  > /data/elasticsearch-8.4.3/config/elasticsearch.yml
cluster.name: my-es
node.name: es
path.data: /data/elasticsearch-8.4.3/data
path.logs: /data/elasticsearch-8.4.3/logs
network.host: 192.168.30.10
http.port: 9200
discovery.seed_hosts: ["192.168.30.10:9300"]
cluster.initial_master_nodes: ["es"]
index.store.type: niofs
bootstrap.memory_lock: true
indices.requests.cache.size: 5%
indices.queries.cache.size: 10%
## 开启配置密码认证
xpack.security.enabled: true
xpack.security.enrollment.enabled: true
xpack.security.transport.ssl:
  enabled: true
  verification_mode: certificate
  keystore.path: elastic-certificates.p12
  truststore.path: elastic-certificates.p12
EOF

# d.修改JVM,配置文件,此处设置ES所使用的内存,需小于系统空闲内存,否则无法启动。一般设置为服务器剩余内存的一半,且不能超过32G。最小和最大必须设置一样,避免GC(垃圾回收)
sed -i 's/^## -Xms4g/-Xms2g/g ' /data/elasticsearch-8.4.3/config/jvm.options
sed -i 's/^## -Xmx4g/-Xmx2g/g ' /data/elasticsearch-8.4.3/config/jvm.options


# e.切换用户生成证书文件(设置密码用,默认回车即可)
su es
cd /data/elasticsearch-8.4.3/bin/
./elasticsearch-certutil ca
./elasticsearch-certutil cert --ca elastic-stack-ca.p12
mv /data/elasticsearch-8.4.3/elastic-certificates.p12 ../config

# f.启动 elasticsearch并检查进程和端口是否正常
./elasticsearch -d
ps -ef | grep elastic
netstat -natp | grep 9200

# g.手动设置密码
./elasticsearch-reset-password -u elastic -i
./elasticsearch-reset-password -u kibana -i

# h.验证密码

2、logstash与filebeat部署
# a.下载安装包
wget https://artifacts.elastic.co/downloads/logstash/logstash-8.4.3-linux-x86_64.tar.gz
wget https://artifacts.elastic.co/downloads/beats/filebeat/filebeat-8.4.3-linux-x86_64.tar.gz
tar xf logstash-8.4.3-linux-x86_64.tar.gz  -C /data
tar xf filebeat-8.4.3-linux-x86_64.tar.gz
mv filebeat-8.4.3-linux-x86_64 /data/filebeat-8.4.3

# b.安装java环境
yum -y install java-11-openjdk
# c1.filebeat直接发送数据到es(filebeat同时只支持一个output)
cat /data/filebeat-8.4.3/test.yml

filebeat.inputs:
- type: log
  id: nginx
  enabled: true
  paths:
    - /var/log/nginx/access.log

output.elasticsearch:
  hosts: ["192.168.30.10:9200"]
  username: "elastic"
  password: "123456"
  index: "nginx-%+yyyy.MM.dd"

setup.ilm.enabled: false
setup.template.enabled: false
setup.template.overwrite: true
# c2.filebeat发送数据到logstash
filebeat.inputs:
- type: log
  id: nginx
  enabled: true
  paths:
    - /var/log/nginx/access.log

output.logstash:
  enabled: true
  hosts: ["192.168.30.30:5044"]
# c3.启动filebeat
cd /data/filebeat-8.4.3/
nohup ./filebeat -e -c test.yml &
# d.logstah收集过滤数据
cat /data/logstash-8.4.3/config/test.yml

input
#从filebeat获取nginx日志
  beats
    host => "192.168.30.30"
    port => 5044
    type => "nginx-filebeat"

#从本地获取日志
  file
    path => "/var/log/nginx/access.log"
    type => "nginx-logstash"
    start_position => "beginning"


output
#根据不同的type来命名索引
  if [type] == "nginx-filebeat"
  elasticsearch
    hosts => ["http://192.168.30.10:9200"]
    index => "nginx-filebeat-%+YYYY.MM.dd"
    user => "elastic"
    password => "123456"


  if [type] == "nginx-logstash"
  elasticsearch
    hosts => ["http://192.168.30.10:9200"]
    index => "nginx-logstash-%+YYYY.MM.dd"
    user => "elastic"
    password => "123456"


# 启动logstash
cd /data/logstash-8.4.3/bin/
nohup ./logstash -f /data/logstash-8.4.3/config/test.yml  &
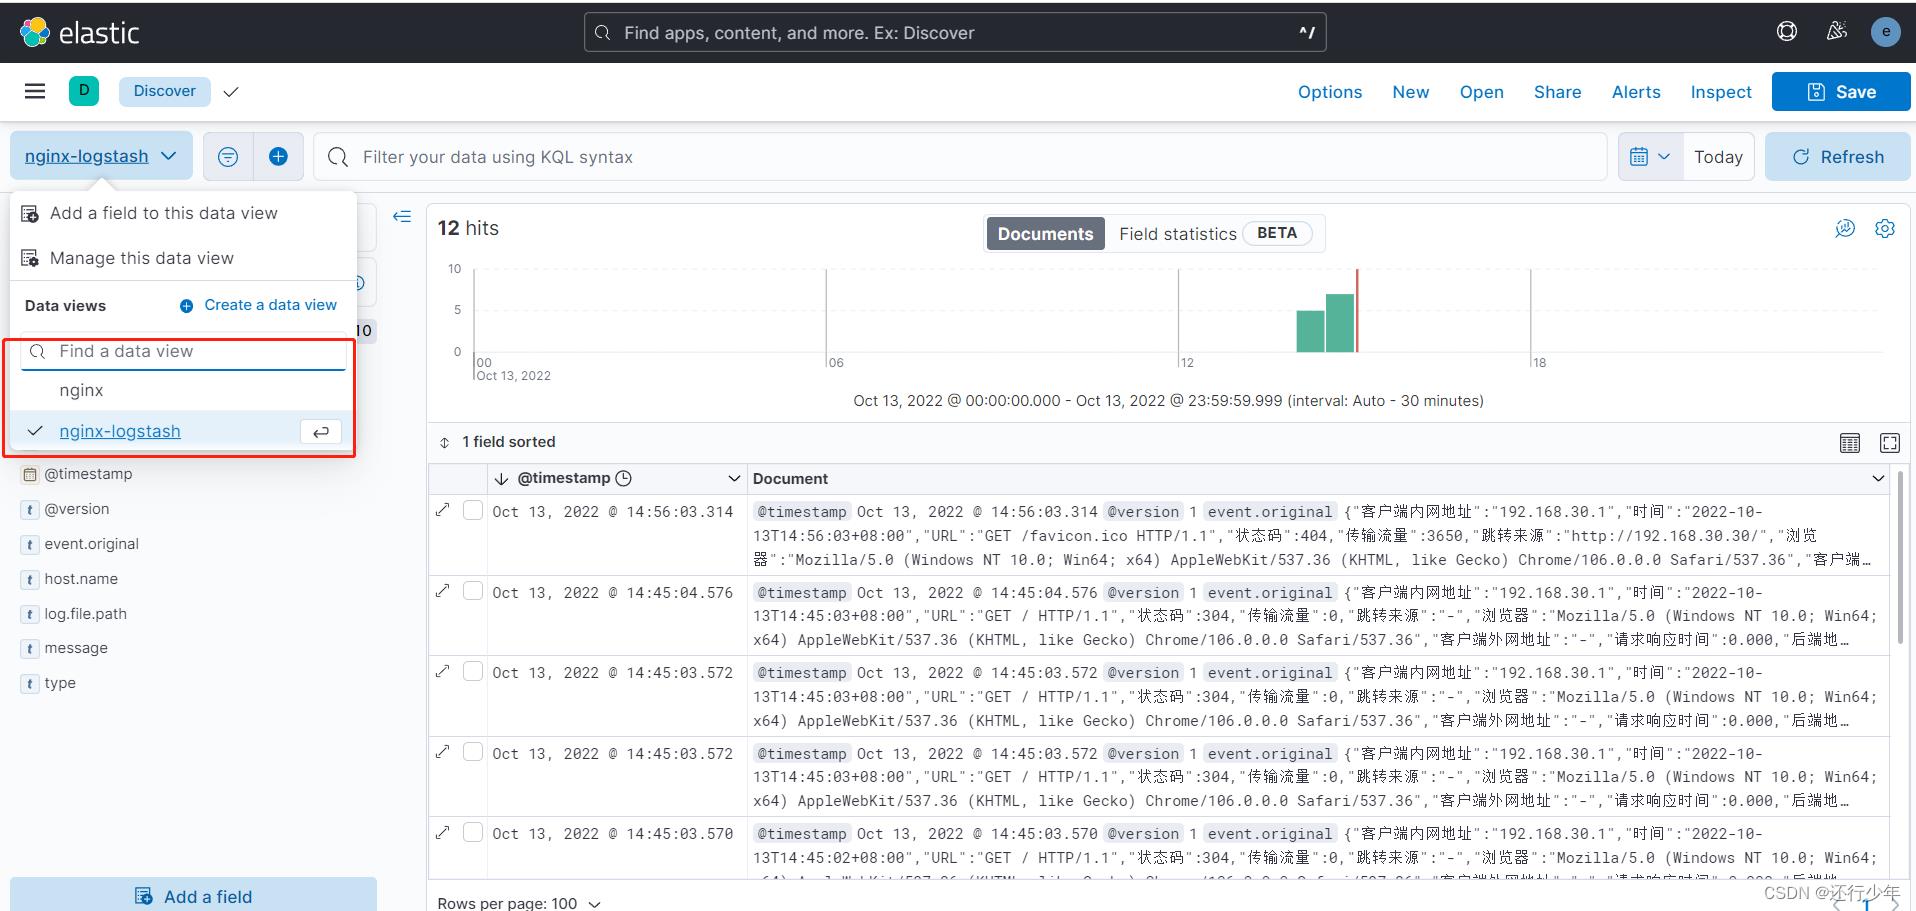
# e.在es中查看索引

3、Kibana部署
# a.创建用户
groupadd kibana
useradd kibana -g kibana

# b.下载安装包
wget https://artifacts.elastic.co/downloads/kibana/kibana-8.4.3-linux-x86_64.tar.gz
tar xf kibana-8.4.3-linux-x86_64.tar.gz -C /data
chown -R kibana /data/kibana-8.4.3/

# c.修改配置文件
grep -Ev "^$|^#" /data/kibana-8.4.3/config/kibana.yml
## 过滤查看修改的配置如下:
server.port: 5601
server.host: "0.0.0.0"
server.publicBaseUrl: "http://192.168.30.20:5601"
server.name: "kibana"
elasticsearch.hosts: ["http://192.168.30.10:9200"]
elasticsearch.username: "kibana"
elasticsearch.password: "123456"

# d.启动kibana
su kibana
cd /data/kibana-8.4.3/bin/
nohup ./kibana &

# e.查看进程与端口
netstat -antp | grep 5601
ps -ef | grep kibana

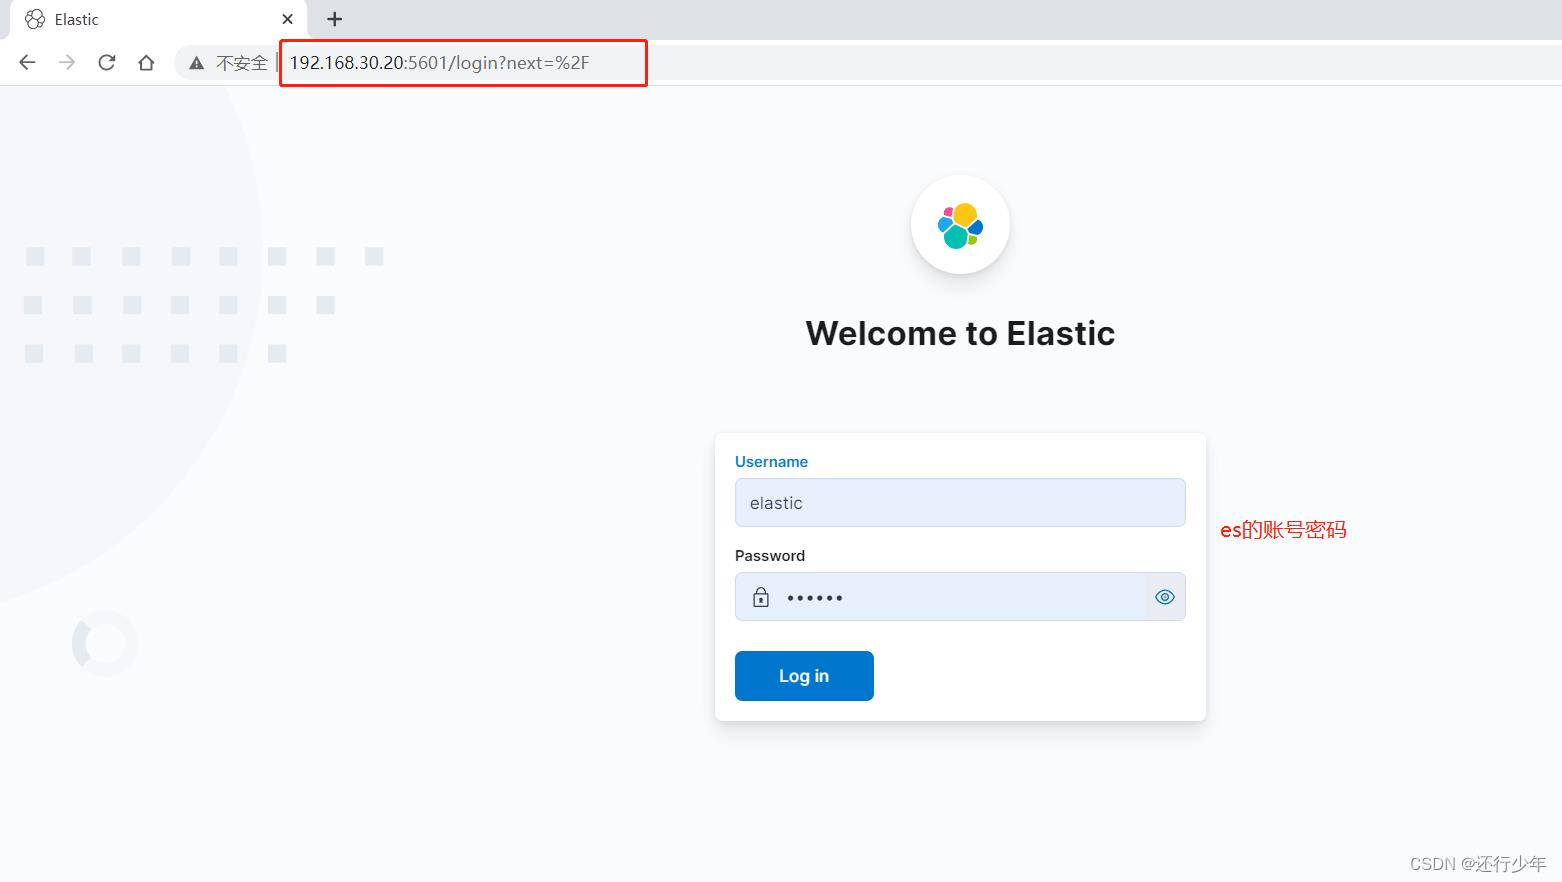
# f.登录
ip:port
es的账号密码

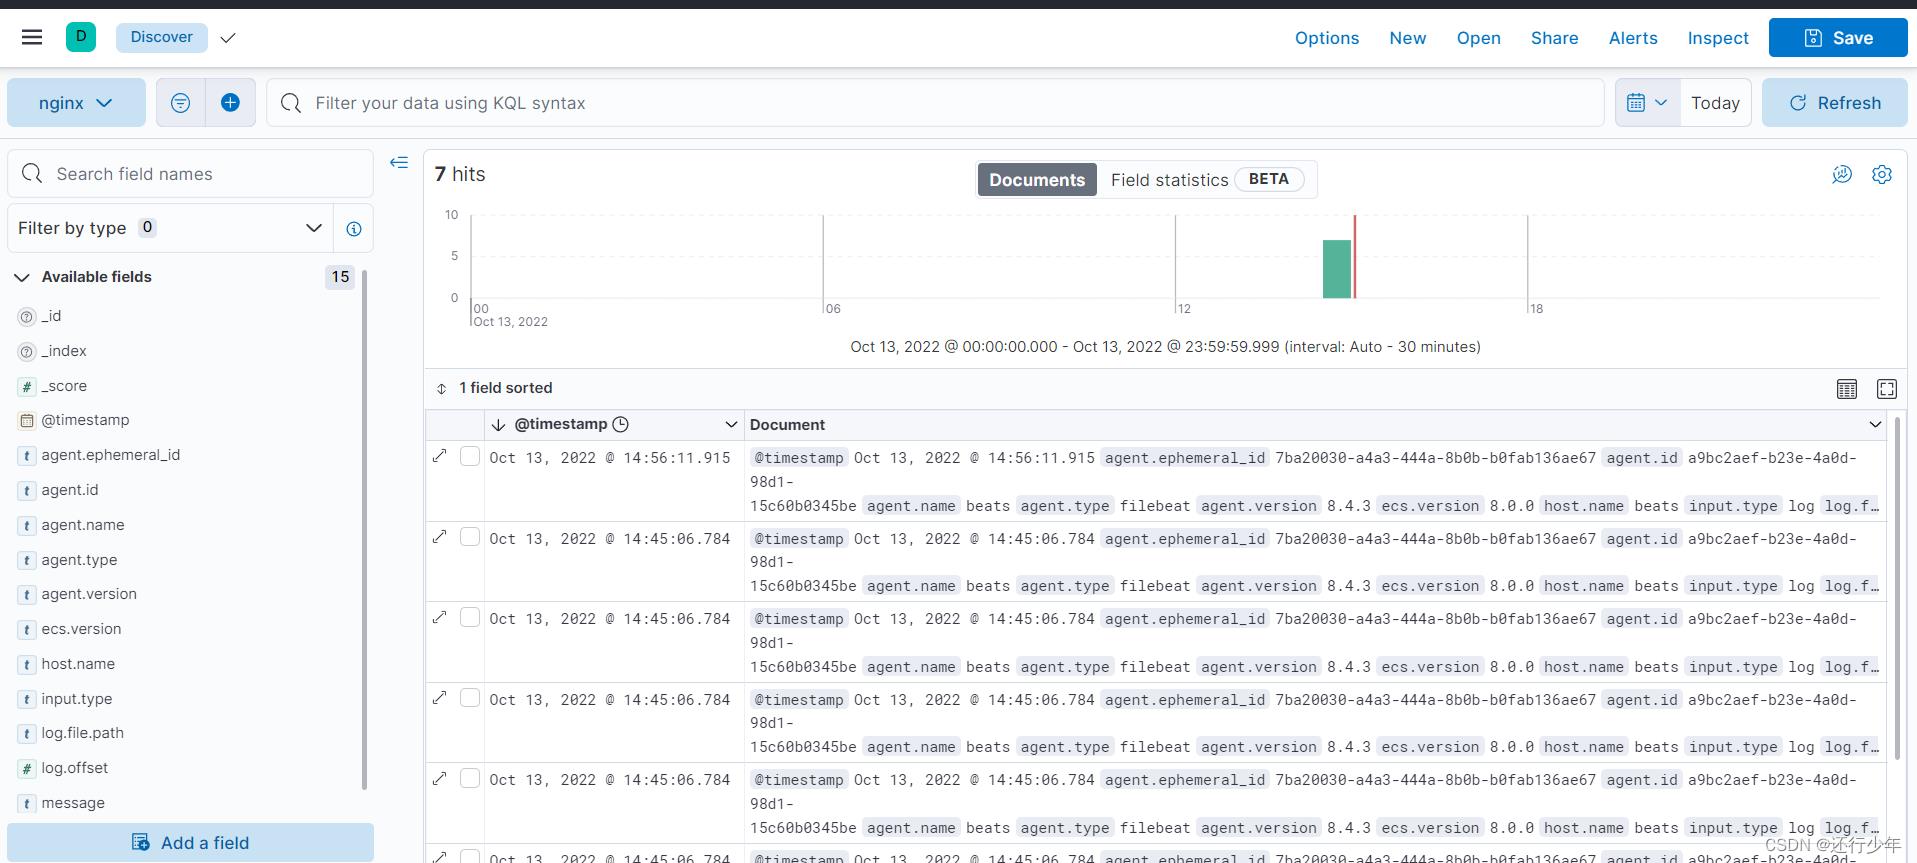
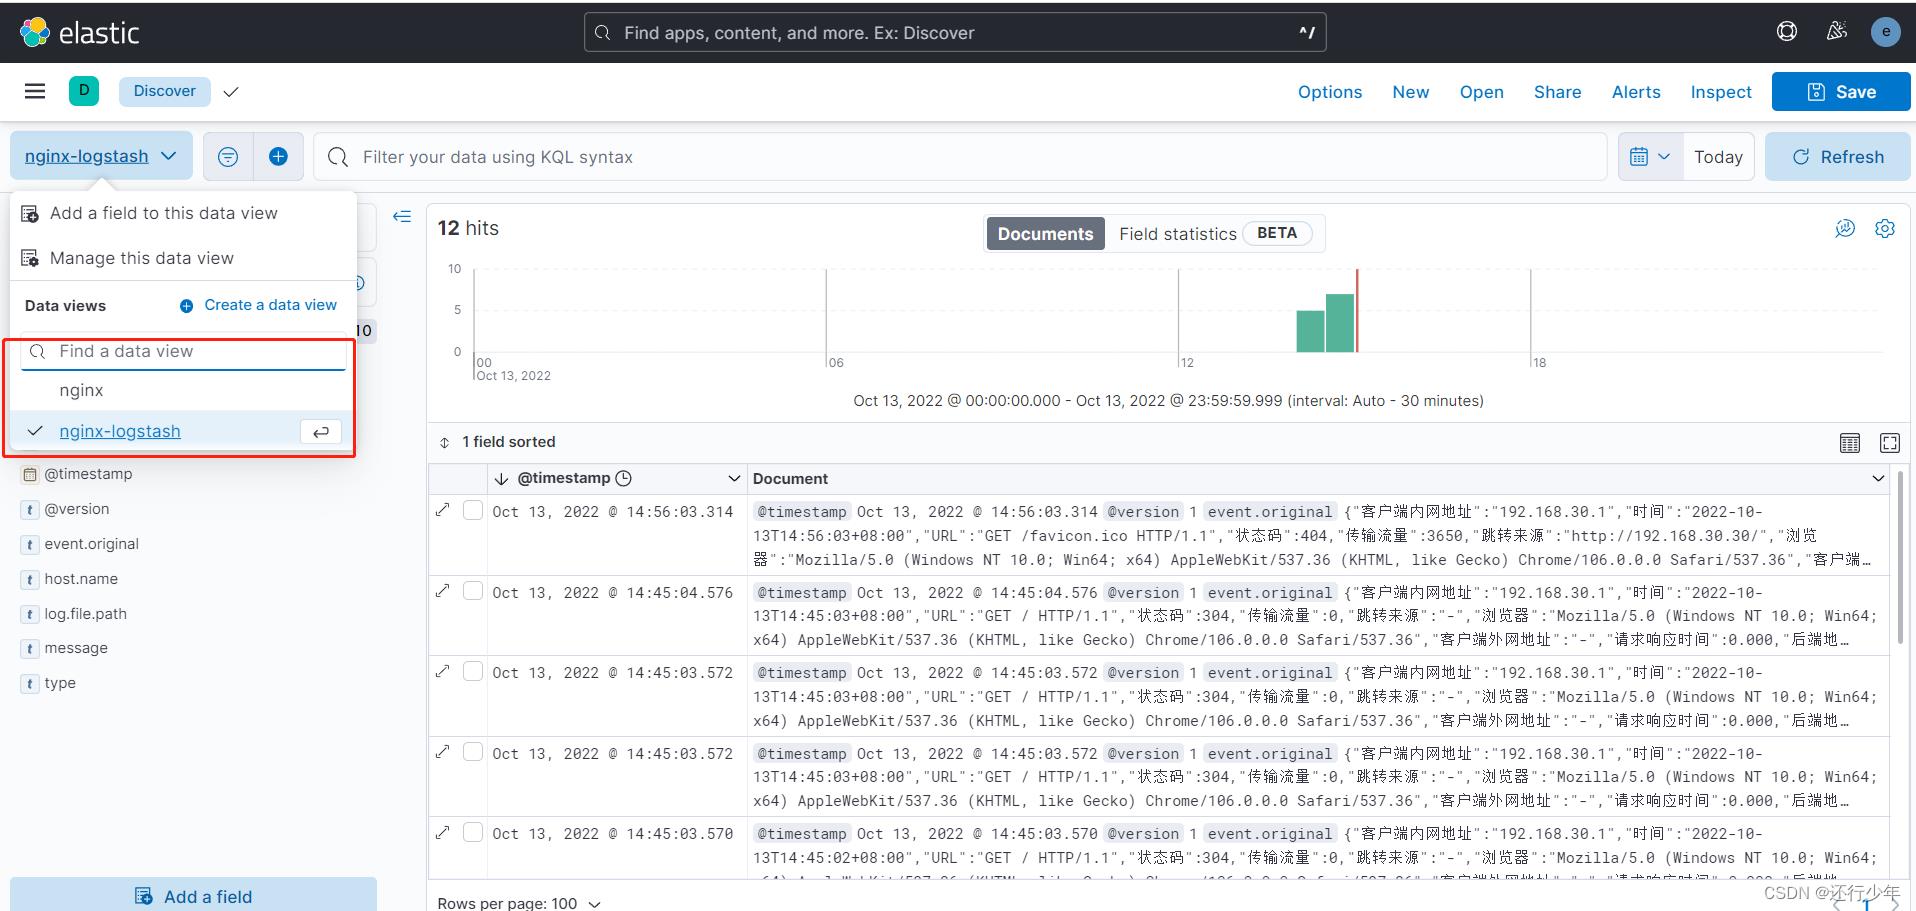
# g.关联es索引


# h.查看kibana视图


以上是关于ELFK部署的主要内容,如果未能解决你的问题,请参考以下文章