Copilot 初体验
Posted 陆嵩
tags:
篇首语:本文由小常识网(cha138.com)小编为大家整理,主要介绍了Copilot 初体验相关的知识,希望对你有一定的参考价值。
Copilot 初体验
大家好,我是小陆,亚欧大陆的陆。小陆是一个对一切新奇的事物充满了兴趣的人。
GitHub Copilot (https://copilot.github.com/) 是 GitHub 和 OpenAI 合作开发的一个人工智能工具,用户在使用 Visual Studio Code、Microsoft Visual Studio、Vim 或 JetBrains 集成开发环境时可以通过 GitHub Copilot 自动补全代码。GitHub 于 2021 年 6 月 29 日宣布该软件,目前处于技术预览阶段,主要面向 Python、javascript、TypeScript、Ruby 和 Go 等编程语言。
据说,在很多情况下,只需要有注释或者函数名称,Copilot 就可以实例完整的代码。好的,那么今天我们来玩一下这个小工具。这里说支持 VS Code 和 VS,作为体验,我们通过 VS Code 做个小测试。
文章目录
申请开通
访问它的官网 https://copilot.github.com,申请开通,傻瓜式操作。

Hmm,看起来有 60 天的免费试用,但是 60 天后如果忘记取消了,它就会给你自动续费。我记性不太好,So,听说他对学生是免费的,我们来申请 GitHub 学生包,可免费使用 Copilot。
进入这个网页:https://education.github.com/benefits?type=student,获得学生福利。傻瓜式操作。

OK,DONE。如果搞到了学生包,那么,当我们访问 GitHub Copilot 订阅页面时,会看到 GitHub Copilot 是免费提供的。如果看到还要收费,那么说明不是学生验证没搞好,或者学生验证的没达到免费使用的标准。
学生包除了免费使用 Copilot,还有很多。查看我们的更多的学生包福利:https://education.github.com/pack。
之后,在 GitHub 账号中进行设置,
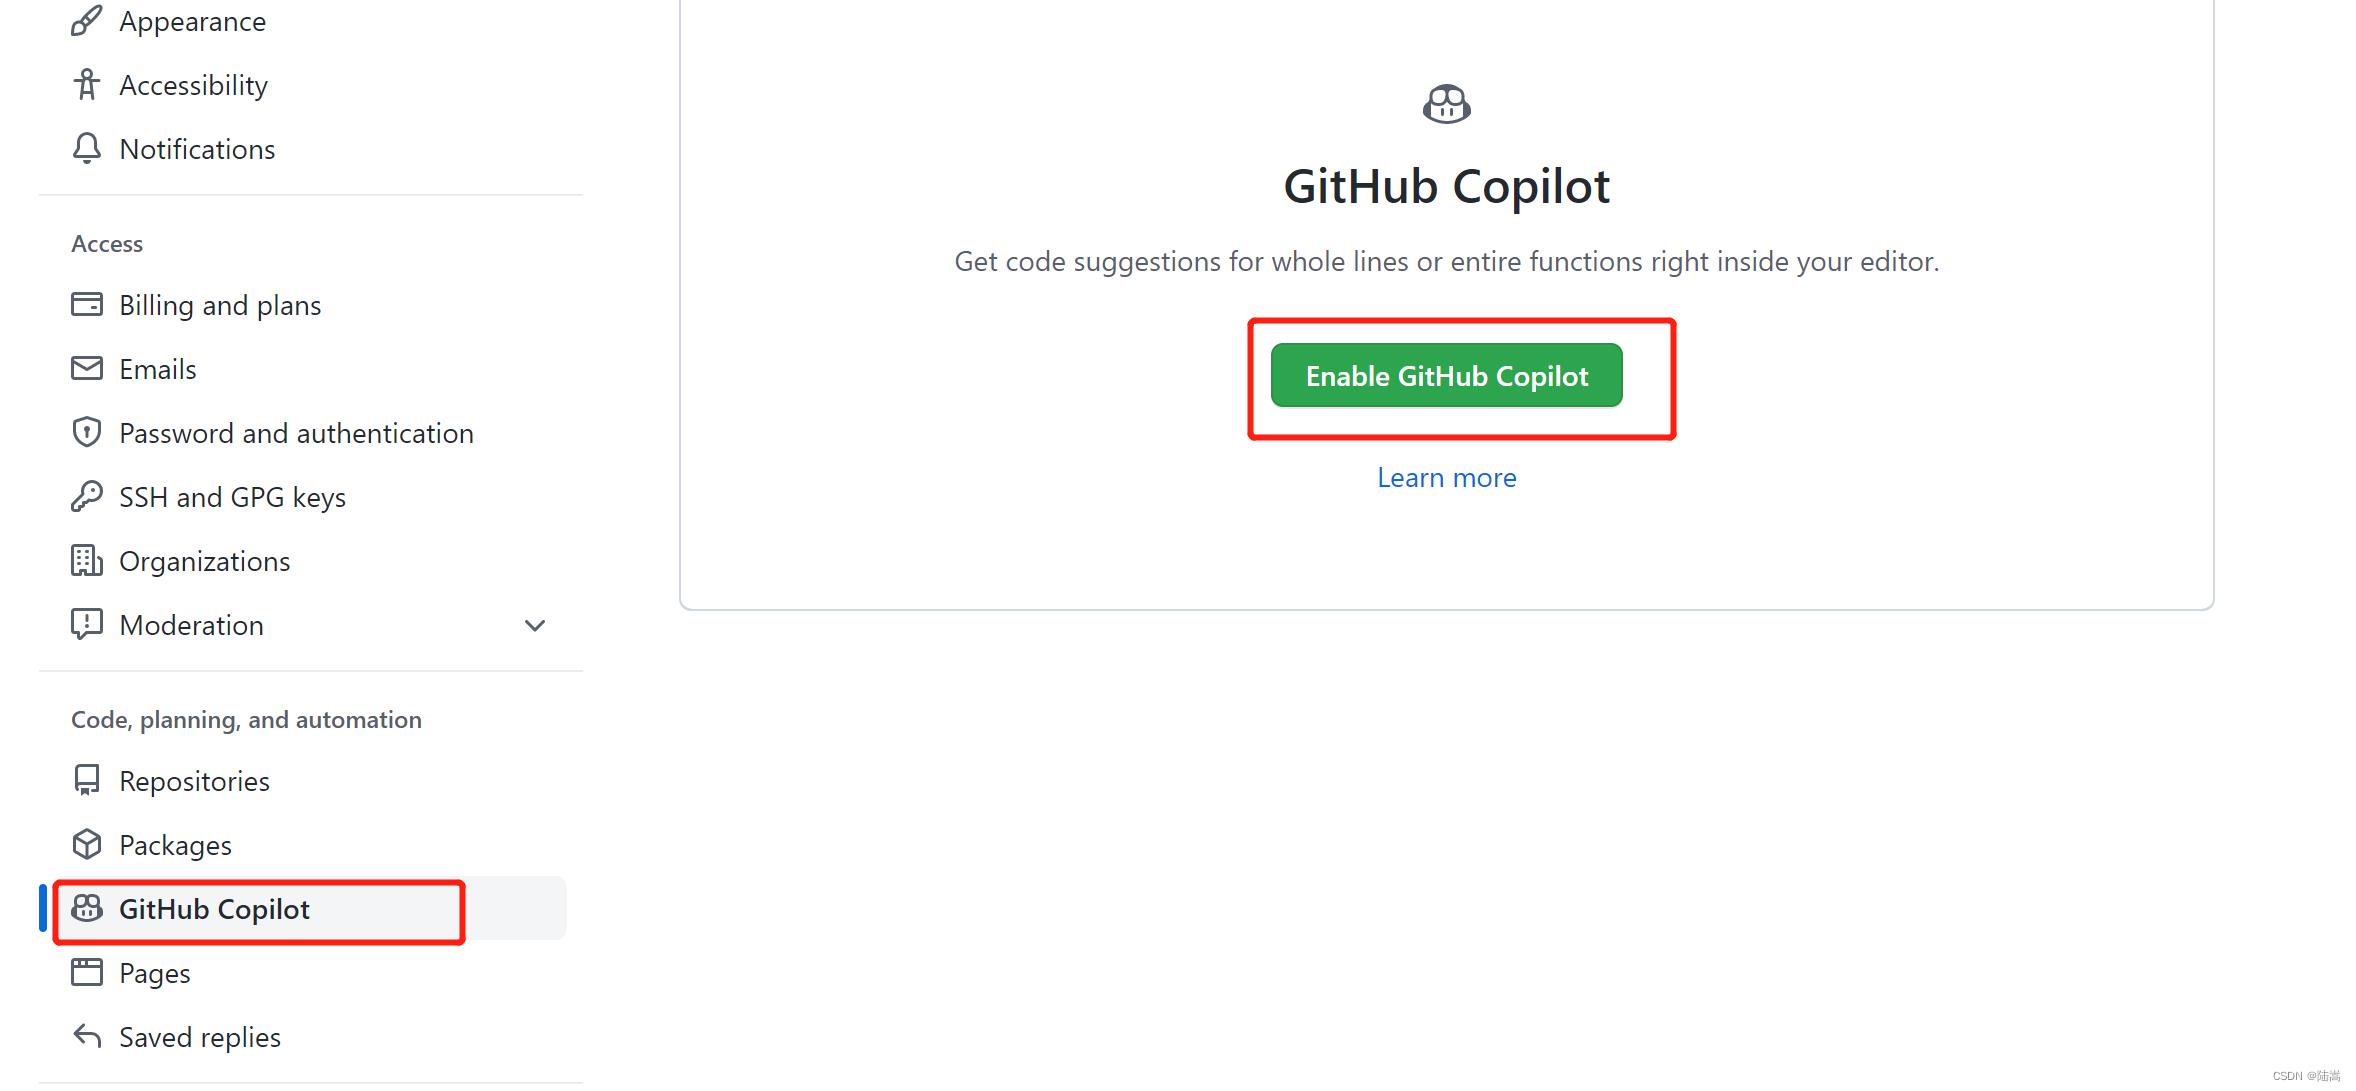
如果,你的学生认证是有效的,则进入如下界面,否则,你将进入收费界面。只要是看到要收费了,说明你的学生认证没搞好。

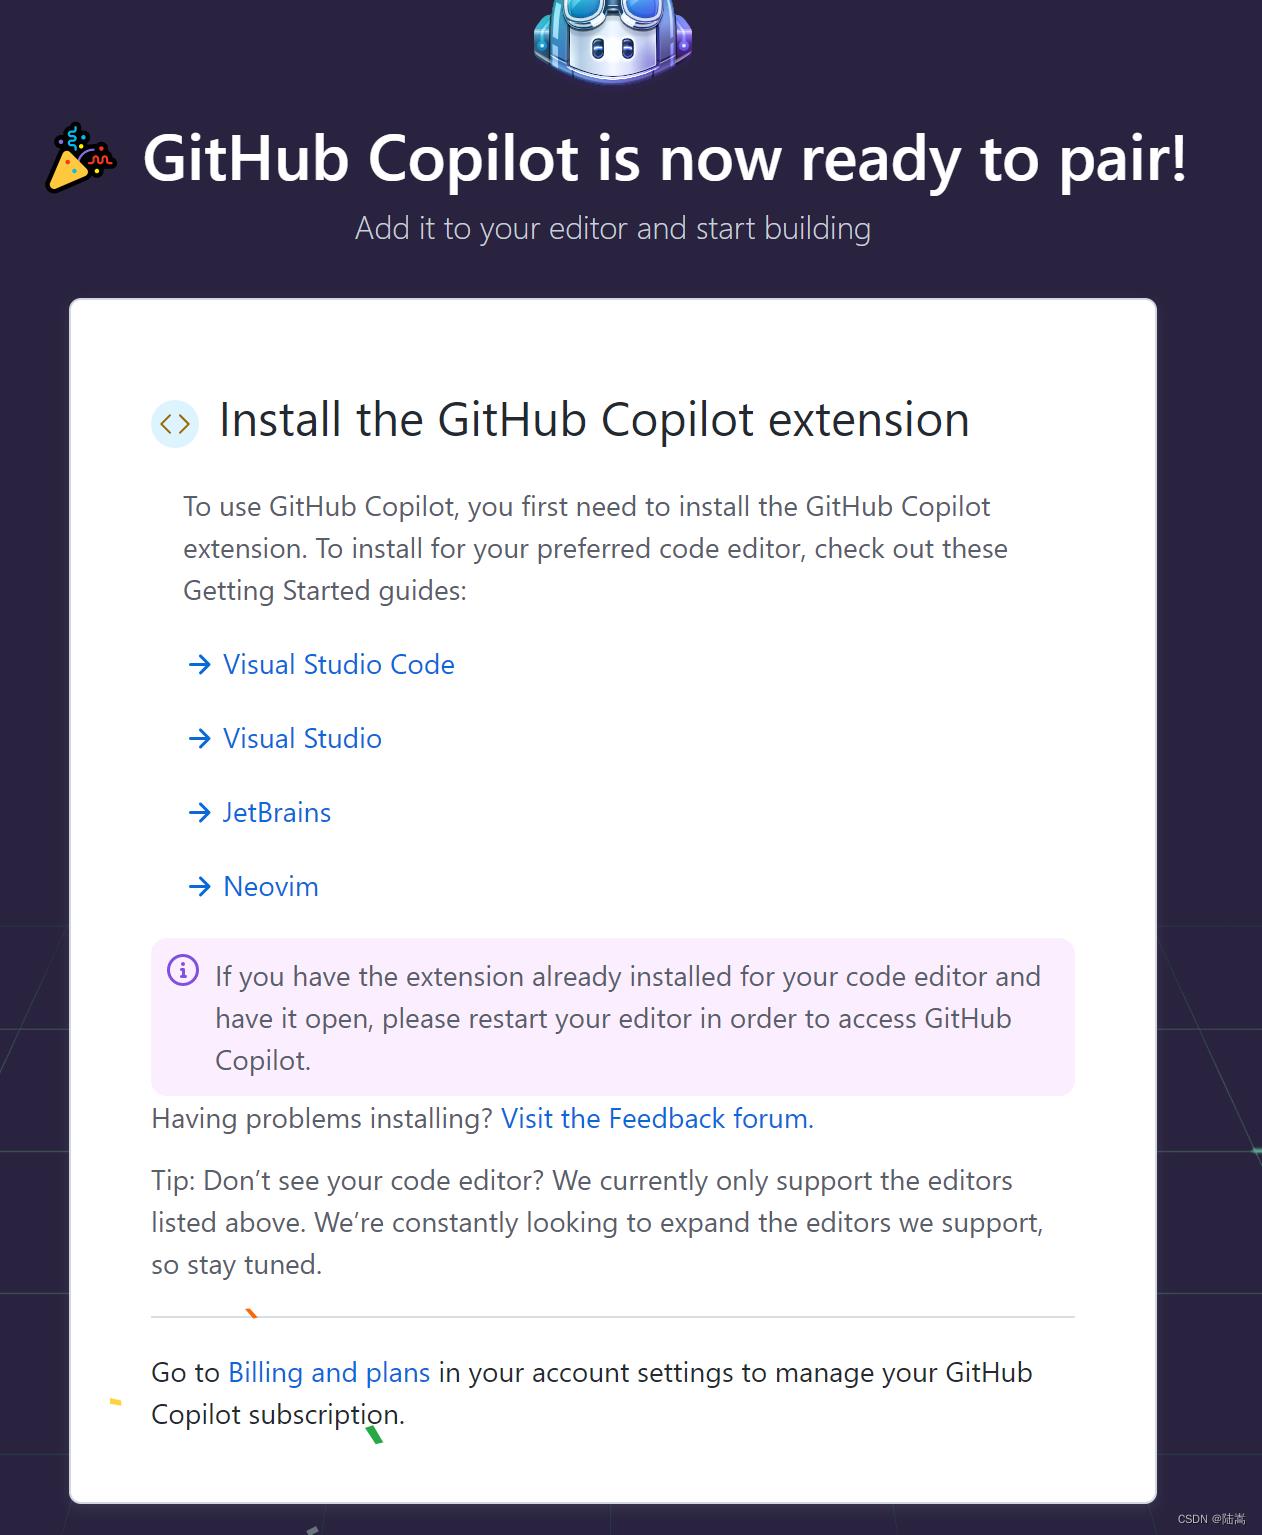
一直往下点就好了,图片比较多,就不黏贴了。
VS Code 插件下载

可以参考链接 VS Code for Copilot。
要使用 GitHub Copilot,必须先安装 Visual Studio Code 扩展。如果之前未在 GitHub 帐户中授权 Visual Studio Code,系统将提示在 Visual Studio Code 中登录 GitHub。在 VS code 中登录 GitHub 账号。
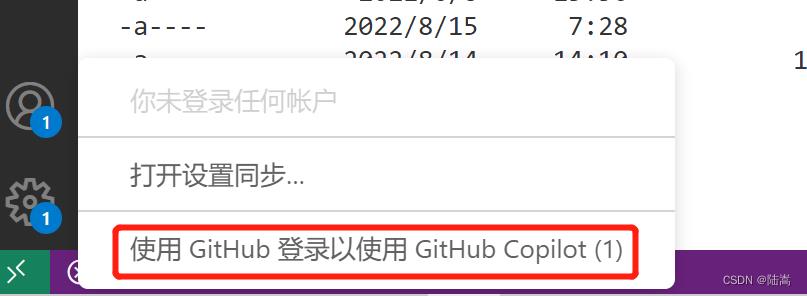
授权之后,就可在 VS code 中使用 Copilot 了。
初体验
好,万事俱备,我们现在来做几个小测试。
泰勒展开
作为学计算数学的,先让它给我写一些泰勒展开的代码。我写了一行注释 Taylor expansion of exp(x) around x=0,然后一路狂敲 Tab 和 回车(如果没提示就敲回车,有提示就敲 Tab 接受或者鼠标停留选择下一个提示),它给我写了这样一份代码。
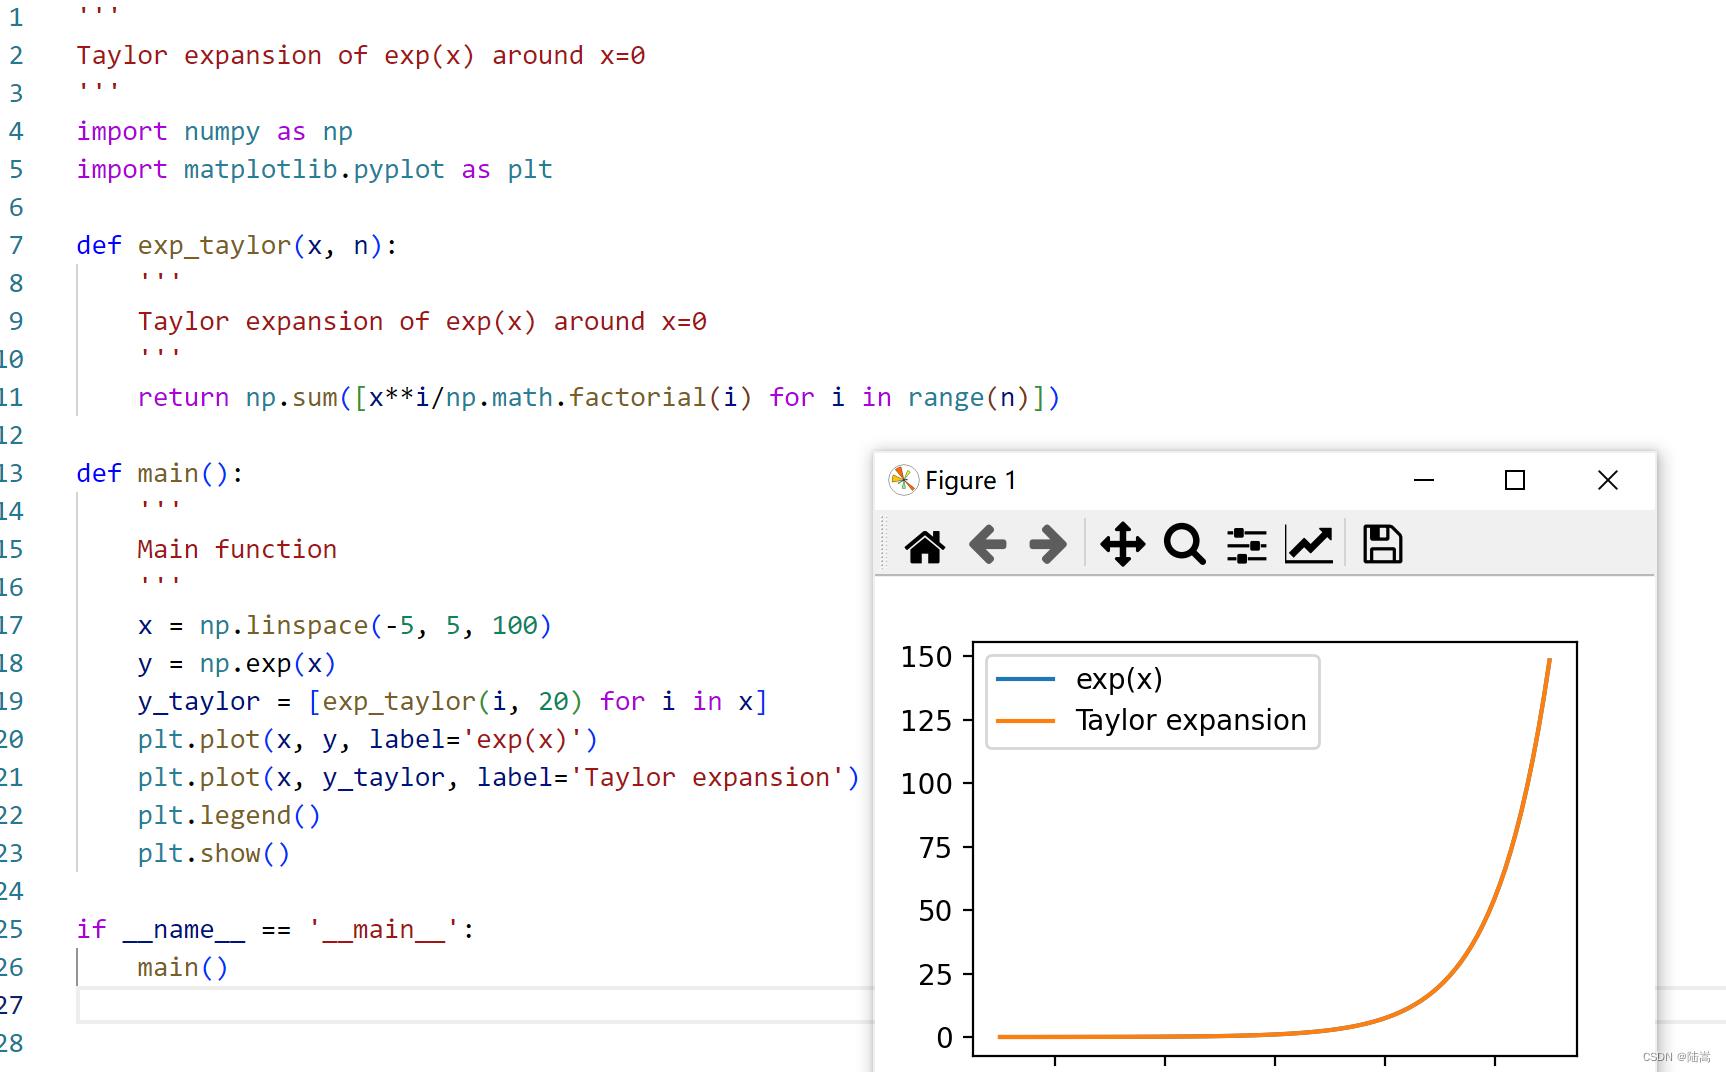
Run 一下,有图有注释,真的 NB。
按 Ctrl+回车,可以进行批量的接受。
力扣测试
记得在 LeetCode 上做过一些题目,我们来做个测试。我在第一行敲下 ### Leetcode 3sum,然后它就把这道题写完了,黏贴到 LeetCode 上面去,AC。
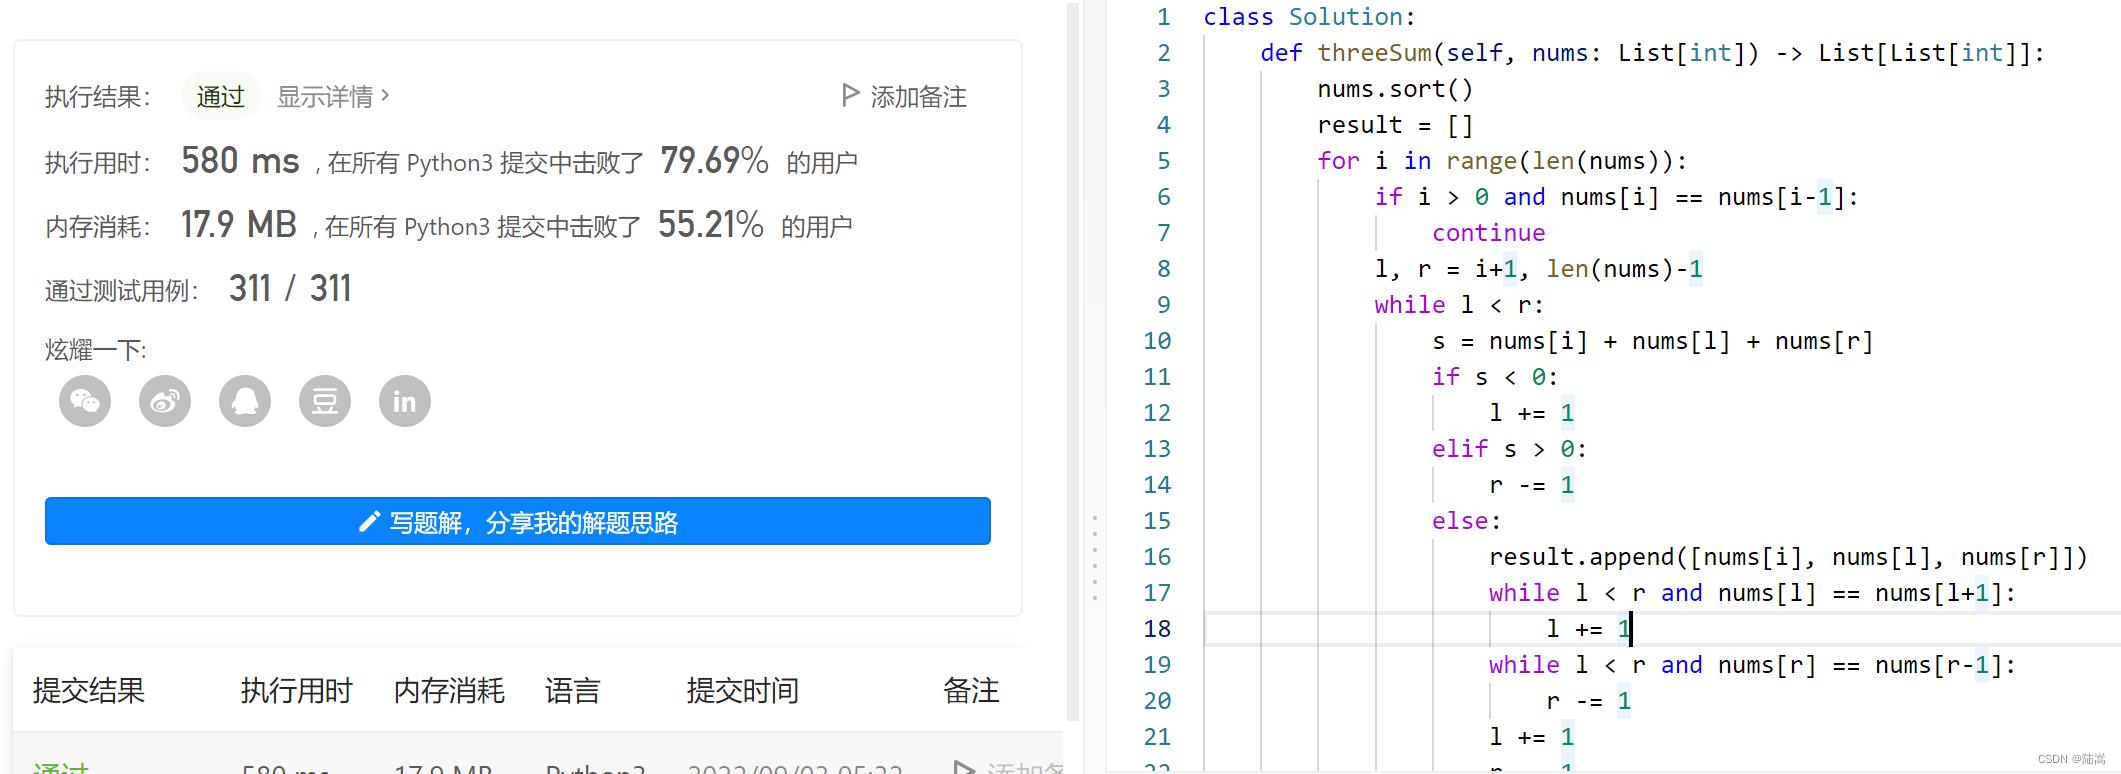
想我辛苦刷题半天,人家秒破。
牛顿法
我写了个牛顿方法,它生成了这样一个代码。
'''
Newton's method
'''
import math

def newton(f, df, x0, tol=1e-6, maxiter=100):
    '''
    Newton's method
    '''
    x = x0
    for _ in range(maxiter):
        xnew = x - f(x)/df(x)
        if abs(xnew - x) < tol:
            return xnew
        x = xnew
    return x

def main():
    '''
    main
    '''
    f = lambda x: x**2 - 2
    df = lambda x: 2*x
    print(newton(f, df, 1.5))

if __name__ == '__main__':
    main()
开头注释采用
'''和###都是一样的效果。
五子棋游戏
尝试一下它的 GUI 功能。让它写个五子棋的程序吧。
### Gobang game

import pygame
from pygame.locals import *
import sys
import time
import random

# Define the size of the chessboard
BOARD_SIZE = 15
# Define the size of the chessboard grid
GRID_SIZE = 40
# Define the size of the chessboard
BOARD_WIDTH = GRID_SIZE * BOARD_SIZE
# Define the size of the chessboard
BOARD_HEIGHT = GRID_SIZE * BOARD_SIZE
# Define the size of the chessboard
MARGIN = 20
# Define the size of the chessboard
CHESS_SIZE = 20
# Define the size of the chessboard
CHESS_RADIUS = int(CHESS_SIZE / 2)
# Define the size of the chessboard
CHESS_OFFSET = int(GRID_SIZE / 2)
# Define the size of the chessboard
SCREEN_SIZE = (BOARD_WIDTH + 2 * MARGIN, BOARD_HEIGHT + 2 * MARGIN)
# Define the size of the chessboard
BLACK_CHESS = 1
# Define the size of the chessboard
WHITE_CHESS = 2
# Define the size of the chessboard
EMPTY_CHESS = 0
# Define the size of the chessboard
CHESS_COLOR =
    BLACK_CHESS: (0, 0, 0),
    WHITE_CHESS: (255, 255, 255),
    EMPTY_CHESS: (255, 255, 255)

# Define the size of the chessboard

def main():
    '''
    main
    '''
    pygame.init()
    screen = pygame.display.set_mode(SCREEN_SIZE)
    pygame.display.set_caption('Gobang')
    board = Board(screen)
    board.init_board(screen)
    while True:
        for event in pygame.event.get():
            if event.type == QUIT:
                sys.exit()
            if event.type == MOUSEBUTTONDOWN:
                if event.button == 1:
                    board.move_chess(screen, event.pos)
        pygame.display.update()

class Board():
    '''
    Board
    '''
    def __init__(self,screen):
        '''
        init
        '''
        self.board = []
        self.screen = screen
        self.init_board(screen)

    def init_board(self, screen):
        '''
        init_board
        '''
        self.board = [[EMPTY_CHESS for i in range(BOARD_SIZE)] for i in range(BOARD_SIZE)]
        screen.fill((255, 255, 255))
        for i in range(BOARD_SIZE):
            pygame.draw.line(screen, (0, 0, 0), (MARGIN, MARGIN + i * GRID_SIZE), (MARGIN + BOARD_WIDTH, MARGIN + i * GRID_SIZE))
            pygame.draw.line(screen, (0, 0, 0), (MARGIN + i * GRID_SIZE, MARGIN), (MARGIN + i * GRID_SIZE, MARGIN + BOARD_HEIGHT))

    def move_chess(self, screen, pos):
        '''
        move_chess
        '''
        x, y = pos
        if x < MARGIN or x > MARGIN + BOARD_WIDTH:
            return
        if y < MARGIN or y > MARGIN + BOARD_HEIGHT:
            return
        x = int((x - MARGIN) / GRID_SIZE)
        y = int((y - MARGIN) / GRID_SIZE)
        if self.board[x][y] != EMPTY_CHESS:
            return
        self.board[x][y] = BLACK_CHESS
        pygame.draw.circle(screen, CHESS_COLOR[BLACK_CHESS], (MARGIN + x * GRID_SIZE + CHESS_OFFSET, MARGIN + y * GRID_SIZE + CHESS_OFFSET), CHESS_RADIUS)
        self.ai_move_chess(screen)

    def ai_move_chess(self, screen):
        '''
        ai_move_chess
        '''
        x, y = self.get_best_move()
        self.board[x][y] = WHITE_CHESS
        pygame.draw.circle(screen, CHESS_COLOR[WHITE_CHESS], (MARGIN + x * GRID_SIZE + CHESS_OFFSET, MARGIN + y * GRID_SIZE + CHESS_OFFSET), CHESS_RADIUS)

    def get_best_move(self):
        '''
        get_best_move
        '''
        chess_list = []
        for x in range(BOARD_SIZE):
            for y in range(BOARD_SIZE):
                if self.board[x][y] == EMPTY_CHESS:
                    chess_list.append((x, y))
        return random.choice(chess_list)

if __name__ == '__main__':
    main()
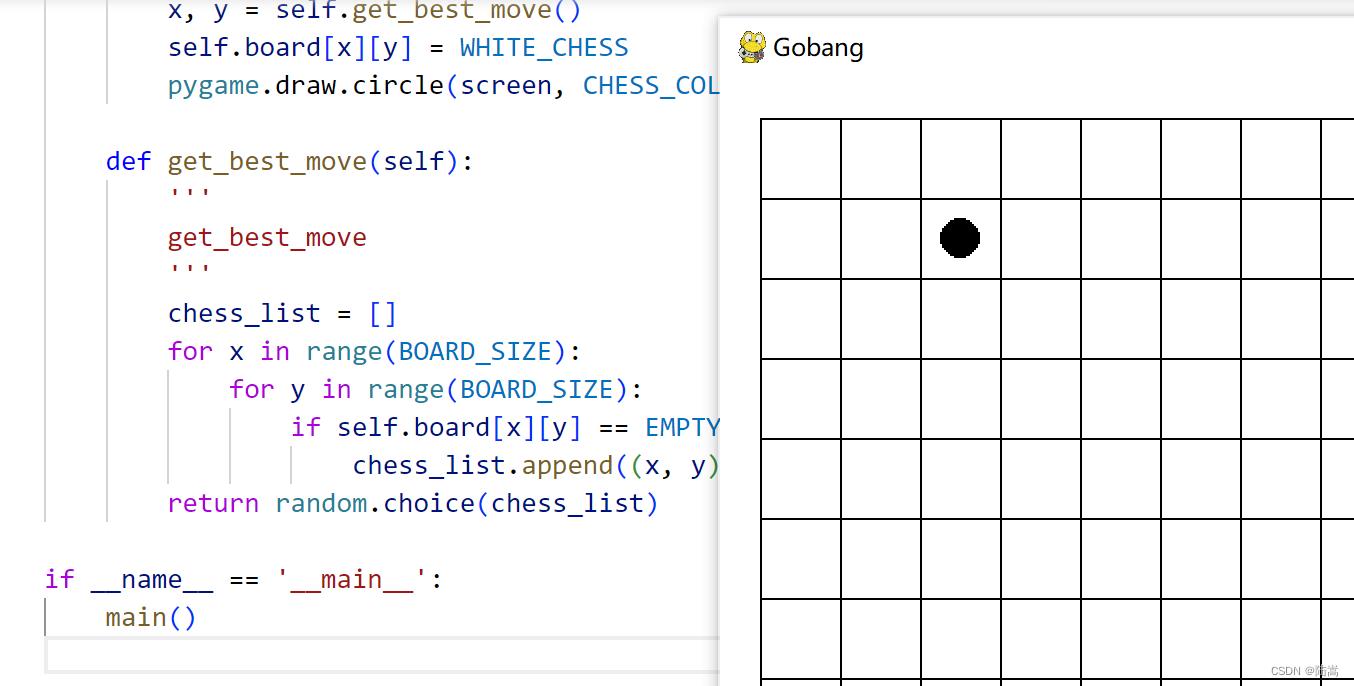
这个有点小 bug,需要我们自己再调一调代码。看来 copilot 也有马失前蹄的时候哇。
高斯积分公式
### gausian quadrature
import numpy as np
import matplotlib.pyplot as plt

def f(x):
    return x**2

def gausian_quadrature(f, a, b, n):
    '''
    gausian quadrature
    '''
    x = np.linspace(a, b, n)
    y = f(x)
    return np.sum(y)

def main():
    '''
    main
    '''
    a = 0
    b = 1
    n = 100
    print(gausian_quadrature(f, a, b, n))

if __name__ == '__main__':
    main()
这个高斯积分公式写得也太忽悠人了吧。再给它一次机会。
### gausian quadrature
import numpy as np
import matplotlib.pyplot as plt
from scipy.integrate import quad
from scipy.integrate import dblquad

def f(x):
    return np.exp(-x**2)

def g(x, y):
    return np.exp(-x**2-y**2)

def main():
    x = np.linspace(-5, 5, 100)
    y = f(x)
    plt.plot(x, y)
    plt.show()
    print(quad(f, -np.inf, np.inf))
    print(dblquad(g, -np.inf, np.inf, lambda x: -np.inf, lambda x: np.inf))

if __name__ == '__main__':
    main()
虽然是调包,但是看起来靠谱多了。
以上是关于Copilot 初体验的主要内容,如果未能解决你的问题,请参考以下文章