Android Fragment 实例2
Posted BigBoy520
tags:
篇首语:本文由小常识网(cha138.com)小编为大家整理,主要介绍了Android Fragment 实例2相关的知识,希望对你有一定的参考价值。
由于看客的要求,我就把读者所要的写出来。
由于上一篇是每一个Fragment 实例了同一个layout.xml ,造成了读者的困惑,这篇我就让每一个Fragment 加载一个不同的layout.xml.
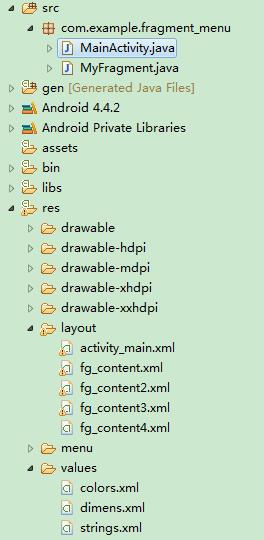
首先我们要准备四个layout.xml ,用来给每个点击跳转页面。
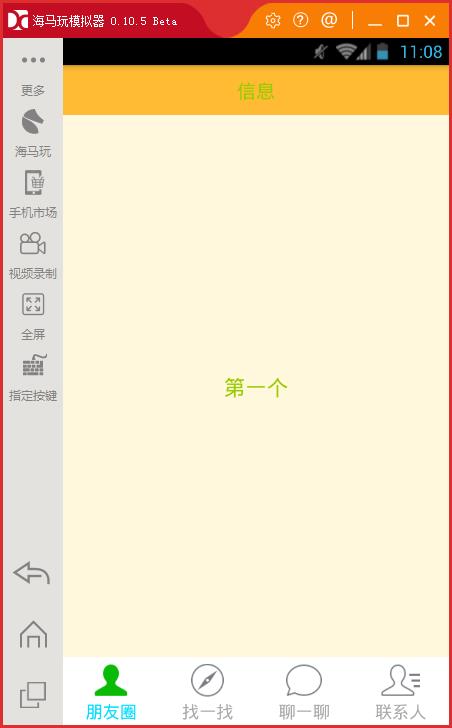
第一个fg_contnet.xml
<?xml version="1.0" encoding="utf-8"?>
<LinearLayout xmlns:android="http://schemas.android.com/apk/res/android"
    android:layout_width="match_parent"
    android:layout_height="match_parent"
    android:background="@color/cornsilk"
    android:orientation="vertical" >

     <TextView
        android:id="@+id/txt_content"
        android:layout_width="match_parent"
        android:layout_height="match_parent"
        android:gravity="center"
        android:text="第一个"
        android:textColor="@android:color/holo_green_light"
        android:textSize="20sp"/>

</LinearLayout>
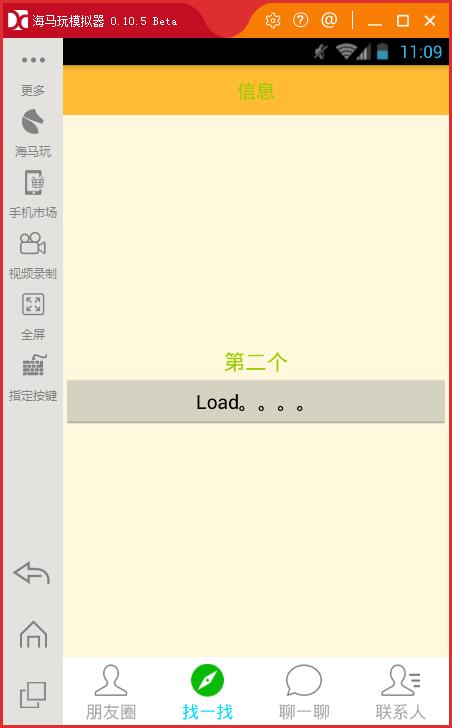
第二个fg_contnet2.xml :
<?xml version="1.0" encoding="utf-8"?>
<LinearLayout xmlns:android="http://schemas.android.com/apk/res/android"
    android:layout_width="match_parent"
    android:layout_height="match_parent"
    android:background="@color/cornsilk"
    android:gravity="center_vertical"
    android:orientation="vertical" >

     <TextView
        android:id="@+id/txt_content"
        android:layout_width="match_parent"
        android:layout_height="wrap_content"
        android:gravity="center"
        android:text="第二个"
        android:textColor="@android:color/holo_green_light"
        android:textSize="20sp"/>
    <Button
        android:layout_width="match_parent"
        android:layout_height="wrap_content"
        android:text="Load。。。。"
        />
</LinearLayout>
第三个 fg_content3.xml :
<?xml version="1.0" encoding="utf-8"?>
<LinearLayout xmlns:android="http://schemas.android.com/apk/res/android"
    android:layout_width="match_parent"
    android:layout_height="match_parent"
    android:background="@color/cornsilk"
    android:orientation="vertical" >

     <ImageView
        android:layout_width="match_parent"
        android:layout_height="wrap_content"
        android:src="@drawable/ic_launcher"
        />

</LinearLayout>
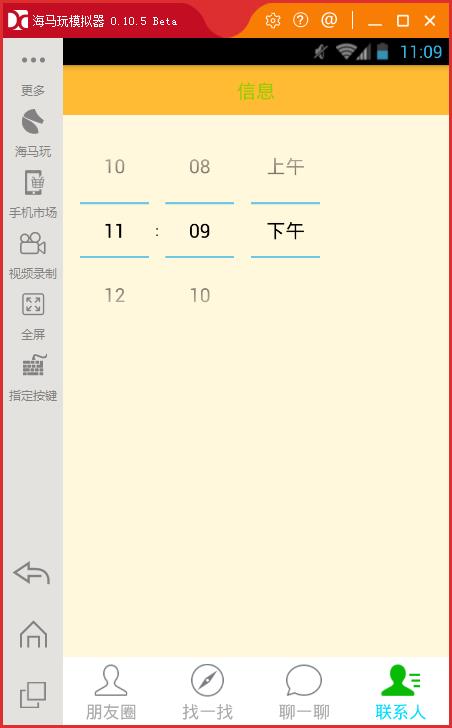
第四个 fg_content4.xml :
<?xml version="1.0" encoding="utf-8"?>
<LinearLayout xmlns:android="http://schemas.android.com/apk/res/android"
    android:layout_width="match_parent"
    android:layout_height="match_parent"
    android:background="@color/cornsilk"
    android:orientation="vertical" >

    <TimePicker
        android:id="@+id/timePicker1"
        android:layout_width="wrap_content"
        android:layout_height="wrap_content" />

</LinearLayout>
因为要每个Fragemnt 加载一个layout.xml ,所以MyFragment 也要修改:
我们在构造器中传入一个content_layout.xml ,动态改变FragmentLayout.
import android.app.Fragment;
import android.os.Bundle;
import android.view.LayoutInflater;
import android.view.View;
import android.view.ViewGroup;

public class MyFragment extends Fragment{
    private int content_layout;
    public MyFragment(int content) {
        this.content_layout = content;
    }
    @Override
    public View onCreateView(LayoutInflater inflater, ViewGroup container, Bundle savedInstanceState) {
        View view = inflater.inflate(content_layout,container,false);
        return view;
    }
}
最后在MainActivity 中:
import android.app.Activity;
import android.app.FragmentManager;
import android.app.FragmentTransaction;
import android.os.Bundle;
import android.view.View;
import android.view.Window;
import android.widget.TextView;

public class MainActivity extends Activity implements View.OnClickListener{

    //UI Object
    private TextView txt_channel;
    private TextView txt_message;
    private TextView txt_better;
    private TextView txt_setting;

    //Fragment Object
    private MyFragment fg1,fg2,fg3,fg4;
    private FragmentManager fManager;

    @Override
    protected void onCreate(Bundle savedInstanceState) {
        super.onCreate(savedInstanceState);
        requestWindowFeature(Window.FEATURE_NO_TITLE);
        setContentView(R.layout.activity_main);
        fManager = getFragmentManager();
        bindViews();
        txt_channel.performClick();   //模拟一次点击,既进去后选择第一项
    }

    //UI组件初始化与事件绑定
    private void bindViews() {
        txt_channel = (TextView) findViewById(R.id.txt_channel);
        txt_message = (TextView) findViewById(R.id.txt_message);
        txt_better = (TextView) findViewById(R.id.txt_better);
        txt_setting = (TextView) findViewById(R.id.txt_setting);

        txt_channel.setOnClickListener(this);
        txt_message.setOnClickListener(this);
        txt_better.setOnClickListener(this);
        txt_setting.setOnClickListener(this);
    }

    //重置所有文本的选中状态
    private void setSelected(){
        txt_channel.setSelected(false);
        txt_message.setSelected(false);
        txt_better.setSelected(false);
        txt_setting.setSelected(false);
    }

    //隐藏所有Fragment
    private void hideAllFragment(FragmentTransaction fragmentTransaction){
        if(fg1 != null)fragmentTransaction.hide(fg1);
        if(fg2 != null)fragmentTransaction.hide(fg2);
        if(fg3 != null)fragmentTransaction.hide(fg3);
        if(fg4 != null)fragmentTransaction.hide(fg4);
    }

    @Override
    public void onClick(View v) {
        FragmentTransaction fTransaction = fManager.beginTransaction();
        hideAllFragment(fTransaction);
        switch (v.getId()){
            case R.id.txt_channel:
                setSelected();
                txt_channel.setSelected(true);
                if(fg1 == null){
                    fg1 = new MyFragment(R.layout.fg_content);
                    fTransaction.add(R.id.ly_content,fg1);
                }else{
                    fTransaction.show(fg1);
                }
                break;
            case R.id.txt_message:
                setSelected();
                txt_message.setSelected(true);
                if(fg2 == null){
                    fg2 = new MyFragment(R.layout.fg_content2);
                    fTransaction.add(R.id.ly_content,fg2);
                }else{
                    fTransaction.show(fg2);
                }
                break;
            case R.id.txt_better:
                setSelected();
                txt_better.setSelected(true);
                if(fg3 == null){
                    fg3 = new MyFragment(R.layout.fg_content3);
                    fTransaction.add(R.id.ly_content,fg3);
                }else{
                    fTransaction.show(fg3);
                }
                break;
            case R.id.txt_setting:
                setSelected();
                txt_setting.setSelected(true);
                if(fg4 == null){
                    fg4 = new MyFragment(R.layout.fg_content4);
                    fTransaction.add(R.id.ly_content,fg4);
                }else{
                    fTransaction.show(fg4);
                }
                break;
        }
        fTransaction.commit();
    }
}
最后看一下效果:


谢谢大家的关注~ Can\'t get is forever, forget was once. ----到不了的就是永远, 忘不了的就是曾经。
以上是关于Android Fragment 实例2的主要内容,如果未能解决你的问题,请参考以下文章
Android Fragment 和 Activity 在方向更改时的行为