Kotlin实现简单的学生信息管理系统
Posted 振华OPPO
tags:
篇首语:本文由小常识网(cha138.com)小编为大家整理,主要介绍了Kotlin实现简单的学生信息管理系统相关的知识,希望对你有一定的参考价值。
文章目录
一、实验内容
根据android数据存储的内容,综合应用SharedPreferences和SQLite数据库实现一个用户信息管理系统,强化对SharedPreferences的理解的使用,熟练掌握SQLite的操作。要求:
- 巩固Android应用开发工具(Eclipse或者AndroidStudio)的常规用法;
- 巩固Activity、UI控件的常规用法;
- 掌握SharedPpreferences数据存储的使用;
- 掌握SQLite数据库及SQLiteOpenHelper的使用。
二、实验步骤
1、页面布局
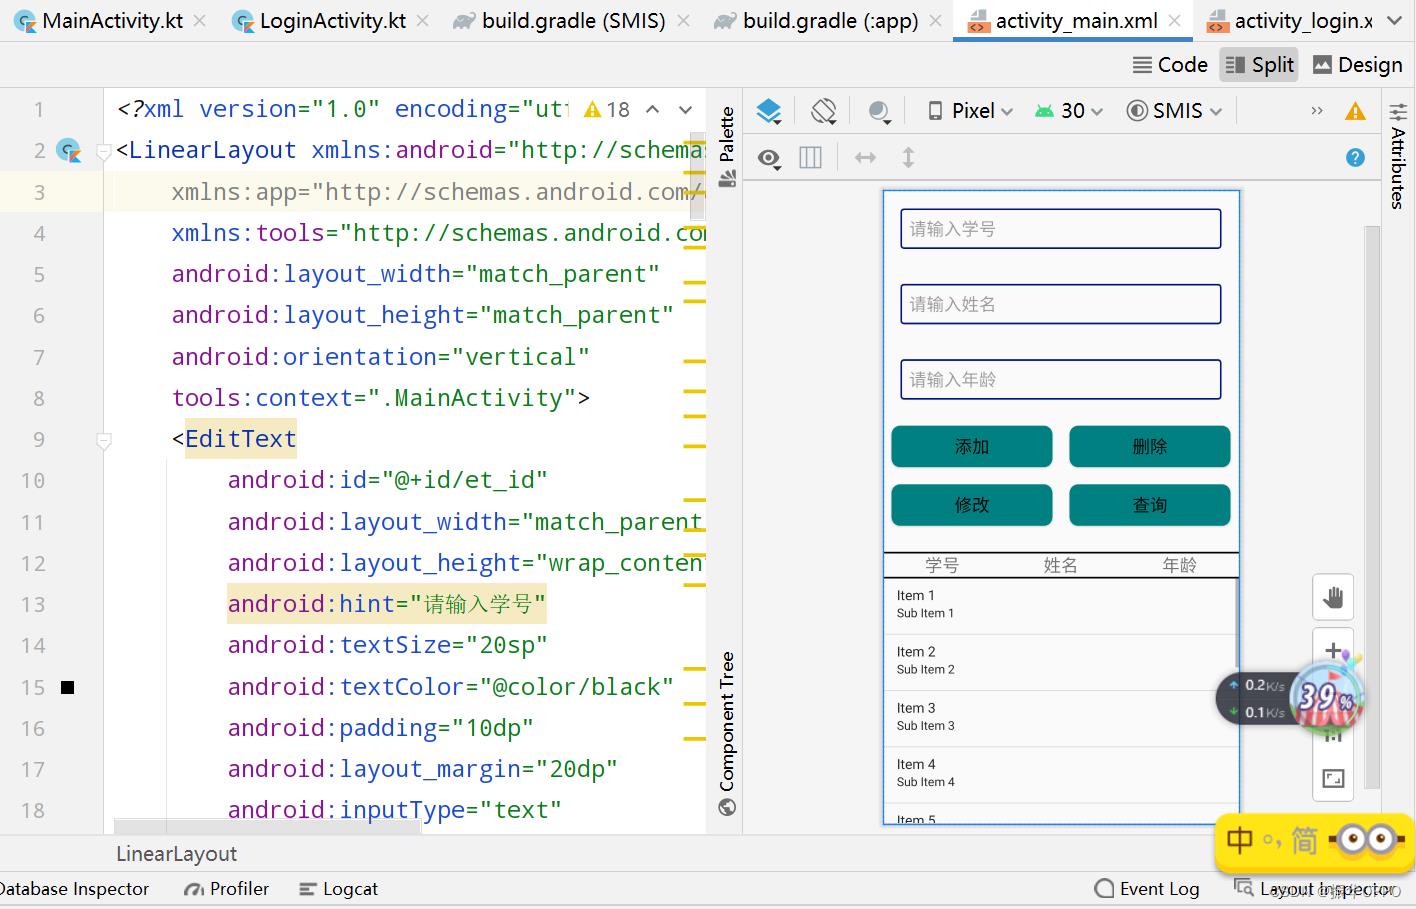
本次布局提倡从简原则,按照往常习惯,我肯定是创建多个Activity,然后每个Activity设置下页面,分别从主页面跳转到各个页面。既然是实验,那就从简,实现核心的思想就可以了,底层逻辑实现出来,表面内容那不是花时间设计下就行了。言归正传,主页面布局如下,没有任何亮点可言,比较常规,只给Button和TextView都设置了background。
完整的layout代码如下:
<?xml version="1.0" encoding="utf-8"?>
<LinearLayout xmlns:android="http://schemas.android.com/apk/res/android"
    xmlns:app="http://schemas.android.com/apk/res-auto"
    xmlns:tools="http://schemas.android.com/tools"
    android:layout_width="match_parent"
    android:layout_height="match_parent"
    android:orientation="vertical"
    tools:context=".MainActivity">
    <EditText
        android:id="@+id/et_id"
        android:layout_width="match_parent"
        android:layout_height="wrap_content"
        android:hint="请输入学号"
        android:textSize="20sp"
        android:textColor="@color/black"
        android:padding="10dp"
        android:layout_margin="20dp"
        android:inputType="text"
        android:background="@drawable/et_selector" />
    <EditText
        android:id="@+id/et_name"
        android:layout_width="match_parent"
        android:layout_height="wrap_content"
        android:hint="请输入姓名"
        android:textSize="20sp"
        android:textColor="@color/black"
        android:padding="10dp"
        android:layout_margin="20dp"
        android:inputType="text"
        android:background="@drawable/et_selector" />
    <EditText
        android:id="@+id/et_age"
        android:layout_width="match_parent"
        android:layout_height="wrap_content"
        android:hint="请输入年龄"
        android:textSize="20sp"
        android:textColor="@color/black"
        android:padding="10dp"
        android:layout_margin="20dp"
        android:inputType="text"
        android:background="@drawable/et_selector" />

    <LinearLayout
        android:layout_width="match_parent"
        android:layout_height="wrap_content"
        android:orientation="horizontal">
        <Button
            android:id="@+id/btn_insert"
            android:layout_width="0dp"
            android:layout_height="match_parent"
            android:layout_weight="1"
            android:gravity="center"
            android:text="添加"
            android:background="@drawable/btn_selector"
            android:textSize="20sp"
            android:layout_margin="10dp"
            android:textColor="@color/black"/>
        <Button
            android:id="@+id/btn_delete"
            android:layout_width="0dp"
            android:layout_height="match_parent"
            android:layout_weight="1"
            android:gravity="center"
            android:text="删除"
            android:background="@drawable/btn_selector"
            android:textSize="20sp"
            android:layout_margin="10dp"
            android:textColor="@color/black"/>
    </LinearLayout>
    <LinearLayout
        android:layout_width="match_parent"
        android:layout_height="wrap_content"
        android:orientation="horizontal"
        android:layout_marginBottom="20dp">
        <Button
            android:id="@+id/btn_update"
            android:layout_width="0dp"
            android:layout_height="match_parent"
            android:layout_weight="1"
            android:gravity="center"
            android:text="修改"
            android:background="@drawable/btn_selector"
            android:textSize="20sp"
            android:layout_margin="10dp"
            android:textColor="@color/black"/>
        <Button
            android:id="@+id/btn_query"
            android:layout_width="0dp"
            android:layout_height="match_parent"
            android:layout_weight="1"
            android:gravity="center"
            android:text="查询"
            android:background="@drawable/btn_selector"
            android:textSize="20sp"
            android:layout_margin="10dp"
            android:textColor="@color/black"/>
    </LinearLayout>
    <View
        android:layout_width="match_parent"
        android:layout_height="2dp"
        android:background="@color/black"/>
    <LinearLayout
        android:orientation="horizontal"
        android:layout_width="match_parent"
        android:layout_height="wrap_content">
        <TextView
            android:layout_width="0dp"
            android:layout_weight="1"
            android:text="学号"
            android:textSize="20sp"
            android:gravity="center"
            android:layout_height="wrap_content"/>
        <TextView
            android:layout_width="0dp"
            android:layout_weight="1"
            android:text="姓名"
            android:textSize="20sp"
            android:gravity="center"
            android:layout_height="wrap_content"/>
        <TextView
            android:layout_width="0dp"
            android:layout_weight="1"
            android:text="年龄"
            android:textSize="20sp"
            android:gravity="center"
            android:layout_height="wrap_content"/>
    </LinearLayout>
    <View
        android:layout_width="match_parent"
        android:layout_height="2dp"
        android:background="@color/black"/>
    <ListView
        android:id="@+id/lv_stu"
        android:layout_width="match_parent"
        android:layout_height="match_parent"/>
</LinearLayout>
2、数据库
考查对SQLite的熟练程度,其实就是Android提供了一个数据库帮助类,帮我们进行数据库的各种操作。我们要做的就是建库建表,写个增删改查的方法,然后剩下的事情交给系统。这里是学生表的建表语句,一切属性都能用text表示。
    private val CREATE_STUDENT = "create table Student (" +
            "id text primary key," +
            "name text," +
            "age text)"
再看学生类,简直封装的太好了,Kotlin的魅力所在,换做Java又是属性、构造函数、get和set方法。
class Student(val id:String, val name:String, val age:String)
下面看数据库的增删改查操作,所有的操作都是针对数据库的Student表来的,增加、删除和修改都很简单,使用ContentValues添加键值对。查询是最关键的,使用cursor游标一行行遍历表数据,各种约束条件可以自己加,正常全查就完事了。
 val dbHelper = DBHelper(context, "stu.db", 1)
    lateinit var db:SQLiteDatabase

    fun openDB()
        db = dbHelper.writableDatabase


    fun closeDB()
        if (db != null) dbHelper.close()

    // 插入学生
    fun insertStudent(stu: Student)
        val values = ContentValues().apply
            put("id", stu.id)
            put("name", stu.name)
            put("age", stu.age)

        db.insert("Student", null, values)

    // 删除学生
    fun deleteStudent(stu: Student)
        db.delete("Student", "id = ?", arrayOf(stu.id))

    // 更新学生
    fun updateStudent(stu: Student)
        val values = ContentValues()
        values.put("name", stu.name)
        values.put("age", stu.age)
        db.update("Student", values, "id = ?", arrayOf(stu.id))

    // 查询所有学生
    fun queryAllStudent():ArrayList<Student>
        val cursor = db.query("Student", null, null, null, null, null, null)
        val stuList = ArrayList<Student>()
        if (cursor.moveToFirst())
            do
                val id = cursor.getString(cursor.getColumnIndex("id"))
                val name = cursor.getString(cursor.getColumnIndex("name"))
                val age = cursor.getString(cursor.getColumnIndex("age"))
                val stu = Student(id, name, age)
                stuList.add(stu)
             while (cursor.moveToNext())

        cursor.close()
        return stuList
3、登录活动
登录活动用的是sharedPreferences,它使用方法非常easy,首先初始化一个sharedPreferences对象,文件名和访问类型自定义。读数据就是调用getString获取键值对,设定个默认值。写数据就是调用sharedPreferences.edit()赋值给editor对象,然后putString读取键值对。还记录了下app的使用次数。
	override fun onCreate(savedInstanceState: Bundle?)
        super.onCreate(savedInstanceState)
        binding = ActivityLoginBinding.inflate(layoutInflater)
        setContentView(binding.root)
        sharedPreferences = getSharedPreferences("data", Context.MODE_PRIVATE)
        var editor = sharedPreferences.edit()
        // 得到之前的使用次数,然后每次打开app都加1
        var count = sharedPreferences.getString("count", "0");
        binding.tvCount.text = (count!!.toInt() + 1).toString()
        // 保存键值对到sharedpreferences中
        editor.putString("count", (count!!.toInt() + 1).toString())
        editor.apply()
        binding.btnLogin.setOnClickListener
            editor.putString("account", binding.etAccount.toString().trim())
            editor.putString("password", binding.etPassword.toString().trim())
            editor.apply()
            Toast.makeText(this, "登录成功!", Toast.LENGTH_SHORT).show()
            val intent = Intent(this, MainActivity::class.java)
            startActivity(intent)
            finish()
4、增删改查
其实对数据表的增删改查逻辑在StudentDao中已经封装好了,我们在Activity里面也只是调用方法实现界面和数据库的交互罢了。具体的操作逻辑如下:
输入学号、姓名和年龄后点击添加可以添加学生;输入学号点击查询可以查询学生信息,然后点击删除会删除信息,点击修改会修改输入框中的学生信息,最后如果输入的学号不存在而且你点查询了,会显示所有学生的信息,如果存在只会显示该学生的信息。
override fun onClick(p0: View?)
var stuId = binding.etId.text.toString()
var stuName = binding.etName.text.toString()
var stuAge = binding.etAge.text.toString()
var stu = Student(stuId, stuName, stuAge)
var flag = (studentDao.queryById(stuId) != null)
when(p0?.id)
R.id.btn_insert->
if (flag)
Toast.makeText(this, "学生已存在,无法添加", Toast.LENGTH_SHORT).show()
else
studentDao.insertStudent(stu)
Toast.