:服务器环境--Python3.6HomeAssistantbt等
Posted 熟知宇某
tags:
篇首语:本文由小常识网(cha138.com)小编为大家整理,主要介绍了:服务器环境--Python3.6HomeAssistantbt等相关的知识,希望对你有一定的参考价值。
日记:2021年6月12日 16:55:42
日记:现在是2021年6月12日 15:04:04
日记:现在是2021年6月13日 07:04:28 琢磨了一个晚上,由于依赖问题,安装python3.6频频失败。为了不重覆蹈履,这里提供收集的依赖:
apt-get install -y sqlite* zlib* arm-linux-gnueabihf* build-essential libsqlite3-dev gcc libffi-dev python3-dev libssl-dev第二章:服务器--玩客云刷入armbian系统...刷好了armbian,我们得更新一下其中的软件源。
更换阿里源:

输入指令编辑源的文件:nano /etc/apt/sources.list
注释之前的,粘贴以下:
deb http://mirrors.aliyun.com/debian stretch main contrib non-free
deb-src http://mirrors.aliyun.com/debian stretch main contrib non-free
deb http://mirrors.aliyun.com/debian stretch-updates main contrib non-free
deb-src http://mirrors.aliyun.com/debian stretch-updates main contrib non-free
deb http://mirrors.aliyun.com/debian-security stretch/updates main contrib non-free
deb-src http://mirrors.aliyun.com/debian-security stretch/updates main contrib non-free

退出并保存。
输入指令完成更新:
sudo apt-get update;
sudo apt-get upgrade;目录
一、安装python3.6+
使用wget命令下载Python包:

下载:wget https://www.python.org/ftp/python/3.6.5/Python-3.6.5.tgz

解压:tar -xzvf Python-3.6.5.tgz

把Python3.6安装到/etc/python3.6:./configure --prefix= /etc/python3.6

编译和安装:make && make install

安装完成后,将其软链接至/usr/bin:

ln -s /etc/python3.6/python3.6 /usr/bin/python3.6

同理,将pip6软链接至/usr/bin:ln -s /etc/python3.6/pip3.6 /usr/bin/pip3.6
结束安装。
输入python3.6 -V;检查是否成功安装python
输入pip3.6 -V;检查是否成功安装pip

安装python过程中可能会出现的问题:
a.安装期间提示:
zlib not available;解决:
apt-get install -y zlib*重新对python进行安装:
make installb.可能原系统已存在过python3.x,如果是python3.5,那此时系统存在3.5和3.6版本。由于刚刚我们软链到python3.6指令上去,所以和python3指令是没有冲突的。
如果仍希望直接执行python3是以最新安装的python3.6的环境,那可以设置/usr/bin/python3的优先级:
update-alternatives --install /usr/bin/python3 python3 /usr/bin/python3.5 1
update-alternatives --install /usr/bin/python3 python3 /etc/python3.6/bin/python3.6(你的安装路径) 2
update-alternatives --config python3
此时提示(Priority是权重的意思):
There are 2 choices for the alternative python3 (providing /usr/bin/python3).

  Selection    Path                      Priority   Status
------------------------------------------------------------
* 0            /etc/python3.6/bin/python3.6   2         auto mode
  1            /usr/bin/python3.5             1         manual mode
  2            /etc/python3.6/bin/python3.6   2         manual mode

Press <enter> to keep the current choice[*], or type selection number:
然后点击回车结束。此时直行python3即是python3.6版本的环境了。
c.使用pip3.6 install的时候会提示:
Command 'lsb_release -a' returned non-zero exit status 1.估计是lsb_release这个函数出现了问题,版本不对,解决方案摘抄网上:
# find / -name 'lsb_release.py'
/usr/lib/python3/dist-packages/lsb_release.py
/usr/lib/python2.7/dist-packages/lsb_release.py
/usr/share/pyshared/lsb_release.py
# find /usr -name python3.6
/usr/local/bin/python3.6
/usr/local/lib/python3.6
# cp /usr/lib/python3/dist-packages/lsb_release.py /usr/local/lib/python3.6/
二、安装HomeAssistant
使用pip工具直接安装:
pip3.6 install homeassistant如果提示版本过低:

那就更新pip版本:
python3 -m pip install --upgrade pip等待安装完成之后,在python的bin目录下找到hass,hass就是HomeAssistant的启动脚本,先绑定它,以致可以直接输入hass就可以有效启动:
ln -s /etc/python3.6/bin/python3.6/bin/hass /usr/bin/hass否则会出现:
hass: command not found启动HomeAssistant:
hass --open-ui第一次启动比较久:

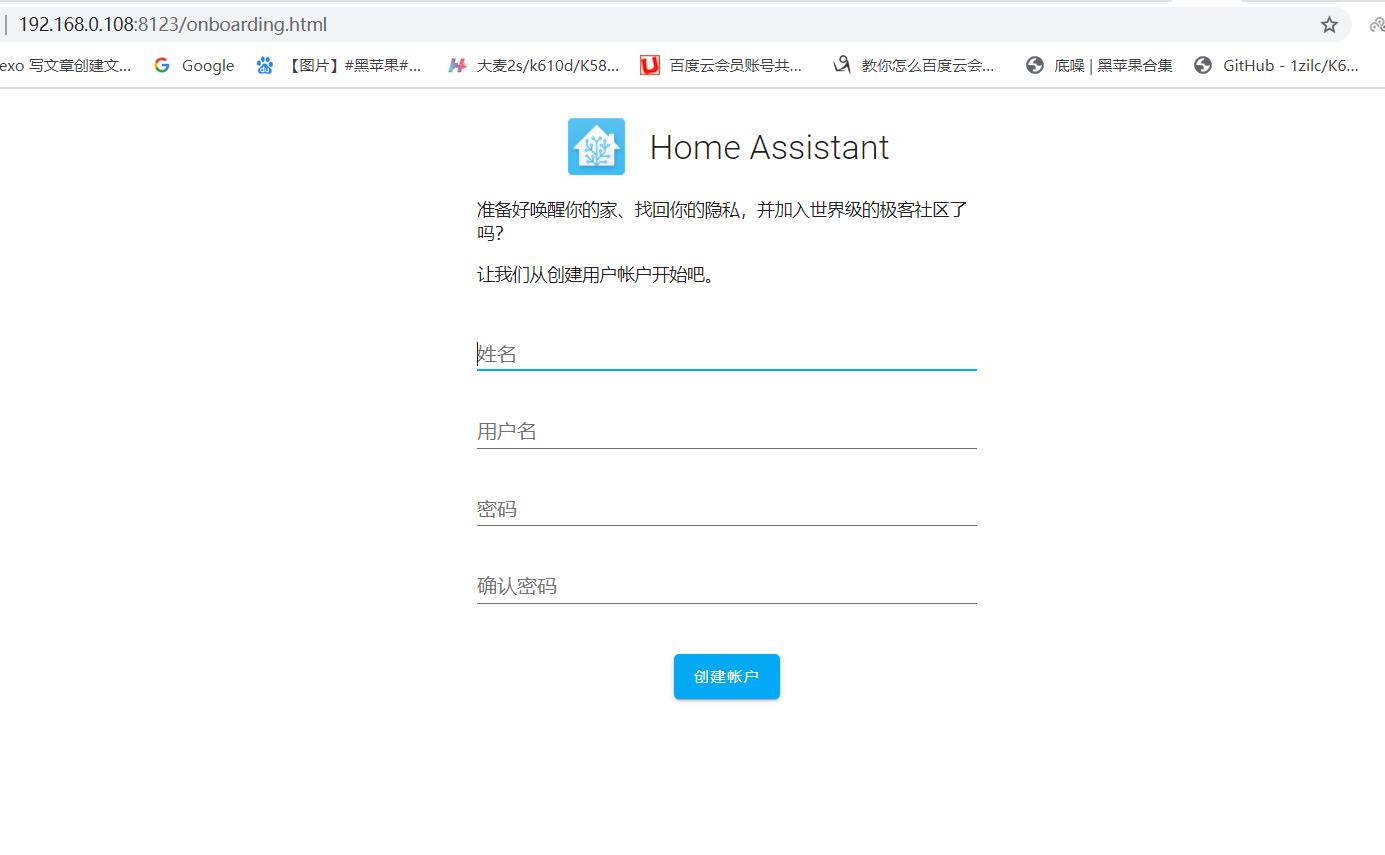
启动完成,在浏览器打开:ip:8123;出现以下登录界面表示安装并启动成功。
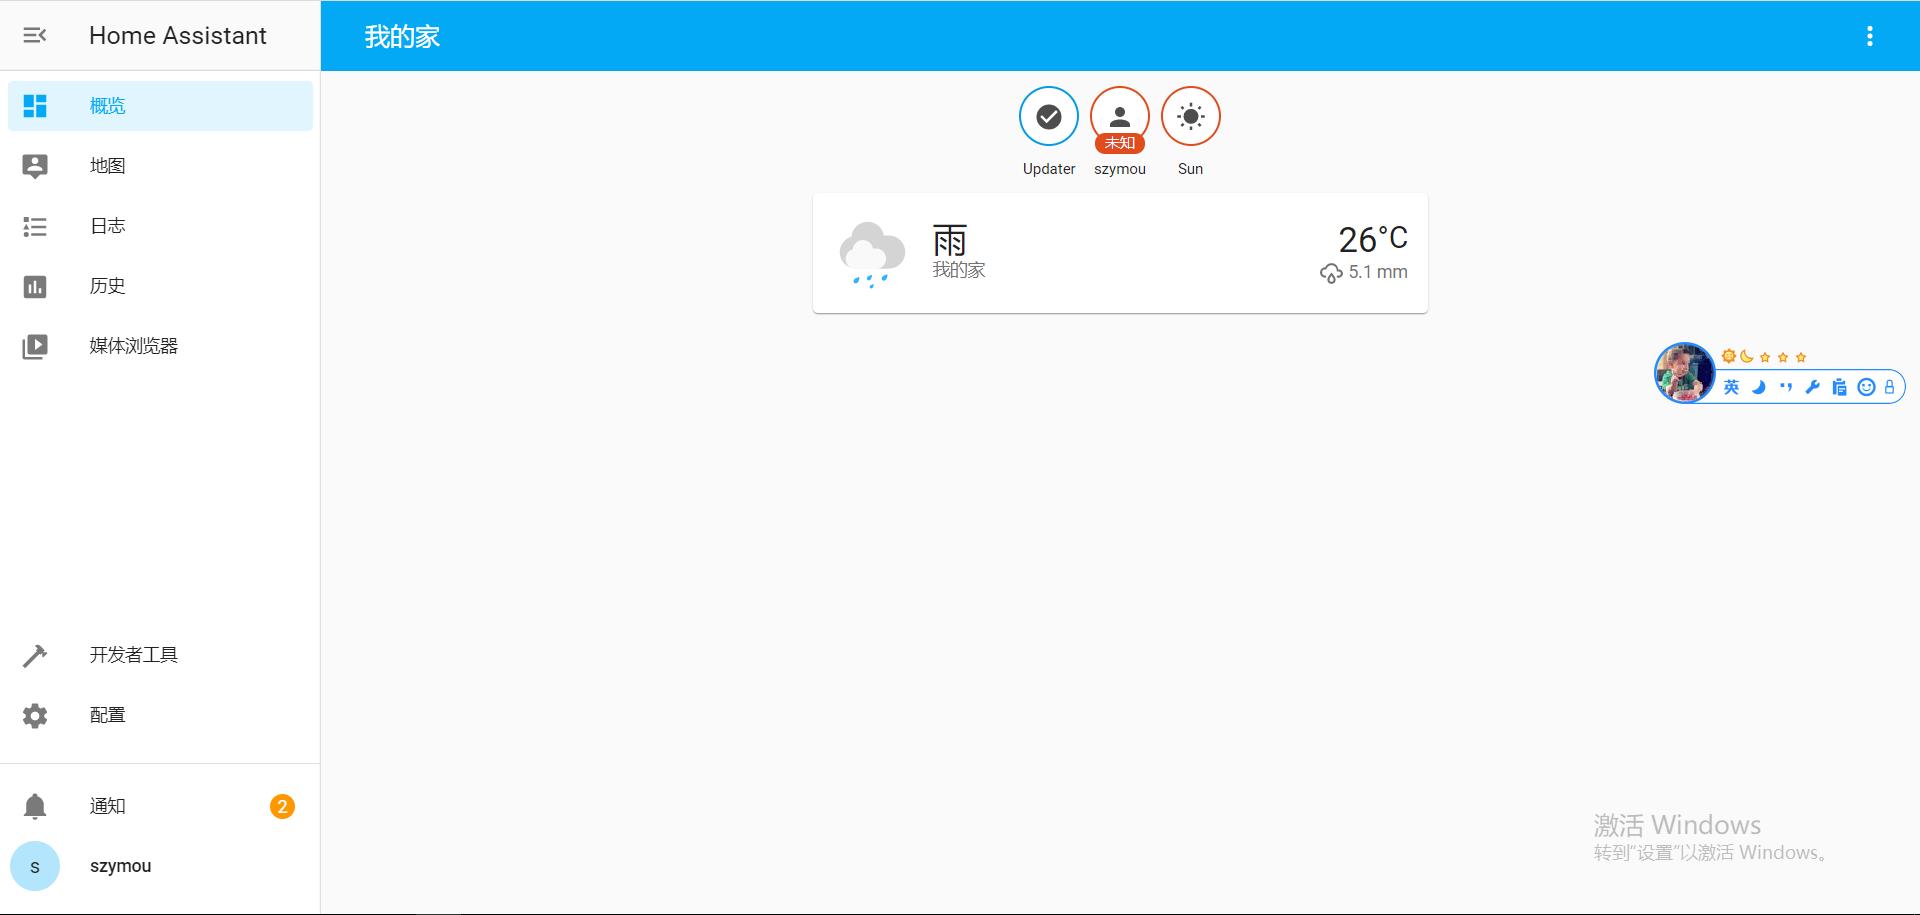
正常运行界面:
配置自动启动:
打开/etc/rc.local,编辑,加入nohup hass > /home/hass.log 2>&1 &:
#!/bin/sh -e
#
# rc.local
#
# This script is executed at the end of each multiuser runlevel.
# Make sure that the script will "exit 0" on success or any other
# value on error.
#
# In order to enable or disable this script just change the execution
# bits.
#
# By default this script does nothing.

# start HomeAssistant
nohup hass > /home/hass.log 2>&1 &;


exit 0
三、安装宝塔--服务器监控看板
下载并安装:
wget -O install.sh http://download.bt.cn/install/install-ubuntu_6.0.sh && bash install.sh安装完成:

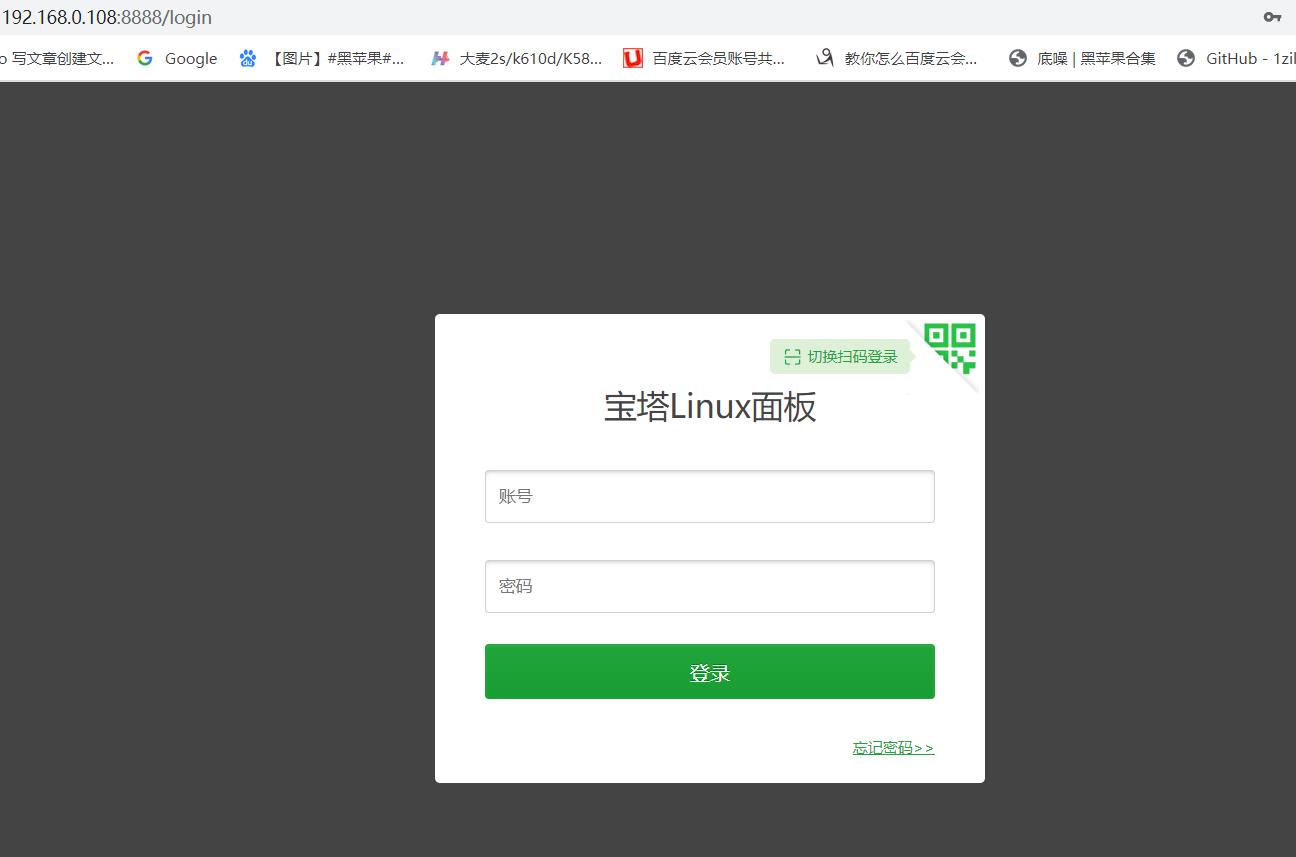
在浏览器打开:ip:8888,出现以下界面即成功:
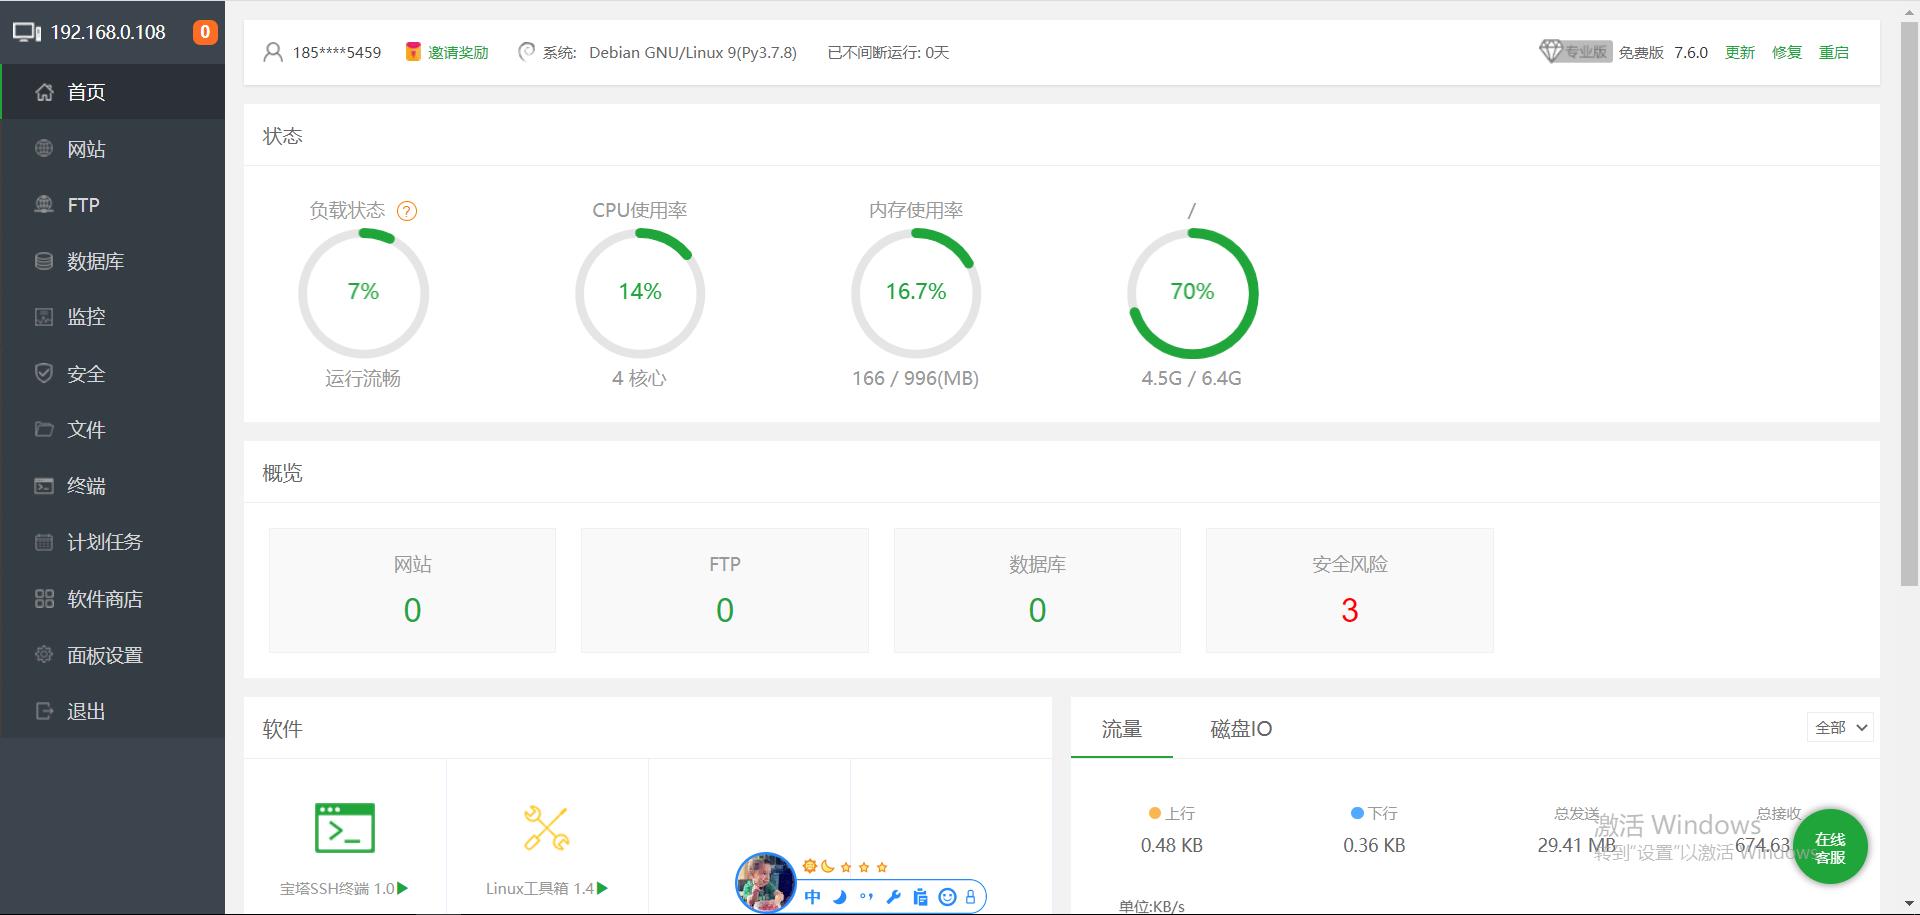
正常运行界面:
四、安装mysql
apt install mysql-server去除ip限制
cd /etc/mysql/mariadb.conf.d
vim server.cnf
注释掉bind-address:
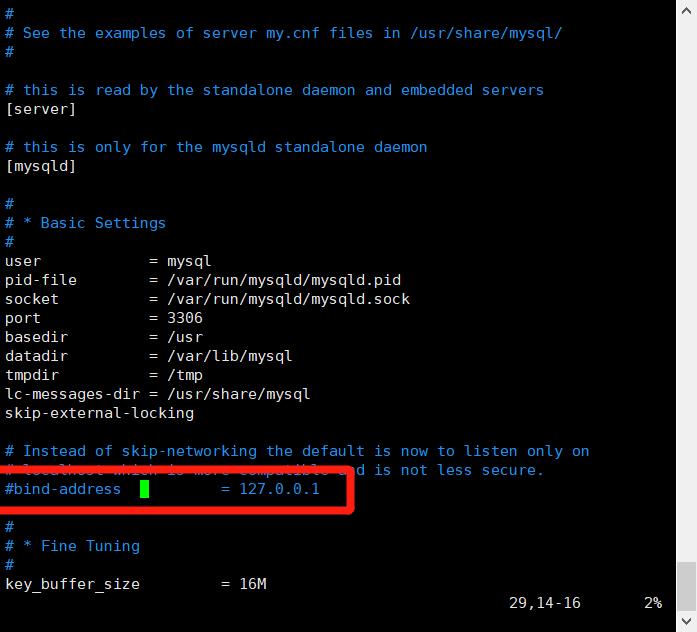
GRANT ALL PRIVILEGES ON *.* TO 'root'@'%' IDENTIFIED BY '123456' WITH GRANT OPTION;
日记:当前时间2021年6月13日 09:02:53
以上是关于:服务器环境--Python3.6HomeAssistantbt等的主要内容,如果未能解决你的问题,请参考以下文章