前言
bitmapdrawable 与nithpathdrawable 完结,接下来是shapedrawable。
shapedrawable是使用频率最高的drawable 可见其重要性。
shapedrawable
shapedrawable 有 rectangle、oval、line、ring
分别对应 矩形、椭圆、横线、圆环。
矩形
先看一段:
<?xml version="1.0" encoding="utf-8"?>
<shape xmlns:android="http://schemas.android.com/apk/res/android"
    android:shape="rectangle"
    >
    <corners android:radius="20dp">
    </corners>
    <gradient
        android:angle="0"
        android:startColor="#008577"
        android:centerColor="#FFF200"
        android:endColor="#D81B60"
        >
    </gradient>
    <size
        android:height="100dp"
        android:width="100dp">
    </size>
</shape>
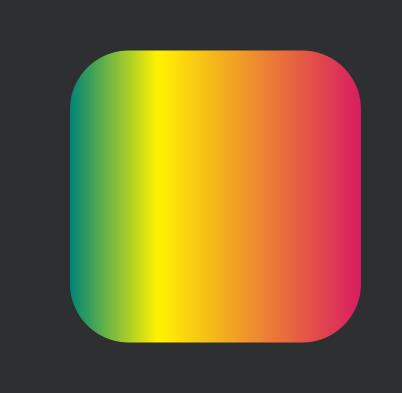
效果:
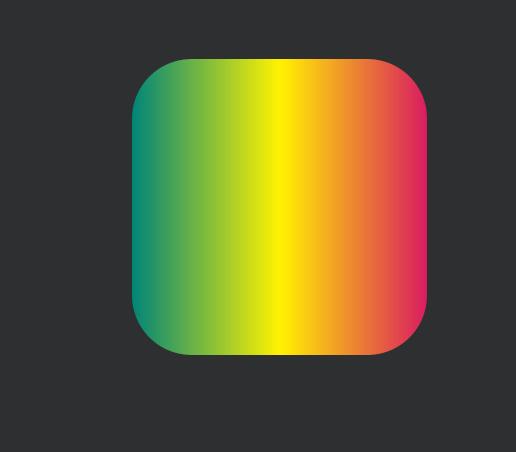
总结起来就4个字,华丽庸俗。
那就来介绍一下其中的作用:
android:shape:形状
corners android:radius="20dp" 边角20dp。
gradient:渐变
size:大小,有宽高两个属性。
那么重点就是:gradient,其他的都很简单易懂。
gradient 属性:
angle 表示渐变的角度,这个角度只能是45的倍数。
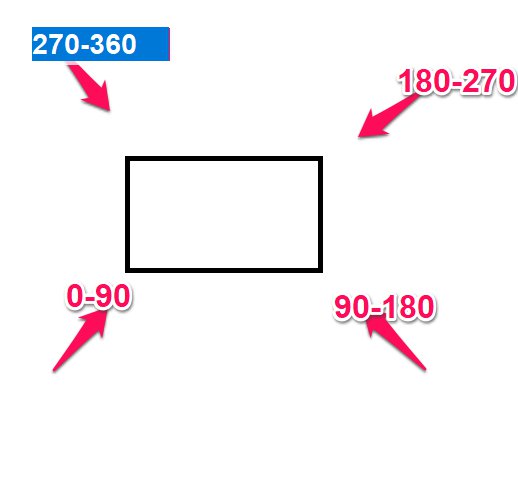
如果把角度比作是旋转,不如把角度比作灯光照射,如上图。
android:startColor="#008577" // 开始渐变的颜色
android:centerColor="#FFF200" // 中间渐变的颜色
android:endColor="#D81B60" // 结束渐变的颜色
在这上面还有一个重要的属性:centerX:
如图比较下:centerX:0.1
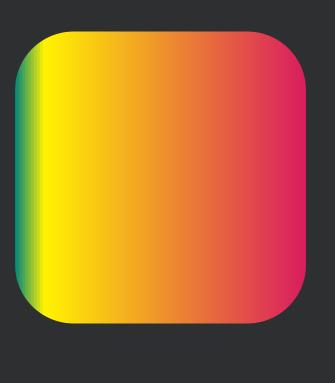
centerX:0.2
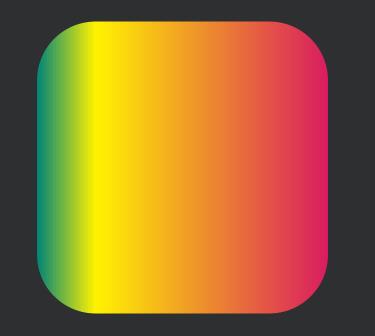
centerX:0.3
相信已经明白了这个属性的意思了。
渐变分为:线性渐变,径向渐变,以及扫描线渐变
上面就是线性的了。
看下径向的:
<gradient
	android:startColor="#008577"
	android:centerColor="#FFF200"
	android:endColor="#D81B60"
	android:gradientRadius="45dp"
	android:type="radial"
	>
</gradient>
其他不变替换gradient部分:
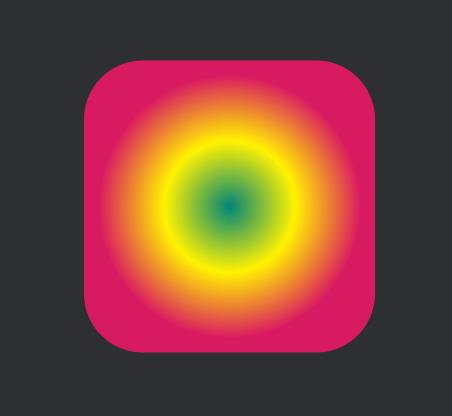
黄色的太阳,感觉有点科技感了。
关键部分,既然是径向变,其实就是gradientRadius要设置,毕竟要有半径的吧,设置gradientRadius="60dp"看下。
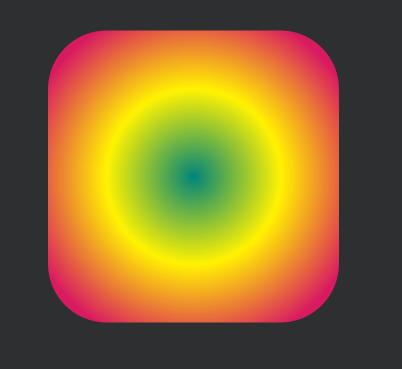
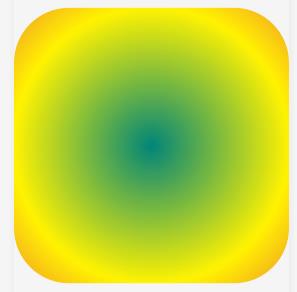
上图可看,其实就是中心点到黄色的圆环位置,设置100看下,这里为什么设置100呢?
<size
        android:height="100dp"
        android:width="100dp">
</size>
如图:
在加上另外两个有用的属性:
<gradient
	android:startColor="#008577"
	android:centerColor="#FFF200"
	android:endColor="#D81B60"
	android:gradientRadius="45dp"
	android:type="radial"
	android:centerX="0.1"
	android:centerY="0.5"
	>
</gradient>
效果:
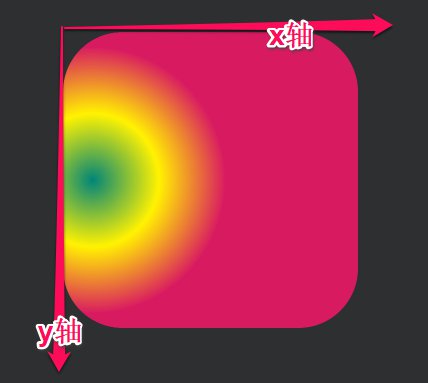
如此可见,真的就非常明了了。
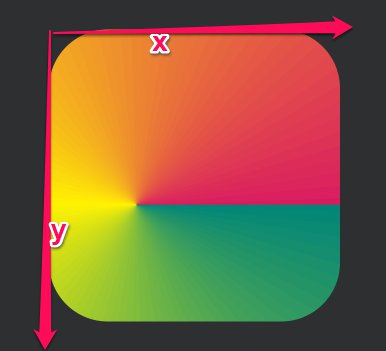
接下来就是sweep:这东西就诡异了。。。
<gradient
	android:startColor="#008577"
	android:centerColor="#FFF200"
	android:endColor="#D81B60"
	android:type="sweep"
	>
</gradient>
非常好,非常beautiful。
这里可以看到中心点在中间,那么可以遐想一下,是否可以改变其位置。
padding:padding是内边距的意思。
<?xml version="1.0" encoding="utf-8"?>
<shape xmlns:android="http://schemas.android.com/apk/res/android"
android:shape="rectangle"
>
<corners
android:radius="20dp"
></corners>
<gradient
android:startColor="#008577"
android:centerColor="#FFF200"
android:endColor="#D81B60"
android:type="sweep"
android:centerX="0.3"
android:centerY="0.6"
/>
<!--<padding-->
<!--android:left="100dp"-->
<!--></padding>-->
<stroke
android:width="2dp"
android:color="@color/colorPrimary"
android:dashWidth="2dp"
android:dashGap="2dp"
>
</stroke>
<size
android:height="100dp"
android:width="100dp">
</size>
</shape>
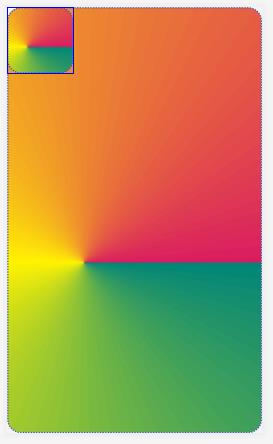
然后再layout中引用:
<?xml version="1.0" encoding="utf-8"?>
<LinearLayout xmlns:android="http://schemas.android.com/apk/res/android"
    android:orientation="vertical" android:layout_width="match_parent"
    android:layout_height="match_parent"
    android:background="@drawable/testdrawable"
    >
    <ImageView
        android:layout_width="100dp"
        android:layout_height="100dp"
        android:background="@drawable/testdrawable"
        />
</LinearLayout>
效果:
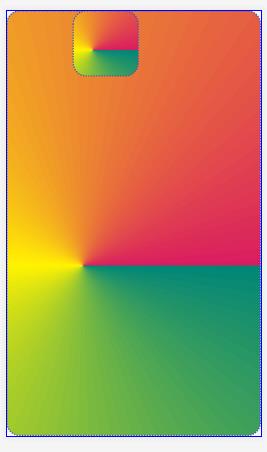
加上padding:
<padding android:left="100dp" ></padding>
效果:
solid
关于solid 没什么好介绍的,solid就是设置color的,和gradient 是冲突的,android:color就可以设置其整体颜色。
stroke
我翻译过来是轻抚,其实就是border的意思。
加上:
<stroke
	android:width="2dp"
	android:color="@color/colorPrimary"
	>
效果:
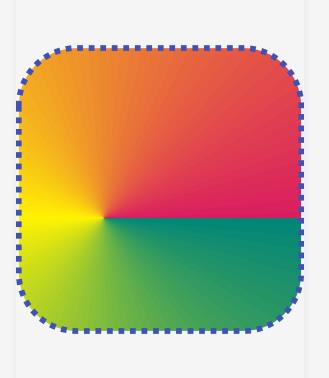
加上2dp的绿色的框。
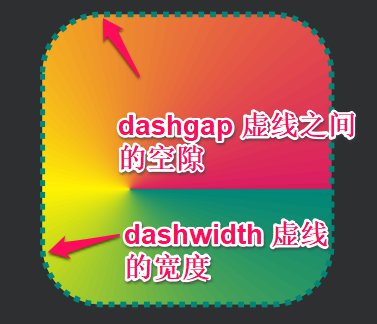
其他两个属性:dashWidth,dashGap
<stroke
	android:width="2dp"
	android:color="@color/colorPrimary"
	android:dashWidth="2dp"
	android:dashGap="2dp"
	>
这两个觉得了边框设置为虚线:
椭圆
设置一下type="oval",如下:
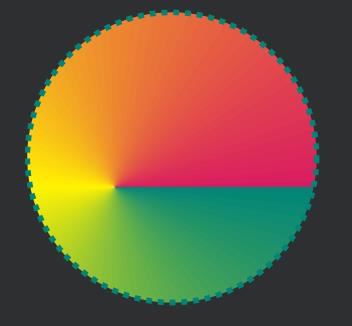
因为宽高都是相等的,所以是圆。
里面的属性一致,不多介绍。
横线
type 设置为type="line",如下:

就真的是条线了。
圆环
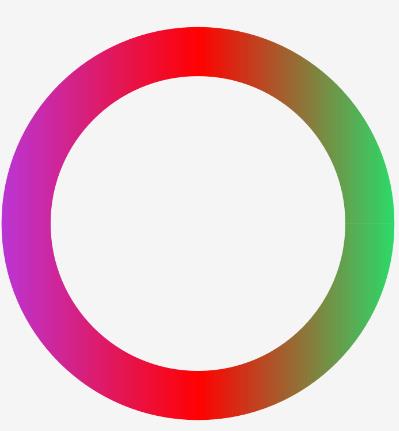
设置type="ring",然后修改code:
<?xml version="1.0" encoding="utf-8"?>
<shape xmlns:android="http://schemas.android.com/apk/res/android"
    android:shape="ring"
    android:useLevel="false"
    >
    <gradient
        android:centerColor="#ff0000"
        android:endColor="#0ff676"
        android:startColor="#B23AEE"
        android:useLevel="false" />
    <size
        android:height="100dp"
        android:width="100dp"
        ></size>
</shape>
如下:
| 值 | 描述 |
|---|---|
| android:innerRadius | 圆的内半径,优先级高于android:innerRadiusRatio |
| android:innerRadiusRatio | 圆的半径与drawable的比例,默认值为3,也就是宽度的1/3。如果是n的话,就是宽度/n |
| android:thickness | 圆环的厚度,外径-内径 |
| android:thicknessRatio | 圆环的厚度的比例,默认值为9,占用1/9。如果是n的话,就是宽度/n |
现在可以看出上图圆环厚度,大概是1/3,因为分成9份,占用3份。
<?xml version="1.0" encoding="utf-8"?>
<shape xmlns:android="http://schemas.android.com/apk/res/android"
    android:shape="ring"
    android:innerRadiusRatio="3"
    android:thicknessRatio="9"
    android:useLevel="false"
    >
    <gradient
        android:centerColor="#ff0000"
        android:endColor="#0ff676"
        android:startColor="#B23AEE"
        android:useLevel="false" />
    <size
        android:height="100dp"
        android:width="100dp"
        />
</shape>
这样设置和刚才的效果一样,接下来就是自己的设计与审美了。
总结
shapeDrawable 分为rectangle,oval,line,ring。
总结如上述。。。。