Spring的配置文件ApplicationContext.xml配置头文件解析
Posted zhanghengscnc
tags:
篇首语:本文由小常识网(cha138.com)小编为大家整理,主要介绍了Spring的配置文件ApplicationContext.xml配置头文件解析相关的知识,希望对你有一定的参考价值。
Spring的配置文件ApplicationContext.xml配置头文件解析
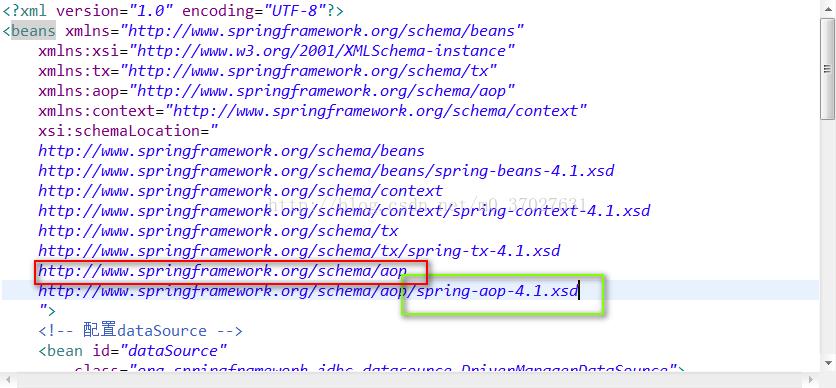

spring中的applicationContext.xml配置头文件解析
<?xmlversion="1.0"encoding="UTF-8"?>
<beansxmlns="http://www.springframework.org/schema/beans"
xmlns:xsi="http://www.w3.org/2001/XMLSchema-instance"
xmlns:tx="http://www.springframework.org/schema/tx"
xmlns:aop="http://www.springframework.org/schema/aop"
xmlns:context="http://www.springframework.org/schema/context"
xsi:schemaLocation="
http://www.springframework.org/schema/beans
http://www.springframework.org/schema/beans/spring-beans-4.1.xsd
http://www.springframework.org/schema/context
http://www.springframework.org/schema/context/spring-context-4.1.xsd
http://www.springframework.org/schema/tx
http://www.springframework.org/schema/tx/spring-tx-4.1.xsd
http://www.springframework.org/schema/aop
http://www.springframework.org/schema/aop/spring-aop-4.1.xsd
">
</beans>
首先要做的是导入相关jar包,这里一aop为例所以只说导入了aop相关的jar包
这四个jar包是必不可少的。
jar包下载地址:http://pan.baidu.com/s/1nvTPNRV
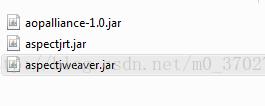
配置头文件所引用的文件包(版本号要匹配上)

步骤
(1)、下载spring-framework-4.1.6
(2)、eclipse中点击window-preferances,在弹出框中输入xml catalog,看到如下界面

点击add
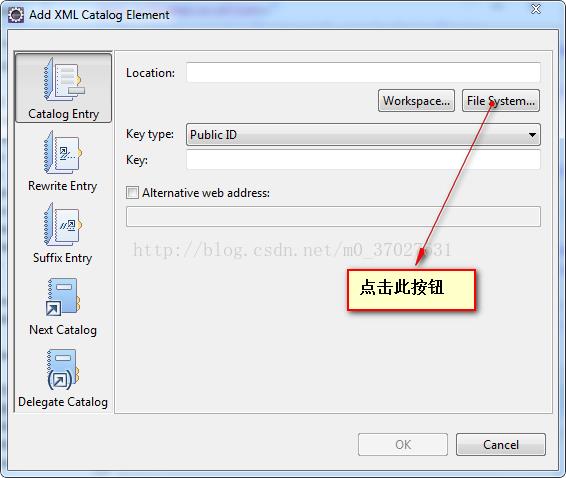
从文件选择其中找到你所下载的spring-framework-4.16打开文件夹,然后打开schema文件夹
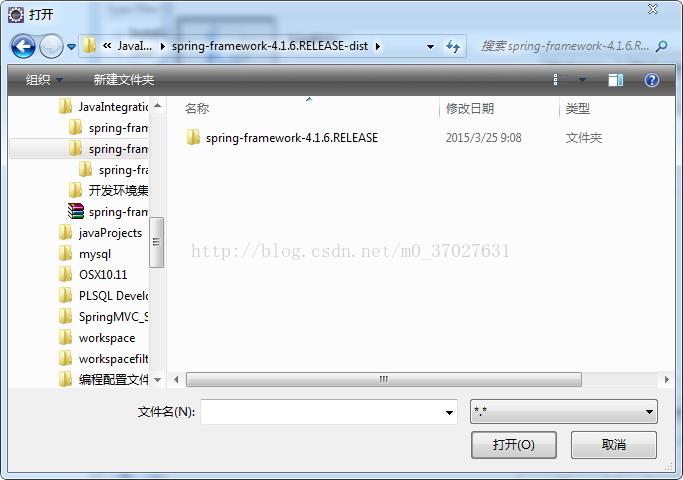
该目录下就是你所要引入的相关标签的文件夹
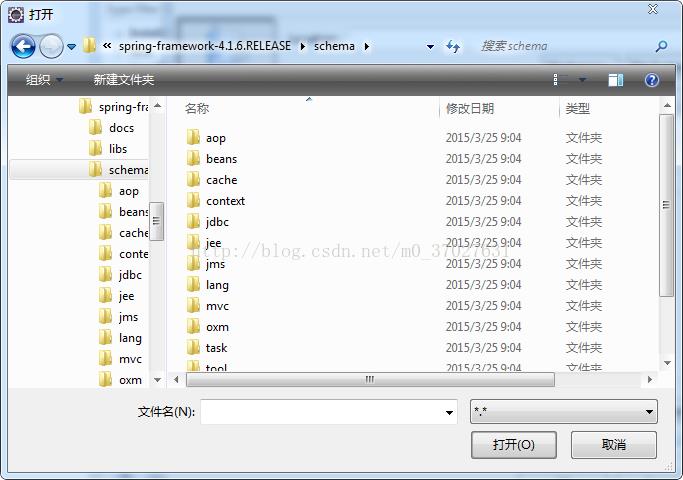
下面以aop标签为例,其他标签都是同样的操作步骤。
(1)、打开aop文件夹。然后选中spring-aop-4.1.xsd,点击打卡如图
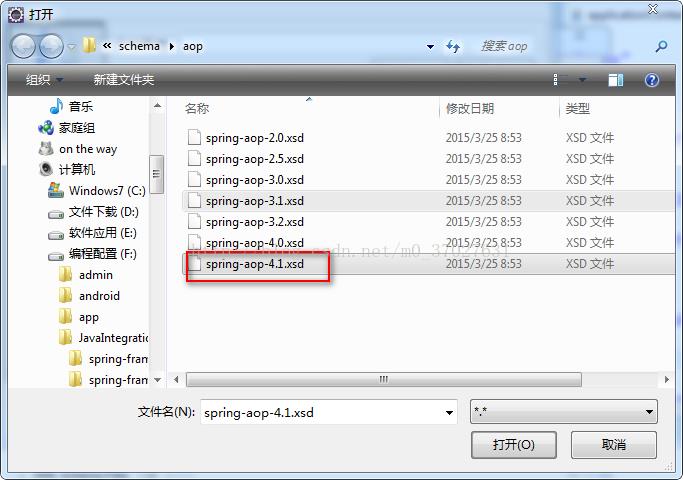
在这里需要特别注意的是location: F:\\JavaIntegration\\spring-framework-4.1.6.RELEASE-dist\\spring-framework-4.1.6.RELEASE\\schema\\aop\\spring-aop-4.1.xsd中的绿色背景的文字是与图中绿色框中的一样的,也就是版本一定要对应上,而红色框中的值就是上图中key的值。在这里特别说明的原因是有时我们会从网上复制头文件不知道其中的原理这样就会出现版本不对应的错误
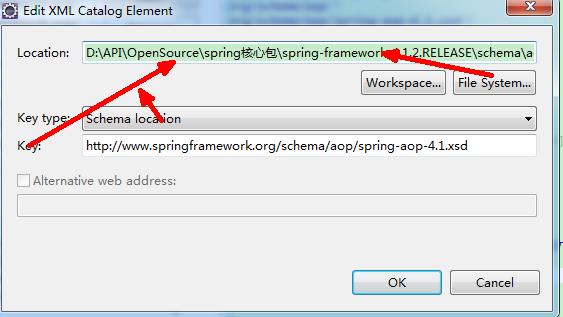
注意!!!首先要保证 http://www.springframework.org/schema/beans/spring-beans.xsd 的约束文件Schema location要配置得有,不然其他的Schema location即使配置了也不会出来!!! 其次:key:的xsd文件最好不要写版本号

到此aop的头文件就配置完了,其他头文件标签配置与此类似。
以上是关于Spring的配置文件ApplicationContext.xml配置头文件解析的主要内容,如果未能解决你的问题,请参考以下文章
spring_03ApplicationContext三种经常用到的实现